
Customizing a hoodie with a magnetic embroidery frame can be a fun and easy way to add a personal touch to your clothing. Magnetic embroidery frames provide a convenient and easy-to-use tool for embroidery enthusiasts to create custom designs on clothing items. In this blog post, we will take you through the step-by-step process of how to custom a hoodie with a magnetic embroidery frame.
1.When You Want Fast, Easy Hooping
Magnetic hoops(Use code CHERRYBI000 for $$ off by this LINK) can make hooping much more enjoyable for people that are suffering from arthritis. Filling blanks and putting magnets in hoops also makes it faster for me. Take the finger out for the bad guys.
2. So how to make a custom hoodie, a few simple steps to get it done!

2.1 Step 1: Choose Your Hoodie
The first step in customizing your hoodie with a magnetic embroidery frame is to choose the hoodie you want to work with. You can select any hoodie of your choice, but it is essential to ensure that it is suitable for embroidery. Hoodies made of cotton or cotton blends are best for embroidery, as they are sturdy and can hold the embroidery design well.

2.2 Step 2: Select Your Embroidery Designs
Decide on the design that you want to embroider on your hoodie. You can create your own embroidery designs using embroidery design software like Willcom(just like the Video shows), or choose from a selection of pre-made designs.Whatever design you choose, make sure it is suitable for the size of your hoodie and can fit within the magnetic embroidery frame.

2.3 Step 3: Prepare Your Magnetic Hoop
Before starting your embroidery, you need to prepare your magnetic hoop. You will need to attach the magnetic hoop to the embroidery machine, ensuring that it fits securely. Once you have attached the embroidery frame to the embroidery machine, making sure the embroidery frame is tight.
2.4 Step 4: Hoop Your Hoodie
How To Use Magnetic Embroidery Hoops?
Using a magnetic embroidery hoop is a great way to make your embroidery projects look neat and professional.
To begin, you’ll need to select the right size of the hoop for the project. The size you choose will depend on the size of the fabric and design, but as a general rule, smaller hoops are best for smaller fabrics and larger hoops are best for larger fabrics.

Magnetic embroidery hoops are used to hold the fabric in place while you stitch. Here's how to use one:
1. Place the fabric inside the inner hoop and align it with the outer hoop.
2. Place the inner hoop inside the outer hoop, ensuring the fabric is taut.
3. Use the magnets on the outer hoop to secure the inner hoop and fabric in place.
4. Begin stitching, making sure to keep the fabric taut as you work.
5. When you're finished stitching, remove the outer hoop and carefully release the fabric from the inner hoop.
It's important to use the correct size of a magnetic embroidery hoop for your project, as using a hoop that is too small can cause the fabric to stretch or become distorted. If you're not sure what size hoop to use, refer to the manufacturer's instructions or consult a knowledgeable embroidery expert.
The next step is to hoop your hoodie. Put the backing under hoodie, hoop the hoodie and backing between the upper frame and bottom frame, then confirm the embroidery center, ensuring that the design fits within the frame.
Secure 2-layer embroidery backing with a maggieframe for perfect stitching!
2.5 Step 5: Load The Embroidery Design Onto Your Embroidery Machine:
Use a USB drive or other method to transfer the design file from your computer to the embroidery machine
2.6 Step 6: Set The Embroidery Machine:
Choose the appropriate embroidery thread colors and make any other necessary adjustments to the machine settings.

2.7 Step 7: Embroider Your Design
Once your hoodie is hooped and your embroidery frame is in place, it's time to start embroidering. As you embroider, be sure to keep an eye on the design to ensure that it is stitched correctly and that the hoop is secure.

2.8 Step 8: Finishing Touches
Once your design is complete, remove the embroidery frame from the hoodie and remove any excess stabilizer material. Trim any stray threads or knots, and your customized hoodie is ready to wear!
Customizing a hoodie with a magnetic hoop is an easy and fun way to personalize your clothing. With a little patience and creativity, you can create unique and customized designs that are perfect for any occasion. Give it a try and see what you can create!
3. More Details About Magnetic Hoops
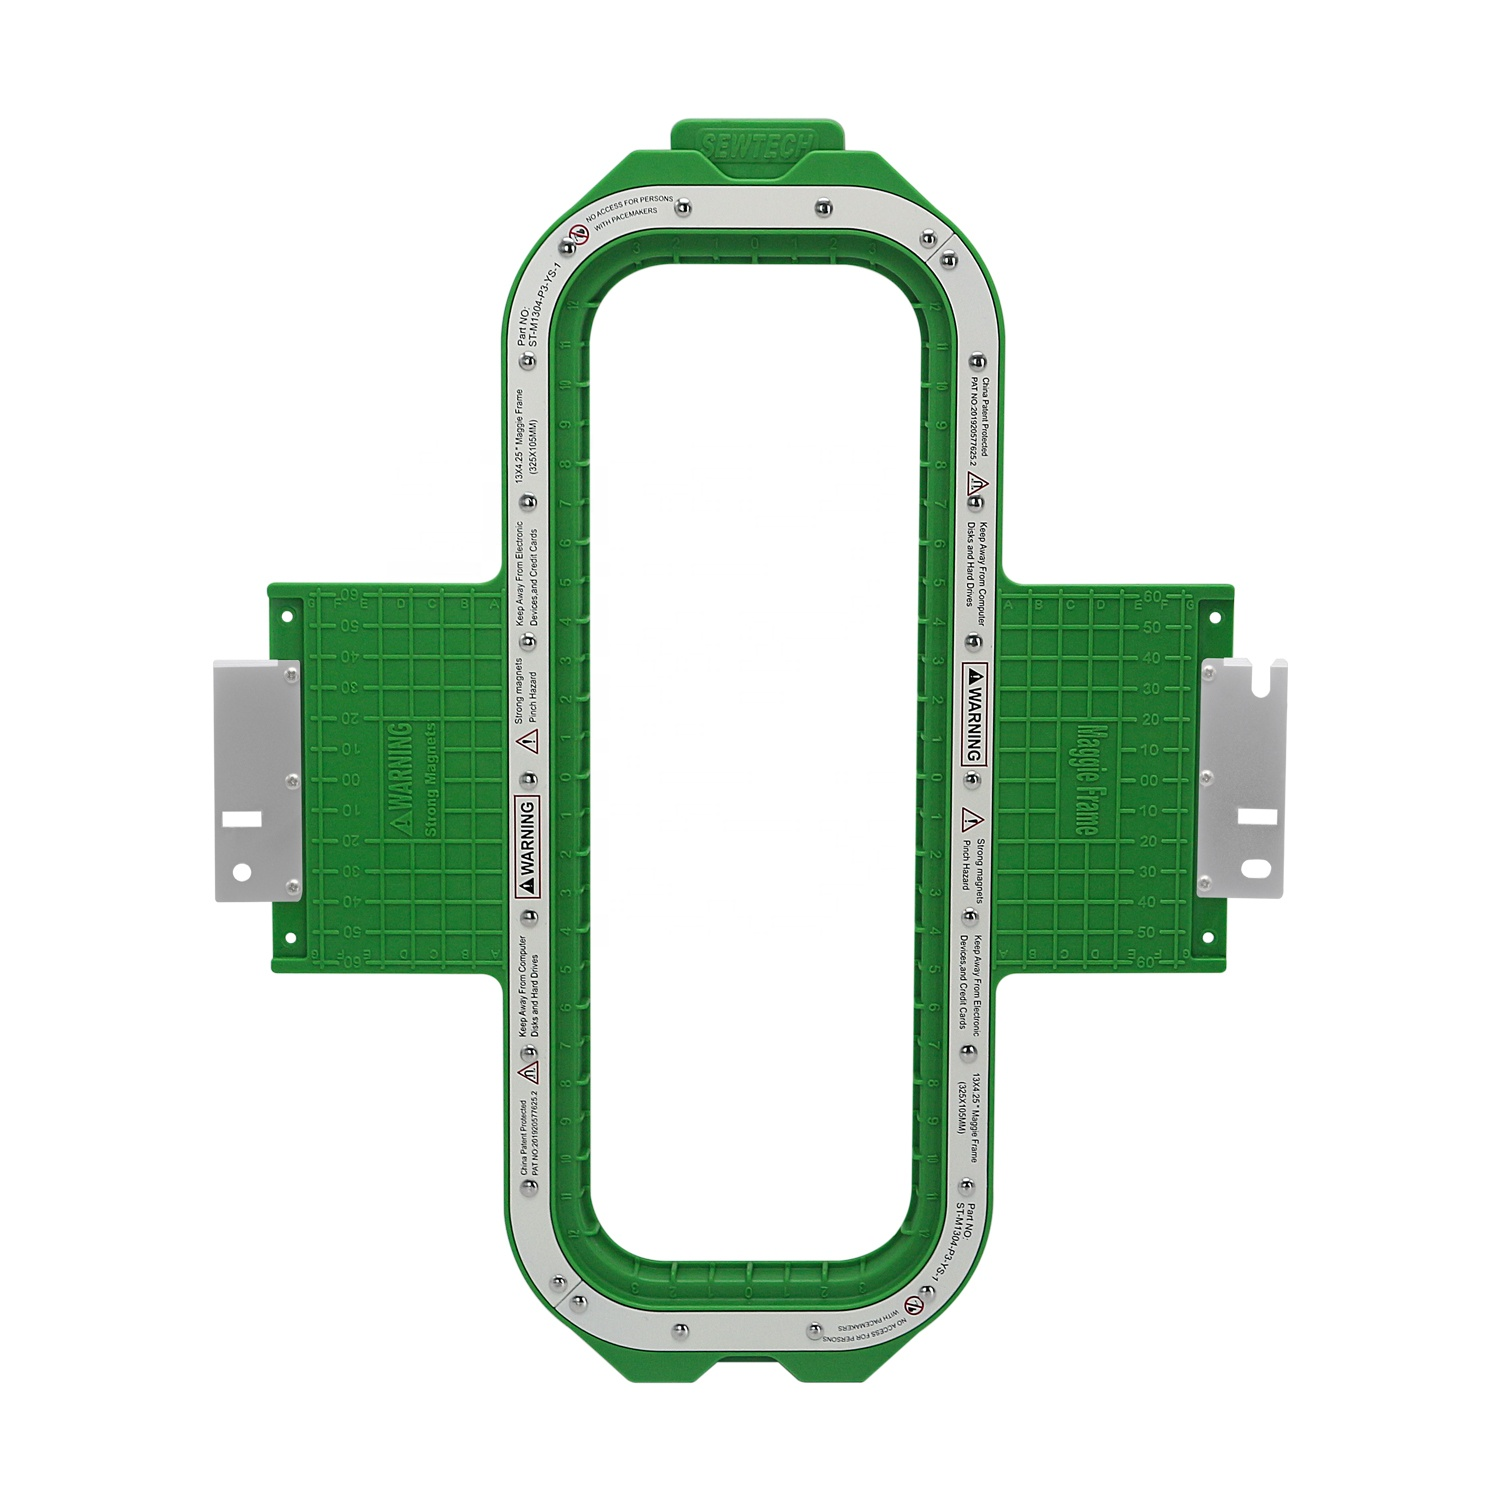
3.1 What Is A Magnetic Embroidery Hoop?
Magnetic Hoop
Have you ever heard of the Magnetic hoops? There are several different types of magnetic hoops such as Mighty Hoop, Dime Snaphoop, and MaggieFrame. MaggieFrame is one of the best-selling magnetic embroidery hoops not metal frame in the world
It was developed originally for use on leather and Carhartt garments and has a unique hoop. I'll leave the video below with one-needle machines to help you learn about the differences and show you the tricks on using the Magnetic Hoop!! Please check if it has compatibility on your computer before you buy it.
A magnetic MaggieFrame, also known as "Magnetic Embroidery Hoops " is sort of like a regular embroidery hoop. The Magnetic MaggieFrame is a strong magnetic hoop, which can be used on almost any embroidery machine (not a sewing machine) such as Janome, Happy, Tajima, Toyota, and Brother PR Commercial machines such as Brother PR655, Brother PR1050X, Brother PR670.
There is no need to adjust the outer ring of the hoop because it holds the garment with magnetic force, and automatically adjusts for different thick cloth, making hooping fabric easy and fast. MaggieFrame can reduce hoop burn, and stress on arms and wrists. You can hoop the impossible fabric with MaggieFrame, even Carhartt!
3.2 Do You Use A Stabilizer With Magnetic Hoops?
Yes, magnetic hoop is not a sticky hoop, it is generally recommended to use a stabilizer when embroidering with magnetic hoops. stabilizer helps to support the fabric and keep it from shifting during the embroidery process, resulting in a more precise and professional-looking design. The type of stabilizer you use will depend on the fabric you are embroidering on, the type of design you are creating, and the embroidery machine you are using. It's important to choose the right stabilizer for your project to ensure the best results.
3.3 Extra Embroidery Field/Large Hoop
Our biggest hoops & embroidery area! Our ST-M1716 Hoop has 17”x15.5” embroidery area. An extra-large embroidery field refers to a larger embroidery hoop or workspace that allows for larger designs to be embroidered. Typically, embroidery machines come with a standard embroidery hoop size, which can range from 4x4 inches to 8x12 inches.
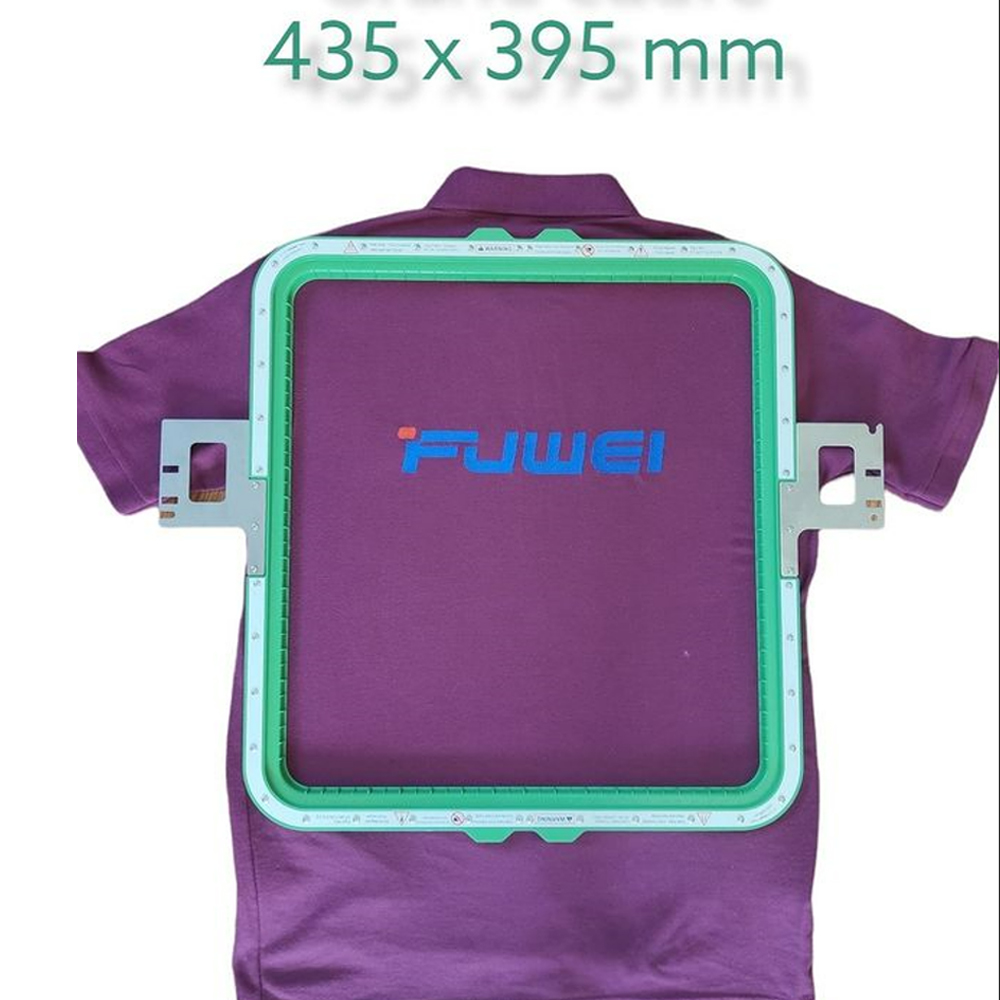
However, some embroidery machines offer larger embroidery fields that can accommodate designs up to 10x14 inches or even larger. These machines may be used for larger projects such as free motion quilting, tablecloths, or home decor items.
Having an extra-large embroidery field can be advantageous for those who want to create bigger designs without having to split them up into smaller sections. This can save time and effort and can also produce a more seamless final product.
It's important to note that embroidery machines with larger embroidery fields may come with a higher price tag, and may also require more advanced skills and techniques to use effectively.
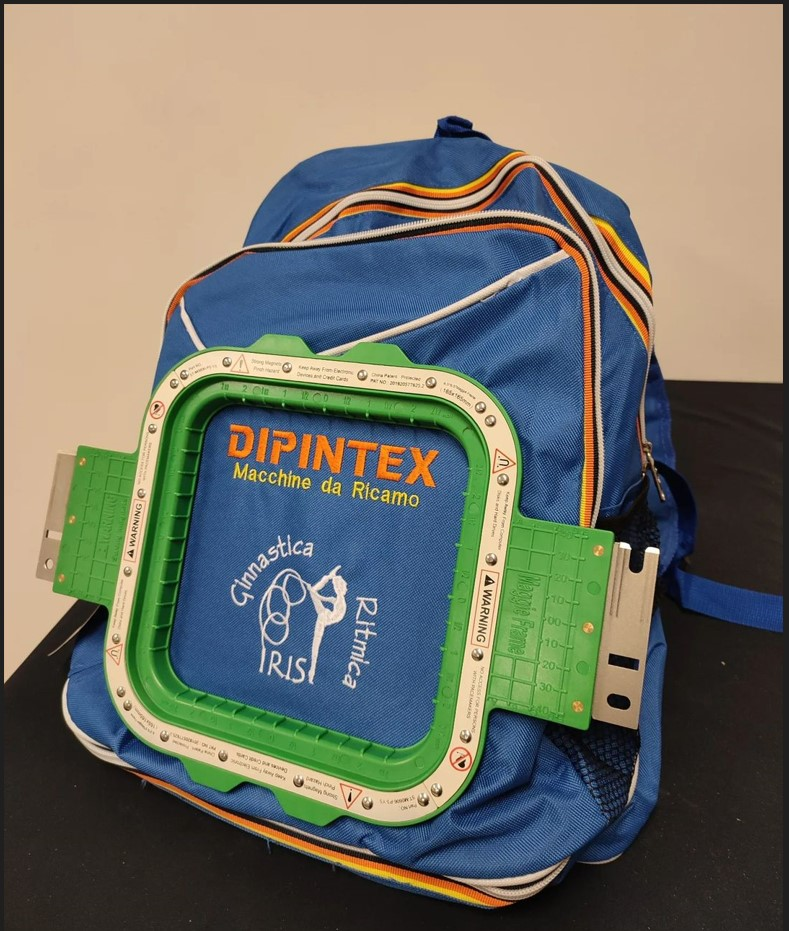
3.4 Unhoopable, Bulky Projects
Other heavy projects such as thick blankets and puffy jackets can be done easily using magnets. Other projects feature tight seams and buttoning like embroidery denim jackets that cannot fit inside a traditional hoop.
3.5 Are Magnetic Embroidery Hoops Any Good?
Yeah, I really love yours! Magnet hoops are more effective than traditional embroidery hoops in a few cases. Not all hoops are equal in quality and it is not always possible to use all of them on every machine. Magnet hoops have been shown to work only on specific tasks. Even though the magnet hoop has some limitations and costs it's worth buying.
4.Tips & Tricks for Magnetic Hoops
4.1. Hold Fabric Firmly
Strong magnets inside the MaggieFrame and the large contact surface with grain texture, making hooping the fabric in place and providing unified tension.
4.2. Automatic and Fast Hooping
Automatically and quickly clamp different thickness fabrics by magnetic force. Say goodbye to traditional hoops and the time-consuming laborious screw manually tightening and adjusting work!
4.3. Perfect for Both Thin and Thick Fabric
With MaggieFrame, thin, thick, or uneven fabrics such as cart can be fixed in place easily and reliably. You can clamp even zippers, pockets, patchwork, or other products.
4.4 Compatible with Machine Brands:
Magnetic MaggieFrame can be used with various brands of embroidery machines, including Brother, Janome, Tajima, Toyota, SWF, Melco, Happy, Ricoma, and more. It's important to check the compatibility of the magnetic frame with your specific machine model before purchasing, as some machines may require specific frame sizes or have limitations on the thickness of the material that can be used with the MaggieFrame. In general, magnetic MaggieFrame is a versatile and convenient accessory that can make embroidery projects easier and more efficient.
