1. Introduction to Brother Bobbin Thread Mastery
Every embroidery project rises or falls on one setup detail: the bobbin. For many Brother users, it’s the root of thread nests, skipped stitches, or runaway tension. If you’ve ever used your brother sewing and embroidery machine and thought, "What went wrong?", you’re not alone.
This guide walks you through winding and inserting the bobbin precisely, dialing in tension with confidence, selecting compatible threads, and fixing issues fast. Expect step-by-step workflows, practical tables, and pro tips that help you achieve clean, durable stitch quality—so you spend less time unpicking and more time creating.
Table of Contents
- 1. Introduction to Brother Bobbin Thread Mastery
- 2. Step-by-Step Bobbin Threading Techniques
- 3. Bobbin Tension Adjustment for Flawless Embroidery
- 4. Compatible Bobbin Threads: Specifications and Risks
- 5. Troubleshooting Common Bobbin Issues
- 6. Bobbin Case Comparison: Standard vs. Specialized
- 7. Advanced Bobbin Management Strategies
- 8. Conclusion: Optimizing Your Brother Machine Performance
- 9. Frequently Asked Questions (FAQ)
2. Step-by-Step Bobbin Threading Techniques
- Correct winding and insertion prevent breakage, uneven tension, and skipped stitches.
- Follow the thread path and tension points exactly—each step matters.
Threading the bobbin correctly starts with winding, then inserting into the bobbin case. Missing any detail can trigger loops, jams, or inconsistent stitches.
2.1 Winding the Bobbin: Avoiding Critical Mistakes
Preparation matters: power on and open the bobbin winder cover. On a brother embroidery machine, seat the thread spool with the correct cap and orient the spool for its winding style (cross-wound horizontally, stacked vertically with a stand). Guide the thread through the bobbin winding guide and pretension disk. Feed the thread through a hole in the bobbin, mount it on the winder shaft, and slide the shaft right to engage.
Wind strictly clockwise. Use the pedal or start button to fill evenly; stop at full or when the machine auto-stops. Trim excess using the built-in cutter.
| Step | Key Action |
|---|---|
| Spool Setup | Use correct cap; align thread direction |
| Threading Path | Through guide and pretension disk |
| Bobbin Placement | Insert thread into hole; align with shaft spring |
| Winding Direction | Clockwise only |
| Winding Completion | Stop at full; trim excess thread |
Common pitfalls and quick fixes:
| Issue | Solution |
|---|---|
| Thread not engaging pretension disk | Rethread under the disk |
| Uneven or loose winding | Recheck thread path and winding direction |
| Thread breaks during winding | Verify tension; don’t overfill |
2.2 Inserting and Threading the Bobbin Case
Remove the cover and drop the bobbin so it unwinds to the left (counterclockwise for most Brother models). Guide the thread around the needle plate tab, then through the slit to engage the tension spring; skipping it invites tension trouble. Trim the tail with the plate cutter and click the cover back in place.
Post-install checks:
- Pull up the bobbin thread (optional per model).
- Run a test line to confirm smooth flow and balanced tension.
| Aspect | Guidelines |
|---|---|
| Thread Direction | Bobbin unwinds counterclockwise (left) |
| Tension Management | Ensure passage through the tension spring |
| Troubleshooting | Misthreading causes breakage, uneven tension, skips |
Pro tip: When unsure, your Brother manual and video demos (e.g., Angela Wolf) are invaluable.
3. Bobbin Tension Adjustment for Flawless Embroidery
- Balanced top and bobbin tension is the foundation of professional stitches.
- Diagnose by stitch appearance, then adjust in controlled steps.
Perfect embroidery depends on top and bobbin thread harmony. Use the symptoms below to diagnose and fix quickly.
3.1 Diagnosing Tension Imbalances: Symptom Cheat Sheet
| Symptom | Likely Cause | Solution |
|---|---|---|
| Top thread too loose | Bobbin too loose or top too tight | Tighten bobbin screw or loosen top |
| Bottom thread too tight | Bobbin too tight | Loosen bobbin screw |
| Bobbin thread visible | Bobbin too loose | Tighten bobbin screw |
| Uneven stitches | Top/bobbin mismatch | Adjust both incrementally |
| Puckering | Excessive tension (top or bobbin) | Loosen the relevant tension |
Visual cues: top thread floating signals low top or bobbin that’s too loose; bobbin thread on the surface means tighten the bobbin slightly; puckering points to overall overtension.
3.2 Precision Adjustment: Screw Turns and Testing Methods
Use a small flathead screwdriver. Remove the bobbin case, reset by tightening fully, then loosen one full turn.
Adjustment protocol:
- Reset baseline as above.
- Turn clockwise to tighten, counterclockwise to loosen in 15-minute "clock face" increments to avoid overshooting.
- Reinstall: align the case’s white arrow with the machine’s white dot; lock the plate until it clicks.
Testing:
- Start top tension at default (often 4.0); loosen if top is too tight.
- Bobbin test: sew a zig-zag or capital "I" on scrap. Aim for minimal visible bobbin thread.
- Fine-tune: tighten bobbin for loose top thread; loosen bobbin if bottom is too tight.
Maintenance:
- Clean lint with a brush (never compressed air).
- Replace the bobbin case if maximum adjustments don’t restore balance.
| Aspect | Top Thread | Bobbin Thread |
|---|---|---|
| Tool | Tension dial | Flathead screwdriver |
| Default Setting | 4.0 | Factory-adjusted |
| Common Adjustment | Lower numbers for thicker thread | 15-minute screw turns |
| Over-Tightening Symptom | Breakage, puckering | Bobbin barely visible, uneven |
Pro tips:
- Log settings by fabric and thread.
- Heavier materials may need a touch more bobbin tension; delicate fabrics often benefit from slightly less.
4. Compatible Bobbin Threads: Specifications and Risks
- Brother machines favor specific thread types and weights for consistent results.
- Using the wrong thread invites tension issues, lint buildup, and breakage.
4.1 Brother-Recommended Thread Types and Weights
| Thread Type | Best For | Recommended Brands |
|---|---|---|
| Polyester | General sewing, durability, flexibility | Gutermann, Coats & Clark |
| Cotton | Natural fabrics, soft finishes | Aurifil, Mettler |
| Rayon/Metallic | Embellishments, decorative stitching | Sulky, other specialty |
Polyester is the everyday workhorse. Cotton delivers a soft, matte hand for quilting. Rayon and metallics elevate decorative work but can need specialized needles and tension tweaks.
Weight matters: Brother recommends 60 weight (60wt) in the bobbin for machine embroidery. It pairs well with typical 40wt top threads to prevent bulk and keep designs smooth. The lower the number, the thicker the thread—so finer (higher-number) bobbin threads usually stitch cleaner.
Match thread types (top and bobbin) when possible to reduce tension mismatches.
Bobbins: Brother machines typically use Class 15, L-style, or M-style; confirm in your manual. If using L-style in a Class 15 machine, the XD0835051 adapter ensures proper fit and feed.
4.2 Consequences of Incompatible Threads
Using mystery or low-quality threads can cause:
- Tension imbalance: loops, loose stitches, or breakage.
- Needle damage from friction or inconsistent thread quality.
- Lint accumulation that disrupts tension and stitch formation.
Switching bobbin types? The XD0835051 Bobbin Guide helps maintain tension and avoids jams, especially with prewounds.
Best practices:
- Wind evenly; don’t over/underfill.
- Insert so the thread unwinds counterclockwise (most Brother models).
- Clean the bobbin area routinely.
| Do’s | Don’ts |
|---|---|
| Use 60wt polyester or cotton thread | Avoid thick, fuzzy, or low-quality thread |
| Match top and bobbin thread types | Don’t ignore tension adjustments |
| Use correct bobbin style/adapter | Don’t overfill or underfill |
By following these guidelines, you’ll get smoother stitching and fewer headaches. Reliable accessories such as magnetic embroidery hoops for brother can also help stabilize fabric for balanced tension.
5. Troubleshooting Common Bobbin Issues
- Most issues trace to presser foot position, threading accuracy, or tension.
- Tackle causes systematically: rethread, adjust tension, and clean.
5.1 Solving Thread Nesting and Uneven Stitches
Thread nesting under the fabric usually stems from starting with the presser foot up, incorrect threading, or loose tension. Always lower the presser foot, rethread top and bobbin, adjust tension (top first), and clean lint.
Uneven stitches? Rewind an uneven bobbin, balance top/bobbin tension, and ensure the bobbin thread seats under the tension spring.
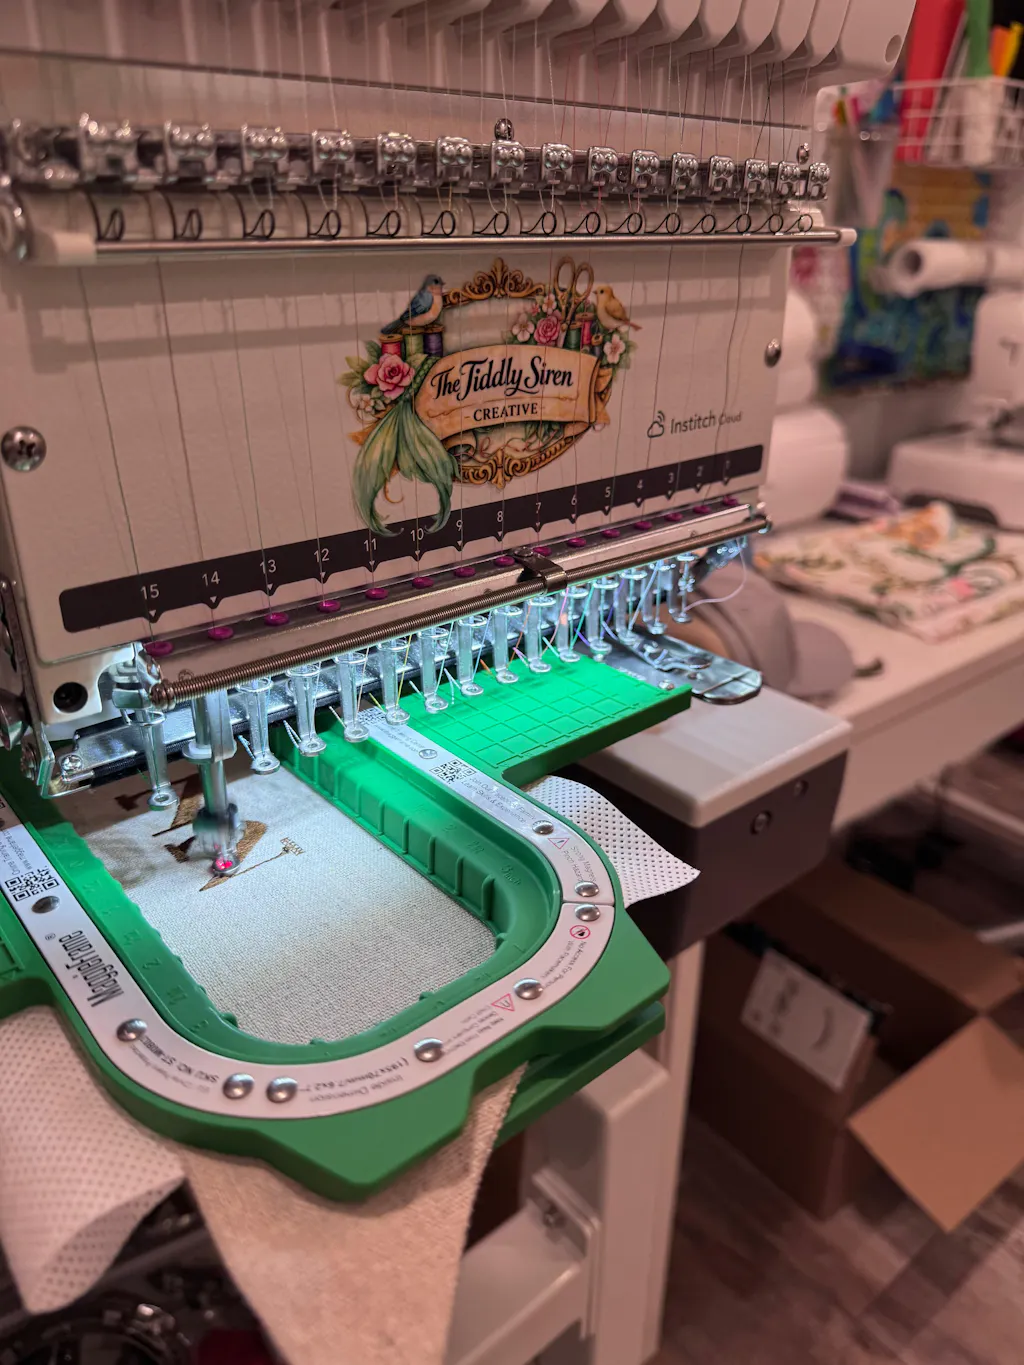
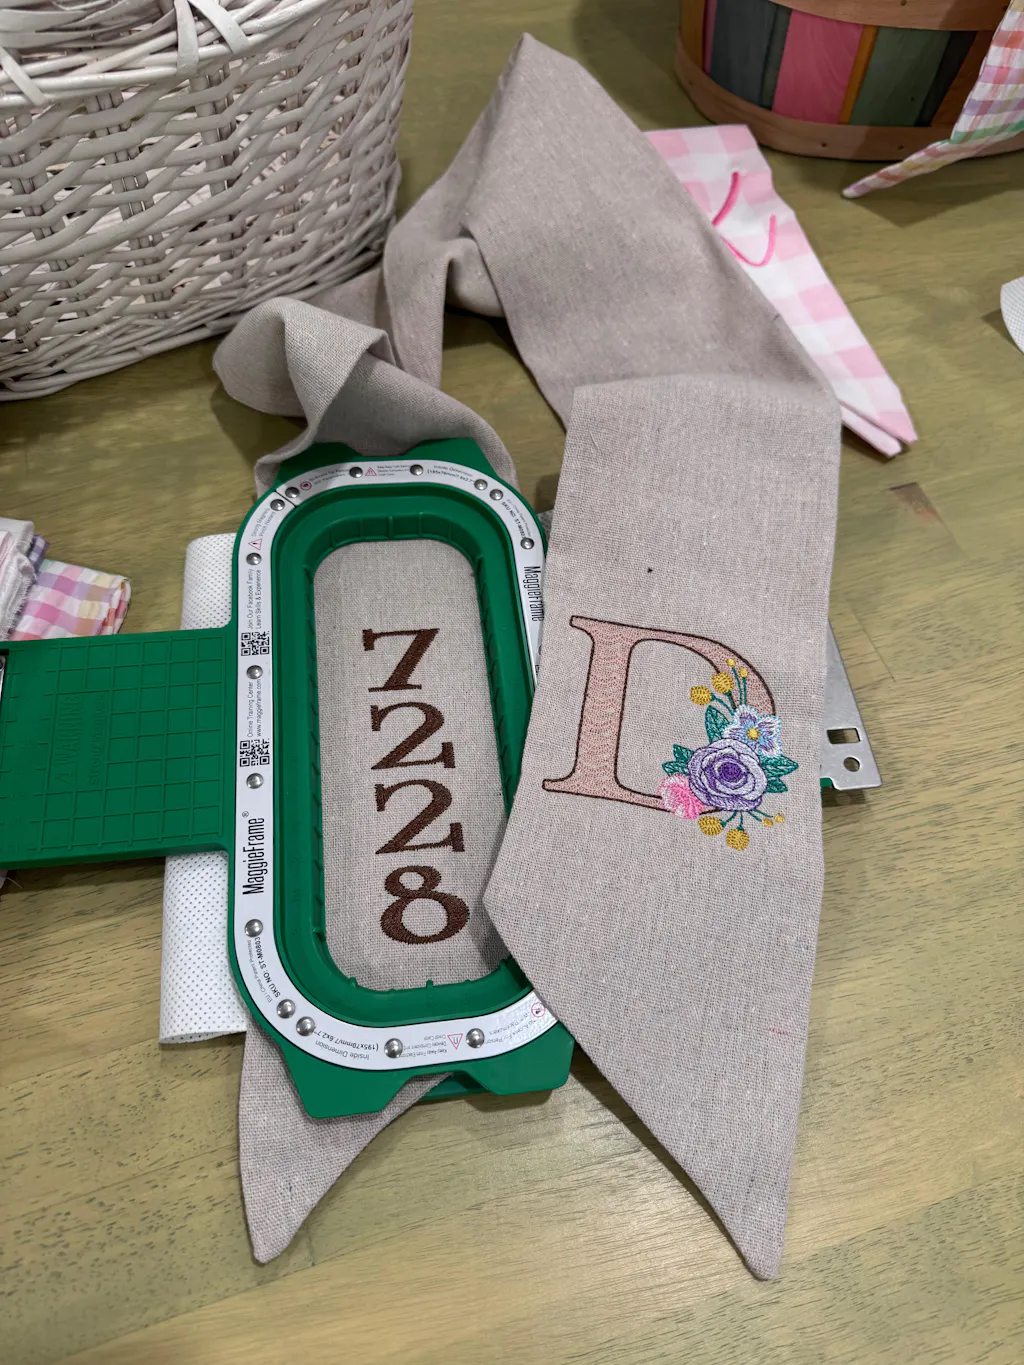
Fabric stabilization matters. For garment embroidery, magnetic hoops for brother embroidery machines like MaggieFrame secure fabric evenly and reduce shifting or puckering across a range of thicknesses.
- Strong magnetic grip helps keep stitch lengths consistent.
- Works well on knits and heavier apparel like sweatshirts.
- Spend less time repositioning and more time stitching.
Standard brother embroidery machine hoops also support consistent mounting when used correctly.
5.2 Fixing Breakage and Timing Problems
Thread breakage often means a damaged bobbin, tangles, or too much tension. Replace nicked bobbins, untangle and rethread, then ease the bobbin screw if snap-offs persist.
If the needle and bobbin hook are out of sync, stitches won’t form reliably—this typically needs a technician. Before calling, confirm the bobbin thread passes through the needle plate slit and tension spring.
Preventive maintenance: use Brother-approved bobbins, clean regularly, and test on scraps before real projects.
| Issue | Common Causes | Solutions |
|---|---|---|
| Thread Nesting | Presser foot up, low tension | Lower foot, rethread, clean, adjust |
| Uneven Stitches | Uneven winding, mismatched tension | Rewind, balance tension |
| Thread Breakage | Damaged bobbin, tangles, high tension | Replace, untangle, relax tension |
| Timing Issues | Misaligned hook/needle | Professional adjustment |
6. Bobbin Case Comparison: Standard vs. Specialized
- Pick the case that matches your thread weight and project.
- Fixed-tension cases excel at 60wt; adjustable cases add flexibility.
6.1 Green-Screw vs. Adjustable Tension Cases
Green screw bobbin case (standard): a Loctite-locked tension screw preserves factory settings for 60wt—ideal for general sewing and embroidery. Don’t adjust it.
Alternate adjustable case: no Loctite; tune the screw manually for prewound bobbins or varying thread weights. Often bundled with newer combo machines.
| Feature | Green Screw Case | Alternate Case |
|---|---|---|
| Tension Adjustment | Fixed (Loctite) | Adjustable |
| Thread Compatibility | 60wt thread | Varying weights |
| Use Case | General sewing/embroidery | Prewounds, specialty threads |
| Machine Compatibility | Sewing/Embroidery combos | Sewing/Embroidery combos |
6.2 Specialized Cases for Heavy-Duty Embroidery
Bobbin work case: designed for thicker threads (e.g., metallic, wool) with adjustable tension.
Embroidery-specific (purple dot) case: preconfigured for embroidery threads and high-speed settings, common on embroidery-only machines.
Why fabric stability matters: If you rely on a brother embroidery machine magnetic hoop, stable mounting helps specialized bobbin cases deliver consistent, high-quality stitches.
| Feature | Green Screw Case | Alternate Case | Bobbin Work Case | Embroidery Case |
|---|---|---|---|---|
| Tension Adjustment | Fixed | Adjustable | Adjustable | Fixed (Embroidery) |
| Thread Compatibility | 60wt thread | Varying weights | Thick threads | Embroidery threads |
| Use Case | General sewing | Prewound bobbins | Heavy-duty | High-speed embroidery |
| Machine Compatibility | Combos | Combos | Purchased separately | Embroidery-only |
7. Advanced Bobbin Management Strategies
- Read stitches in real time; adjust top or bobbin tension methodically.
- Match thread choices to materials; clean and inspect on a schedule.
7.1 Real-Time Tension Defect Diagnosis
Top thread floating means low upper tension or loose bobbin; invisible bobbin thread can signal an overtight bobbin or mis-seated case; nesting points to presser foot position or winding issues.
Watch stitches as you sew. Use a zig-zag at top tension 4 and adjust the bobbin screw in 15-minute increments. If you’ve maxed out the screw, replace the bobbin case.
| Defect | Top Tension | Bobbin Tension | Solution |
|---|---|---|---|
| Loose Top Thread | Too Low | Too Loose | Raise top or tighten bobbin |
| Hidden Bobbin Thread | Too High | Too Tight | Lower top or loosen bobbin |
| Thread Nesting | N/A | Placement | Reseat, clean, rethread |
Best practices: start top tension near 4 (2–3 for embroidery if needed), adjust bobbin in small steps, and test on scrap first.
7.2 Material-Specific Thread Guidelines
Stretch knits: use polyester or nylon on top; matching polyester in the bobbin is a safe starting point. Test tension to prevent puckering.
Heavyweight fabrics (denim, canvas, jackets): thicker top threads are common; a slightly heavier polyester bobbin thread may support dense stitching. Pair with compatible needles and feet as appropriate.
| Fabric Type | Top Thread Recommendation | Bobbin Thread Recommendation | Notes |
|---|---|---|---|
| Stretch Knits | Polyester or nylon | Polyester (match top) | Test for elasticity |
| Heavyweight Fabrics | Quilting-grade polyester | Thicker polyester (if possible) | Use heavy-duty needles |
7.3 Long-Term Maintenance Schedule
After every bobbin change: brush away lint from case and race; a cotton swab with rubbing alcohol helps remove residue. For deeper cleaning, clear tension discs gently.
Every 2–3 uses: inspect the tension spring for wear and clean thoroughly. Annually: plan professional service.
Replace parts when the spring is frayed/flattened, tension won’t stabilize, or the case is cracked or misaligned. Use the correct (typically gray) bobbin case for bobbin work.
Proper winding habits: wrap 5–6 times by hand before winding, use pretension discs, and trim tails close after winding.
| Practice | Correct Method | Incorrect Method |
|---|---|---|
| Bobbin Case Type | Use only the gray Brother bobbin case for bobbin work | Non-Brother or non-gray cases |
| Tension Adjustment | Adjust non-painted screw only | Adjusting painted screws |
| Thread Trimming | Trim tails close | Leaving long tails |
8. Conclusion: Optimizing Your Brother Machine Performance
Mastering bobbin setup and tension isn’t just for avoiding mishaps—it’s how you produce crisp, professional embroidery. Follow precise threading, balance top and bobbin tension, maintain on schedule, and pair stable hooping (a magnetic hoop for brother helps) to keep results consistent.
Systematic troubleshooting turns confusion into confidence—so you can stitch more and fix less.
9. Frequently Asked Questions (FAQ)
9.1 Q: What direction should my Brother bobbin unwind?
A: For most Brother machines, the bobbin should unwind counterclockwise (to the left) inside the case. Confirm in your model’s manual.
9.2 Q: How do I reset the bobbin case tension screw?
A: Tighten the screw fully, then loosen one full turn to baseline. Adjust in 15-minute "clock face" increments, testing after each change.
9.3 Q: What thread weights are compatible with Brother bobbins?
A: Brother recommends 60wt polyester or cotton in the bobbin. Avoid thick, fuzzy, or incompatible threads.
9.4 Q: How often should I clean my bobbin case?
A: Clean every bobbin change; perform a deeper clean every 2–3 uses. Annual professional servicing is also recommended.
9.5 Q: What if bobbin case adjustments no longer fix tension issues?
A: Replace the bobbin case. If you’ve reached adjustment limits without balance, a new case restores proper control.