1. Introduction to Bobbin Threading Essentials
Proper bobbin threading is the unsung hero behind flawless stitching and a healthy sewing machine. Whether you’re a seasoned embroiderer or just learning the ropes, mastering this foundational skill is essential for every successful project. A well-threaded bobbin ensures your stitches are even, your machine runs smoothly, and you avoid headaches like thread nests, skipped stitches, or frustrating jams.
This guide will walk you through the essentials: understanding the differences between front-loading and top-loading bobbin systems, step-by-step winding and threading techniques, and the basics of tension adjustment and troubleshooting. We’ll reference visual cues, machine-specific tips, and expert advice to help you confidently thread your bobbin case—no matter your machine, whether it's a best sewing machine for embroidery and sewing or an industrial model. Ready to transform your sewing experience? Let’s dive in and unravel the secrets to perfect bobbin threading.
Table of Contents
- 1. Introduction to Bobbin Threading Essentials
- 2. Understanding Bobbin Systems: Front-Loading vs. Top-Loading
- 3. Step-by-Step Bobbin Winding & Threading Techniques
- 4. Mastering Bobbin Tension Adjustment
- 5. Troubleshooting Common Bobbin Threading Issues
- 6. Conclusion: Achieving Reliable Bobbin Performance
- 7. FAQ: Bobbin Threading Questions Answered
2. Understanding Bobbin Systems: Front-Loading vs. Top-Loading
The world of bobbin systems is more nuanced than it first appears. Choosing between front-loading and top-loading bobbin cases isn’t just about machine compatibility—it’s about ease of use, maintenance, and the kind of sewing experience you want, whether you're using a sewing and embroidery machine combo or a dedicated machine.
2.1 Front-Loading Bobbin Cases: Structure and Use Cases
Front-loading bobbin cases, often found in Singer and Janome machines, are the classic workhorses of the sewing world. These removable metal cases sit behind a hinged door at the front of your machine. To thread them, you’ll need to take out the bobbin case, insert your wound bobbin (with the thread unwinding clockwise), and guide the thread through the tension spring slot. A gentle pull should give you just the right resistance—if not, a small screwdriver can adjust the tension screw in tiny increments.
The latch mechanism is your friend here: pull it out to keep the bobbin secure as you insert the case back into the machine. Listen for that satisfying “click”—it means you’ve seated the case properly. To bring up your bobbin thread, hold the needle thread and turn the handwheel toward you. The needle will dip down, catch the bobbin thread, and pull it up through the throat plate—a bit like fishing for the perfect stitch.
Front-loading systems offer a tactile, hands-on approach. They’re favored by those who want precise control over tension, especially when working with specialty threads or vintage machines. But they do require a bit more practice and care during insertion and removal.
2.2 Top-Loading (Drop-In) Systems: Modern Convenience
Top-loading, or drop-in, bobbin systems are the darlings of modern sewing machines—think Brother or newer Janome models. Here, the bobbin sits in a fixed compartment right beneath the needle plate. No need to remove a case; just drop the bobbin in with the thread unwinding counterclockwise, following the arrows or guides etched into the machine.
These systems often feature transparent covers, so you can keep an eye on your thread supply mid-project. Threading is as simple as pulling the thread through a built-in guide, closing the cover, and letting the machine do the rest. Some models even have automatic thread cutters or guides to make setup nearly foolproof.
Top-loading systems shine in ease of use and visibility. They’re perfect for beginners or anyone who wants to minimize fuss—no more worrying about losing a bobbin case or inserting it incorrectly. However, tension is usually factory-set and less adjustable than with front-loading cases, which can be a limitation if you work with a wide variety of threads.
In summary:
- Front-loading cases offer more manual control and are common in older or high-end machines.
- Top-loading systems prioritize convenience and are standard in most modern home machines.
Choosing the right system depends on your machine, your sewing style, and how much control you want over the threading process. When in doubt, always consult your machine’s manual for the best match.
3. Step-by-Step Bobbin Winding & Threading Techniques
A perfectly wound and threaded bobbin is the foundation of every beautiful stitch. Let’s break down the process for both winding your bobbin and threading it into front-loading and top-loading systems, especially for the best beginner embroidery machine.
3.1 Perfect Bobbin Winding: Avoiding Tangles and Uneven Thread
Winding a bobbin isn’t just a prelude—it’s a critical step that sets the stage for smooth sewing. Start by selecting the correct bobbin for your machine (consult your manual; not all bobbins are created equal). Place your thread spool on the holder, guide it through the tension disc, and thread it up through the hole in your empty bobbin from the inside out.
Seat the bobbin firmly on the winding spindle, making sure it’s locked in place. Hold the thread tail for the first few spins to ensure tension, then trim it close. Wind the thread clockwise at a moderate speed—too fast, and you risk stretching the thread; too slow, and you might get uneven tension. Watch as the thread fills the bobbin: it should move evenly up and down. If it starts piling on one side, gently guide it with your finger or a tool.
Most machines will stop automatically when the bobbin is about 80% full. Don’t overfill—it can cause jams. Snip the thread, and you’re ready to load the bobbin into your case or compartment.
3.2 Threading Front-Loading Cases: Visual Walkthrough
For front-loading systems, begin by removing the bobbin case and placing your wound bobbin inside with the thread unwinding to the right (clockwise). Guide the thread through the slot and under the tension spring until you hear a faint click. This click is your assurance that the thread is seated correctly.
Hold the case by the latch, insert it into the machine, and release the latch to lock it in place. Always make sure the needle is in its highest position before inserting or removing the bobbin case—this prevents accidental snags or needle strikes.
To bring up the bobbin thread, hold the needle thread and turn the handwheel toward you. The needle will dip down and catch the bobbin thread, pulling it up through the throat plate. Pull both threads toward the back, and you’re ready to sew.
3.3 Threading Top-Loading Cases: Machine-Specific Demos
For top-loading (drop-in) systems, open the bobbin compartment and place your wound bobbin with the thread unwinding counterclockwise. Follow the arrows or guides on your machine to pull the thread through the tension slot. Some machines have a built-in thread cutter or a guide path—use these for best results.
Close the compartment cover, making sure it snaps securely. Hold the needle thread, turn the handwheel to lower and then raise the needle, and gently pull the upper thread to bring up a loop of bobbin thread. Use tweezers or your fingers to pull the loop through, then sweep both threads to the back of the machine.
Key reminders:
- Always check your manual for machine-specific instructions.
- Use the correct bobbin type and size.
- Keep your winding speed moderate for even tension.
- Double-check thread direction: clockwise for front-loading, counterclockwise for top-loading.
With these techniques, you’ll avoid tangles, uneven stitches, and the dreaded thread nest. Perfect bobbin threading is within your grasp—just follow these steps, and let your creativity flow!
4. Mastering Bobbin Tension Adjustment
Getting your bobbin tension right is like tuning a musical instrument—when it’s balanced, your stitches sing in harmony. But when it’s off, you’ll hear the discord in the form of thread nests, skipped stitches, or broken threads. Let’s demystify bobbin tension and give you the confidence to fine-tune it for flawless results.
4.1 Tension Fundamentals: Symptoms and Solutions
Ever peered at the underside of your fabric and spotted a messy bird’s nest of thread? Or maybe your top thread is peeking through on the bottom, or vice versa. These are classic symptoms of tension imbalance between your upper and bobbin threads.
Recognizing the Signs:
- Bobbin thread showing on top: Your bobbin tension is too loose.
- Upper thread visible underneath: Your bobbin tension is too tight.
- Thread nests, skipped stitches, or thread breaks: All point to tension trouble.
Before you reach for your screwdriver, double-check that your bobbin is threaded correctly. According to Stitch Clinic and SINGER® tutorials, improper threading is often mistaken for a tension issue. Always reload your bobbin if you suspect something’s off.
How to Adjust Bobbin Tension:
- Locate the Adjustment Screw: On removable bobbin cases, find the tiny flat-head screw on the side.
-
Use a Small Screwdriver: Turn the screw in tiny increments—think 1/8 to 1/4 of a turn at a time.
- Clockwise (righty tighty): Increases tension.
- Counterclockwise (lefty loosey): Decreases tension.
-
The Drop Test: Hold the bobbin case by the thread tail. Gently bounce it.
- If the case barely moves, tension is too tight.
- If it drops too quickly, tension is too loose.
- Ideally, the case should slide down the thread a couple of inches with a gentle tug.
Test, Sew, Repeat: After each adjustment, sew a test seam on scrap fabric. Examine both sides for balanced stitches—the threads should lock neatly in the middle of your fabric.
Pro Tips:
- Make only small adjustments and test after each change.
- Document the settings that work for your favorite thread and fabric combos.
- Remember: Many “tension” issues are actually threading errors, so always start with proper threading.
4.2 Advanced Tools: Digital Tension Gauges for Precision
For those who crave precision—think industrial or high-speed machine users—digital tension gauges like the TOWA bobbin tension gauge are game-changers.
What’s a TOWA Gauge?
It’s a tool that assigns a numerical value to your bobbin tension, typically measured in grams-force (gf) or milliNewtons (mN). By inserting your loaded bobbin case into the gauge and pulling the thread, you get an instant, objective reading.
Why Use One?
- Consistency: Dial in the exact same tension every time you change bobbins or switch thread types.
- Efficiency: Saves time on trial-and-error adjustments, especially when starting a new project or using specialty threads.
- Professional Results: Ensures every stitch is as perfect as the last, even in demanding production environments.
How to Use:
- Insert the bobbin case into the TOWA gauge.
- Pull the thread as instructed; the gauge displays the tension.
- Adjust the screw as needed, retesting until you hit your target value (consult thread manufacturer charts for recommended settings).
For most home sewists, the drop test and visual stitch inspection will suffice. But if you’re running an embroidery business or want to take your craft to the next level, a digital gauge brings laboratory-level accuracy to your sewing room.
5. Troubleshooting Common Bobbin Threading Issues
Even the best-prepared sewists run into bobbin hiccups. Whether your thread is unwinding the wrong way, tension seems off, or your bobbin case is acting up, let’s untangle these common problems—so you can get back to creating, not troubleshooting.
5.1 Solving Incorrect Unwinding and Tension Inconsistencies
Thread Direction Matters:
One of the most frequent culprits behind bobbin headaches is incorrect thread direction. Here’s the golden rule:
- Front-loading bobbin cases: Thread should unwind clockwise.
- Top-loading (drop-in) bobbin cases: Thread should unwind counterclockwise.
Not sure? Check your machine’s manual or look for arrows and diagrams near the bobbin compartment. If your thread is coming off the wrong side, you’ll likely face jams, tangles, or thread breakage.
Common Fixes:
- Reinsert the bobbin: Make sure it’s oriented correctly for your machine type. If in doubt, remove and reload.
- Thread the path precisely: Pull the thread through the slot and under the tension spring or finger. Listen for a faint click—your sign that it’s seated right.
- Check thread weight and compatibility: Using different weights for top and bobbin threads can cause tension mismatches. Match your threads for best results.
- Test tension: If you spot loops on the underside, your bobbin tension may be too loose—tighten the screw in small increments. If threads break or tangle, double-check both upper and lower threading.
Pro Tip: Always raise your needle to its highest position before inserting or removing the bobbin case. This prevents accidental snags and ensures a smooth start.
5.2 Preventing Persistent Jams and Case Damage
Sometimes, the problem goes deeper—persistent jams, thread nests, or even damage to your bobbin case. Here’s how to keep things running smoothly:
Inspect for Micro-Burrs:
Tiny nicks or burrs on your bobbin case or shuttle system can snag thread and cause repeated jams. Regularly inspect these parts and, if needed, gently smooth with fine sandpaper or replace the case.
Maintain Bobbin Rotation Systems:
A clean and well-lubricated bobbin area is essential. Lint, dust, or stray threads can disrupt the smooth rotation of your bobbin, leading to tension issues or case malfunction. Clean under the tension spring every time you change bobbins, using a small piece of paper as shown in AMAYA’s guide.
Lubrication:
Follow your machine’s maintenance schedule for oiling moving parts—especially if you sew frequently or use your machine in a production environment.
Reduce Mechanical Stress in Garment Embroidery:
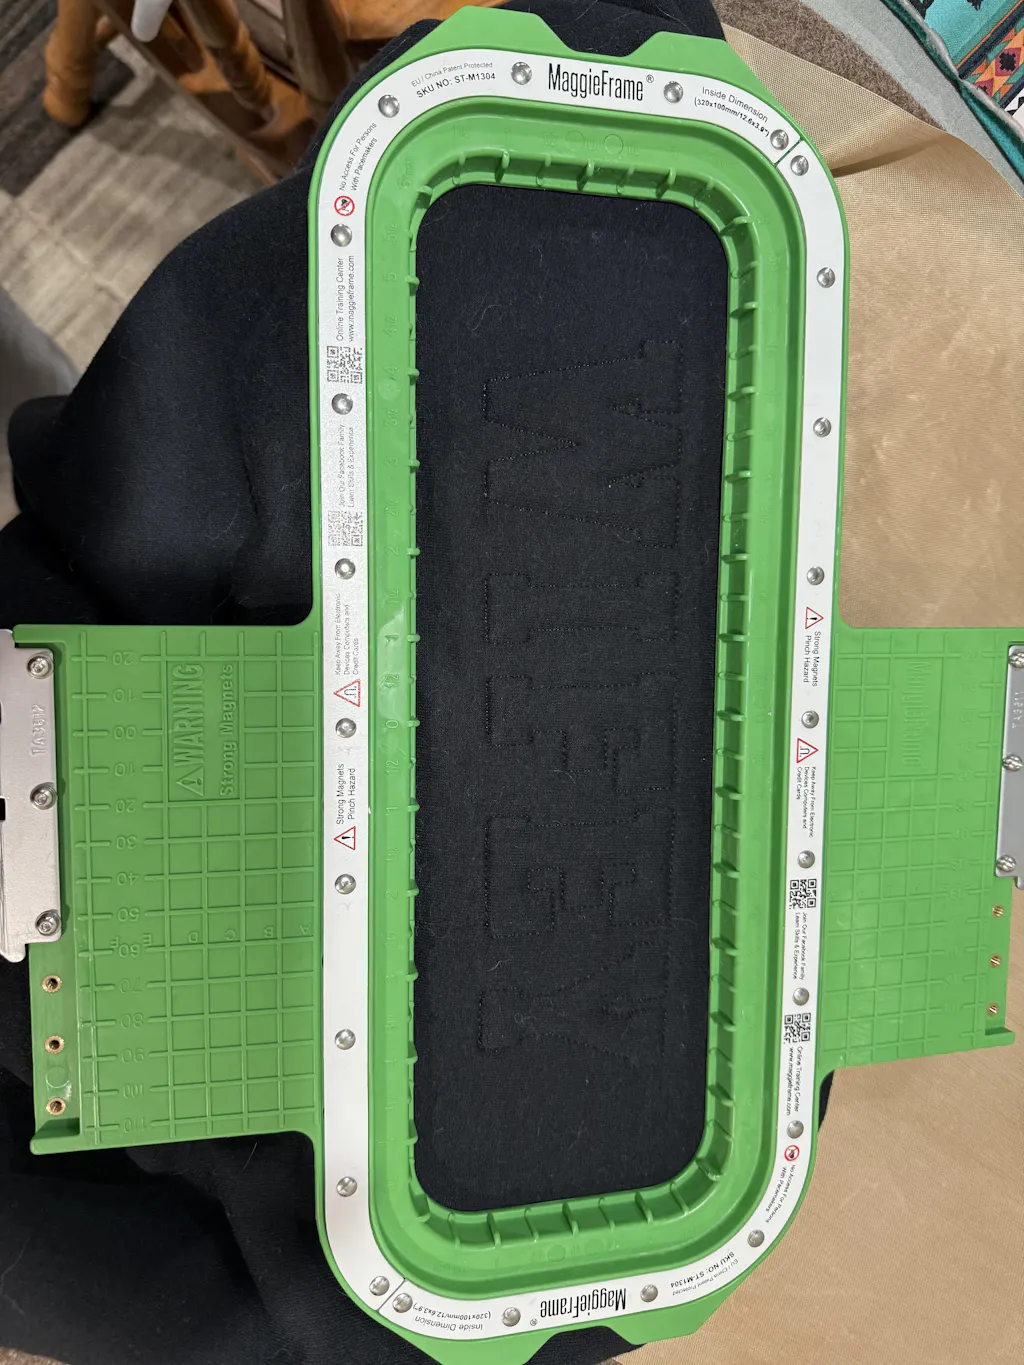
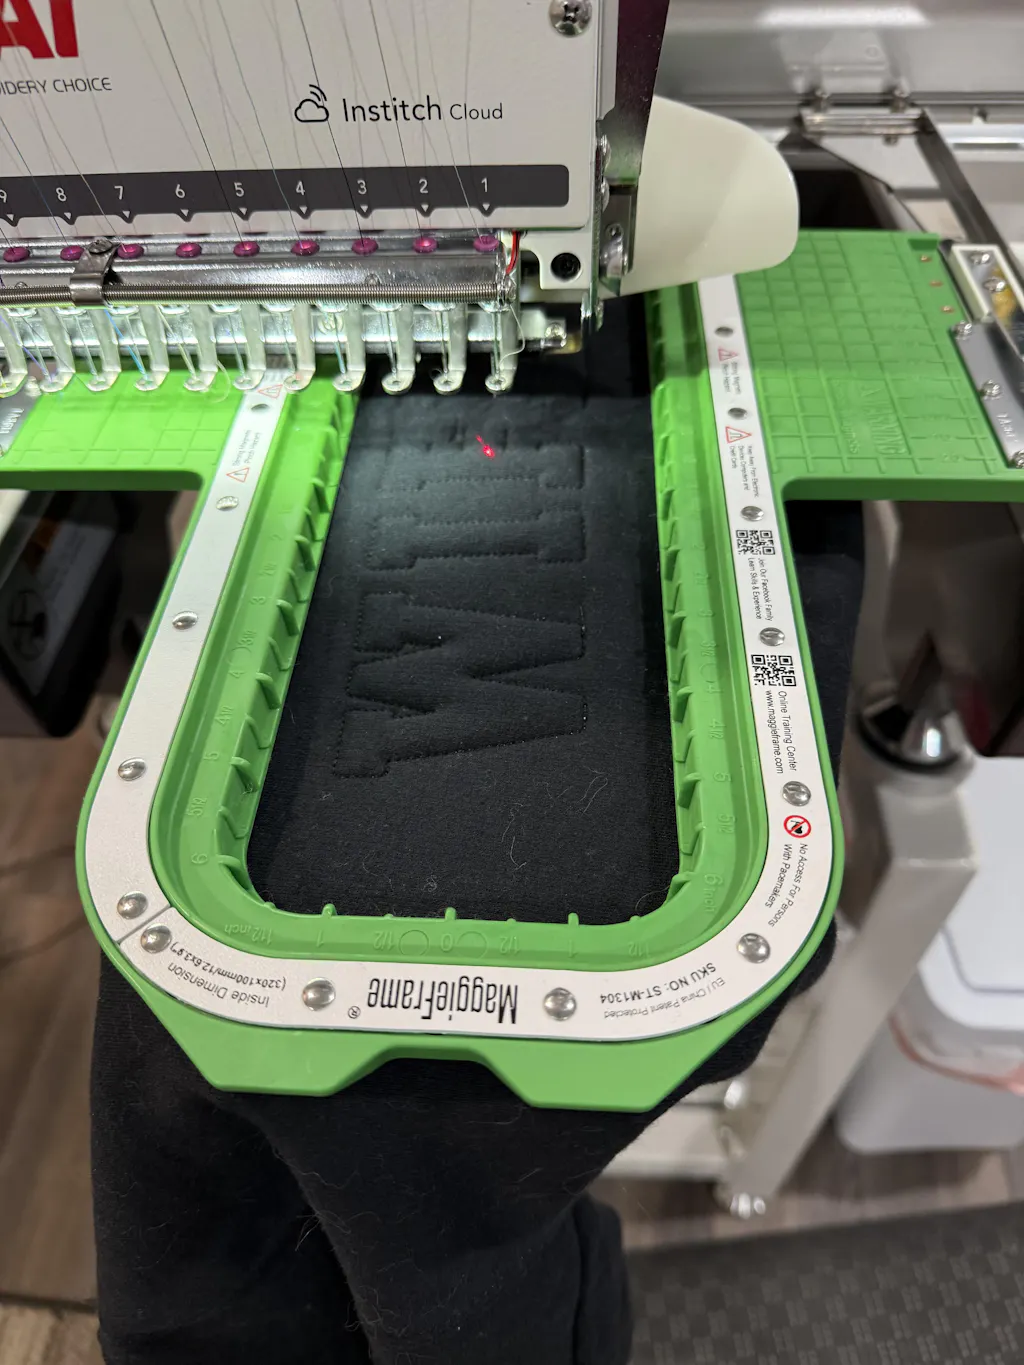
If you’re embroidering garments, using reliable hooping systems can help. For example, using a hoopmaster hooping station or MaggieFrame magnetic embroidery hoops can help minimize mechanical stress on your fabric and machine, reducing the likelihood of jams and wear during garment embroidery.
Final Checklist for Troubleshooting:
- Verify needle position (always at the highest point before adjustments).
- Confirm correct thread direction for your machine.
- Ensure even bobbin winding and proper installation.
- Follow the thread path exactly.
- Seat the bobbin case fully and securely.
- Test stitch on scrap fabric before starting your project.
- Replace old or brittle thread as needed.
By following these steps, you’ll spend less time fixing issues and more time enjoying smooth, beautiful stitching.
6. Conclusion: Achieving Reliable Bobbin Performance
Mastering bobbin threading and tension adjustment is the backbone of flawless sewing. Remember to follow correct threading paths, balance your upper and bobbin tensions, and pay attention to your machine’s unique quirks. Practice, patience, and a willingness to consult your manual are your best allies. With these skills, you’ll unlock consistently perfect stitches and a more enjoyable sewing experience—project after project, even on a multi needle embroidery machine.
7. FAQ: Bobbin Threading Questions Answered
7.1 Q: Why does my bobbin keep unthreading or not catch properly?
A: If your bobbin keeps unthreading or the needle isn’t catching the bobbin thread, the most common culprits are incorrect bobbin insertion, improper thread direction, or missed threading steps. For front-loading bobbin cases, ensure your bobbin unwinds clockwise; for top-loading (drop-in) systems, the thread should unwind counterclockwise. Always pull the thread through the tension slot and under the spring—listen for a faint click to confirm it’s seated correctly. Double-check that both needle and presser foot are in the highest position before inserting or removing the bobbin. If you’re still having trouble, re-thread both the upper and bobbin threads, and consult your machine’s manual for specific guidance.
7.2 Q: Can I use any type of bobbin in my sewing machine?
A: No—using the correct bobbin type is essential for smooth sewing and to avoid machine damage. Bobbins come in various sizes and materials (metal or plastic), and they are not universally interchangeable. Always refer to your machine’s manual to identify the correct bobbin class (such as Class 15 or Class 15J for Singer front-loading cases). Using the wrong bobbin can cause tension issues, jamming, or even break your machine’s bobbin case. When in doubt, purchase bobbins recommended by your machine’s manufacturer.
7.3 Q: How do I know if my bobbin tension is correct?
A: The classic way to check bobbin tension is the “drop test.” Hold the bobbin case by the thread tail and gently bounce it. The case should slide down the thread a couple of inches with a gentle tug—if it drops too quickly, tension is too loose; if it barely moves, it’s too tight. Adjust the tension screw in small increments and test again. Balanced tension results in neat stitches with threads locking in the middle of your fabric. If you see loops, nests, or uneven stitches, revisit your threading and tension settings.
7.4 Q: What’s the best way to wind a bobbin for even stitches?
A: Start with an empty bobbin and thread it through your machine’s tension disc before winding. Wind at a moderate speed to prevent stretching or uneven thread distribution. Most machines stop automatically when the bobbin is about 80% full—don’t overfill. Trim the thread tail close after a few initial winds. An evenly wound bobbin helps prevent tangles, skipped stitches, and tension issues during sewing.
7.5 Q: Why does my thread keep tangling or forming nests underneath?
A: Thread nests or tangles underneath your fabric usually indicate threading errors or tension imbalance. First, re-thread both the upper and bobbin threads, ensuring the bobbin is inserted in the correct direction and the thread is properly seated under the tension spring. Check that the bobbin is wound evenly and not overfilled. If problems persist, adjust the bobbin tension slightly and test on scrap fabric. Also, make sure you’re using the same weight and type of thread for both top and bobbin.
7.6 Q: How often should I clean or maintain my bobbin case?
A: Clean your bobbin case every time you change the bobbin, especially if you sew frequently or use lint-prone threads. Lint and wax can build up under the tension spring, affecting tension and stitch quality. Use a small piece of paper to gently slide under the spring in the direction the thread travels, being careful not to bend the spring. Regular cleaning and inspection help prevent jams and prolong the life of your machine.
7.7 Q: Can I use pre-wound bobbins, and are they safe for my machine?
A: Pre-wound bobbins can save time, but only if they match your machine’s specifications. Always check your manual to ensure compatibility with your bobbin type and size. Using the wrong pre-wound bobbin can cause tension issues, jamming, or damage. When in doubt, winding your own bobbin is the safest option for reliable results.
7.8 Q: What should I do if my bobbin case is damaged or not working properly?
A: If you notice persistent jams, thread snags, or visible damage (like burrs or nicks) on your bobbin case, stop sewing and inspect the case closely. Small burrs can be gently smoothed with fine sandpaper, but significant damage means it’s time for a replacement. A well-maintained bobbin case is crucial for consistent tension and stitch quality.
These FAQs cover the most common bobbin threading headaches—so you can spend less time troubleshooting and more time creating, whether you're using a new or used embroidery machine for sale near me. When in doubt, your machine’s manual is your best friend. Happy stitching!