1. Introduction: Demystifying Front-Load Bobbin Systems
Front-load bobbin systems are the unsung heroes behind crisp, reliable stitches—but for many sewists, they’re also a source of frustration. If you’ve ever battled thread tangles, uneven tension, or mysterious jams, you’re not alone. This guide is here to clear the fog. We’ll walk you through every aspect of front-load bobbin mastery: step-by-step installation, the mechanics of oscillating shuttles, troubleshooting tips, system comparisons, brand-specific nuances, and visual learning resources. Whether you’re a curious beginner or a seasoned stitcher seeking advanced techniques, you’ll find actionable answers and confidence-boosting clarity. Ready to conquer your bobbin woes on the best embroidery machine? Let’s dive in!
Table of Contents
- 1. Introduction: Demystifying Front-Load Bobbin Systems
- 2. Mechanics of Front-Load Bobbin Systems: Oscillating Shuttles Explained
- 3. Step-by-Step Front-Load Bobbin Installation Guide
- 4. Troubleshooting Front-Load Bobbin Issues
- 5. Front-Load vs. Top-Load: Comparative Analysis
- 6. Brand-Specific Guidance: Singer, Janome & Husqvarna
- 7. Advanced Optimization Techniques
- 8. Conclusion: Mastering Front-Load Bobbin Systems
- 9. Frequently Asked Questions
2. Mechanics of Front-Load Bobbin Systems: Oscillating Shuttles Explained
Understanding the inner workings of front-load bobbin systems is like peeking under the hood of a classic car—suddenly, every hum and click makes sense. Let’s break down what makes these systems tick and why they’re beloved by many serious sewists.
2.1 Vertical Architecture & Functional Components
At the heart of a front-load system is its vertical bobbin orientation. The bobbin sits inside a removable metal bobbin case, positioned at the front of the machine. This design isn’t just for show—it shapes the entire sewing experience.
Removable Bobbin Case: The bobbin case serves two crucial roles: it houses the bobbin and acts as the gatekeeper for thread tension. Unlike top-load systems, where the bobbin case stays put, front-load machines let you remove the whole case for easy access. This means you can swap bobbins or make tension tweaks without disturbing your fabric or needle setup.
Thread Tension Control: Fine-tuning bobbin tension is refreshingly straightforward. A small screw on the side of the case lets you dial in just the right resistance—especially handy for specialty threads or advanced techniques. This level of control is a big reason why front-load systems are favored for projects that demand precision.
Metal Bobbins = More Capacity: Most front-load machines use sturdy metal bobbins, which typically hold more thread than the plastic ones found in top-loaders. If you’re tackling a quilt, home décor, or free-motion embroidery marathon, this means fewer interruptions to reload.
Protective Housing: The metal case also shields the bobbin from dust and debris, helping maintain smooth operation and prolonging the life of both thread and machine.
2.2 Oscillating Shuttle Operation Dynamics
Now for the real magic: the oscillating shuttle. Unlike rotary systems that spin in a continuous circle, oscillating shuttles move back and forth in a precise, rhythmic dance.
How It Works: When you sew, the needle drops down, carrying the upper thread. The oscillating shuttle hook sweeps in, grabs that thread, and loops it around the bobbin case. Then, in a split-second reversal, the shuttle swings back to its starting point—ready for the next stitch. This back-and-forth motion is what gives front-load systems their distinctive hum and feel.
Performance Advantages: Oscillating shuttles excel at handling heavy fabrics and high-speed sewing. The design tolerates thicker threads and offers robust performance for demanding projects—think denim, canvas, or multi-layered embroidery with a quilting and embroidery machine. That’s why many industrial and professional-grade machines rely on this system.
Technical Nuances: The shuttle-driving shaft applies alternating forces to spring wings, creating a uniform bending action that cushions the shuttle. There’s a precise clearance—about 0.010 inches—between the shuttle spring and the shuttle heel, ensuring the needle thread glides smoothly and avoids snags.
Maintenance & Durability: Oscillating systems are easier to time and maintain than rotary hooks. Their straightforward mechanics allow for easier access during cleaning and troubleshooting, which is a blessing when you’re deep into a project and need to get back up and running fast.
Noise & Vibration: One trade-off: oscillating shuttles can be a bit noisier and vibrate more than their rotary cousins, especially at top speeds. But for many, the trade-off is worth the added power and versatility.
In Summary: Front-load bobbin systems, with their vertical orientation, removable bobbin cases, and oscillating shuttles, offer unmatched control and resilience. They’re the workhorses of the sewing world—especially when the going gets tough.
3. Step-by-Step Front-Load Bobbin Installation Guide
If you’ve ever fumbled with a bobbin case or wondered why your stitches look wonky, you’re in the right place. Installing a front-load bobbin in home embroidery machines isn’t just a mechanical step—it’s the foundation for flawless sewing. Let’s walk through the process, one clear step at a time.
3.1 Machine Preparation & Case Handling
1. Set the Stage:
- Turn off your machine for safety.
- Raise the presser foot to open the tension discs and provide space.
- Turn the handwheel toward you until the needle is at its highest point. This prevents accidental needle strikes and ensures smooth access.
- Remove the extension table (if present) to expose the bobbin area.
2. Access the Bobbin Case:
- Open the front cover or hinged bobbin door.
- Locate the bobbin case inside the shuttle compartment.
3. Remove the Bobbin Case:
- Grasp the latch or tab on the bobbin case and gently pull it straight out.
- Handle with care: The latch keeps the bobbin secure and prevents it from dropping—no more chasing runaway bobbins across the floor!
3.2 Bobbin Insertion & Thread Path Essentials
1. Insert the Bobbin:
- Check orientation: Place the wound bobbin in the case so the thread unwinds in a clockwise direction when viewed from above. (Think: “P for perfect” as a visual cue.)
- Seat the bobbin flush inside the case—no wobbling allowed!
2. Thread the Case:
- Pull the thread through the slit on the side of the bobbin case.
- Guide it under the tension finger (a small metal spring).
- Listen for the click: A gentle “click” confirms the thread is properly engaged under the tension spring.
Visual Tip: Many YouTube tutorials and manufacturer videos show this step up close—watching the thread slide under the finger and hearing that click is oddly satisfying!
3.3 Reinstallation & Verification Protocols
1. Insert the Bobbin Case:
- Hold the case by the latch and align any notches or projections with the shuttle mechanism.
- Gently push the case into the shuttle until it snaps or clicks into place.
- Release the latch—the case should now be secure and steady.
2. Double-Check Alignment:
- Slowly turn the handwheel toward you. The needle should move up and down freely, without touching the bobbin case.
- If the needle hits or the case feels loose, remove and reinstall the case.
3. Tension Testing (Bounce Method):
- Remove the case and suspend it by the thread tail.
- Bounce gently: The thread should unwind about one to two inches.
- If it doesn’t unwind, tension is too tight—loosen the screw slightly.
- If it drops too much, tension is too loose—tighten the screw a bit.
4. Final Setup:
- Hold the upper thread, lower and raise the needle using the handwheel to pull up the bobbin thread through the needle plate.
- Pull both threads under the presser foot and toward the back of the machine.
You’re ready to sew! With these steps, you’ll avoid the most common pitfalls—thread tangles, skipped stitches, and tension headaches. Remember: precision here pays off in every stitch you make.
Ready to take your front-load bobbin skills even further? In the next sections, we’ll tackle troubleshooting, compare systems, and explore advanced techniques to keep your sewing running smooth—no matter what challenges you face.
4. Troubleshooting Front-Load Bobbin Issues
Front-load bobbin systems can feel like a mysterious puzzle when something goes wrong—but with the right strategies, you can turn frustration into flawless stitches. Let’s break down the most common issues, their root causes, and proven solutions to keep your sewing running smooth.
4.1 Solving Thread Tangles & Tension Imbalances
Ever had your project sabotaged by a bird’s nest of thread under the fabric? Thread tangling is a classic headache with front-load bobbins, but it’s almost always preventable with careful setup.
Threading Direction Matters:
The number one culprit is incorrect threading. Always insert the bobbin so the thread unwinds in a clockwise direction—think “P for perfect.” This isn’t just a quirky rule; it ensures the thread follows the groove in the bobbin case, allowing for smooth delivery and minimal resistance. If you thread it counterclockwise, you’re inviting knots and tangles.
Thread Path Precision:
Make sure the thread is pulled through the slit and under the tension finger until you hear or feel a gentle “click.” This click signals that the thread is seated properly, ready for even tension.
Quality Counts:
Using high-quality, machine-specific threads reduces friction, static, and the likelihood of snarls. For extra insurance, consider conditioning your thread with beeswax or a commercial thread conditioner—this can make a surprising difference, especially with longer thread tails (keep them under 18–24 inches to avoid twist buildup).
Tension Tweaks:
Front-load bobbin cases shine when it comes to tension adjustment. If your stitches are uneven or you spot fabric puckering, reach for the tiny tension screw on the bobbin case. Adjust in micro-increments—about 1/16 of a turn at a time. Clockwise tightens, counterclockwise loosens. After each tweak, test on a fabric scrap. If the upper thread pulls the bobbin thread to the fabric’s top, reduce upper tension. If the bobbin thread shows on top, increase upper tension.
Balance is Key:
Perfect stitches come from the dance between top and bobbin tensions. Always test on similar fabric before starting your main project, and don’t be afraid to make small, careful adjustments.
4.2 Resolving Jams and Mechanical Failures
When your machine jams or skips stitches, it’s tempting to panic—but systematic troubleshooting can save the day.
Partial Seating Problems:
A bobbin case that isn’t fully clicked into place is a recipe for disaster. Always align the case’s notch with the shuttle groove and push until you feel or hear a click. If the needle hits the case or the case feels loose, remove and reinstall.
Timing Disruptions:
Improper bobbin case installation or threading can throw off your machine’s timing, causing skipped stitches or jams. If you suspect a timing issue, start by completely removing and reinstalling both the upper and bobbin threads. Turn the handwheel toward you to check for smooth, unobstructed needle movement.
Systematic Isolation Method:
If problems persist, go step by step:
- Remove the bobbin and case.
- Inspect for tangled thread, lint, or debris.
- Clean the area with a soft brush—never use compressed air, as it can push lint deeper.
- Check the bobbin and case for damage or wear.
- Reinstall everything carefully, following the correct threading path and direction.
Bobbin Quality and Compatibility:
Always use bobbins designed for your specific machine model. Generic bobbins might look similar but can introduce subtle fit issues that lead to jams or poor stitch quality.
Needle and Thread Health:
A blunt or damaged needle strains the threading system and can cause additional problems. Replace needles regularly and match the needle size to your thread type.
4.3 Fabric-Specific Solutions for Garment Embroidery
Embroidery on garments brings its own set of challenges—chief among them, maintaining consistent fabric tension to avoid puckering or distortion.
Consistent Tension is Crucial:
Uneven tension is the enemy of clean embroidery. For garment projects, especially those with stretchy or delicate fabrics, achieving uniform tension across the hoop is non-negotiable.
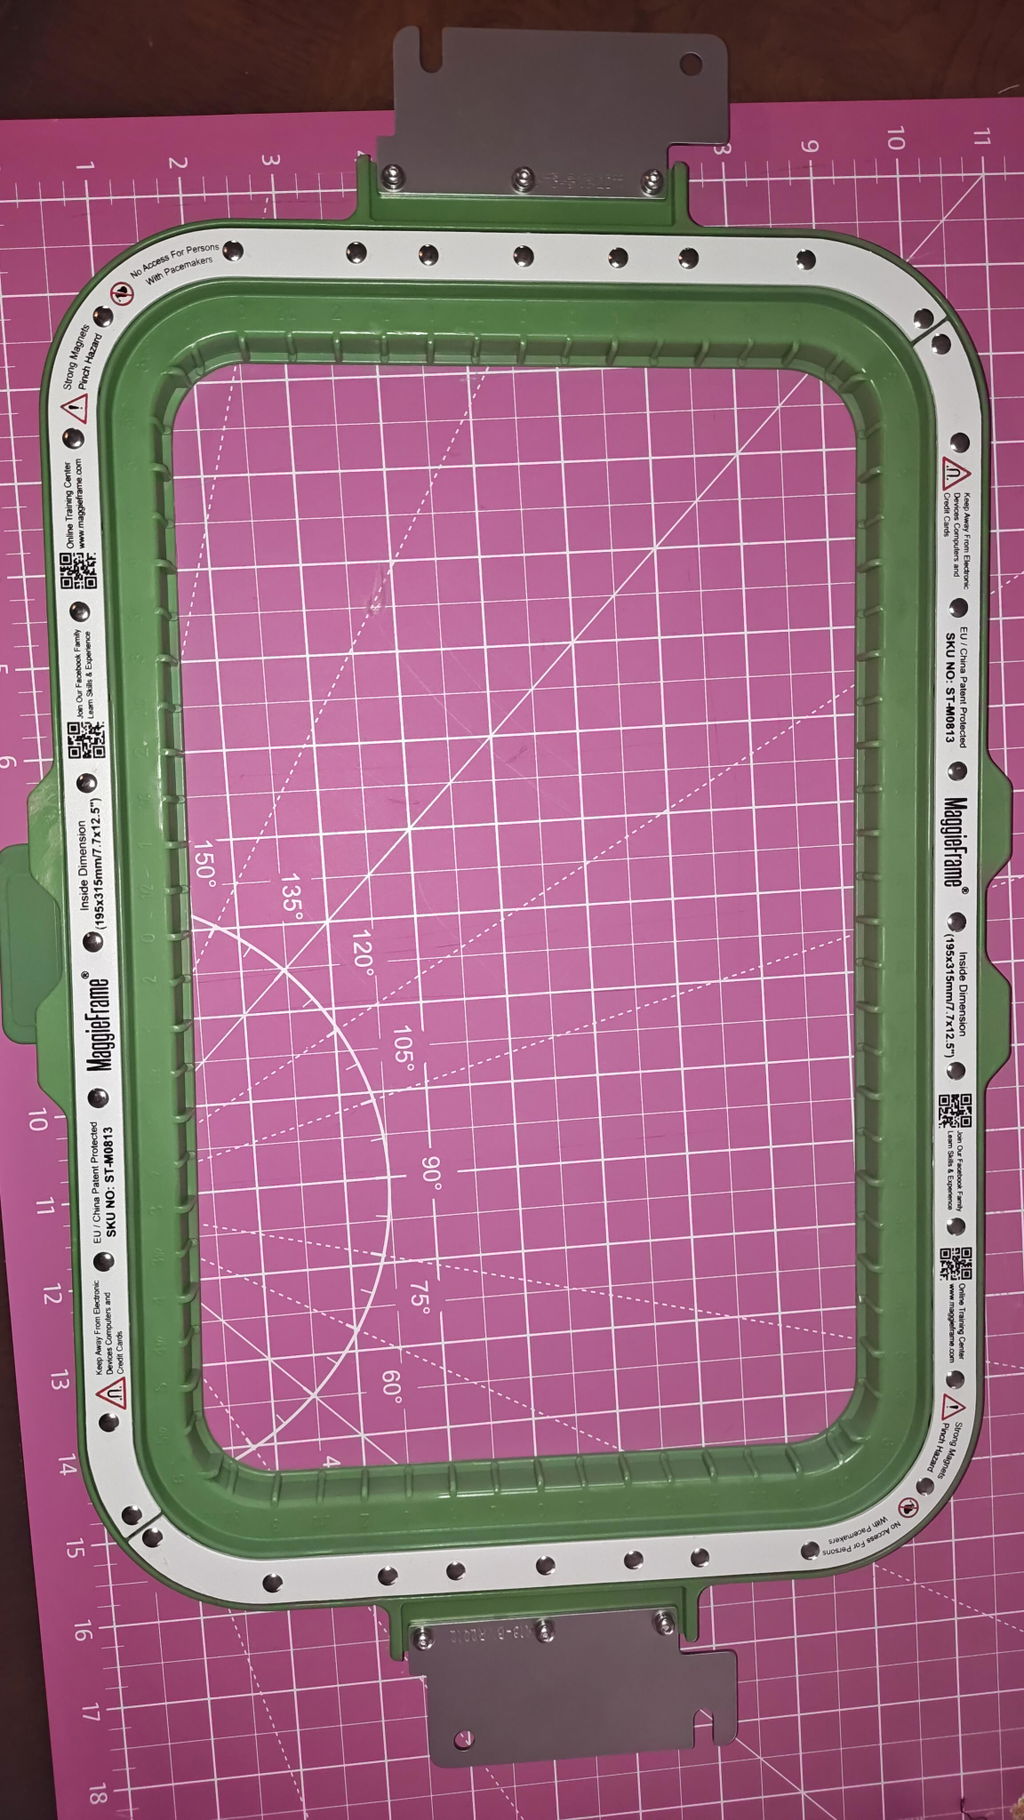
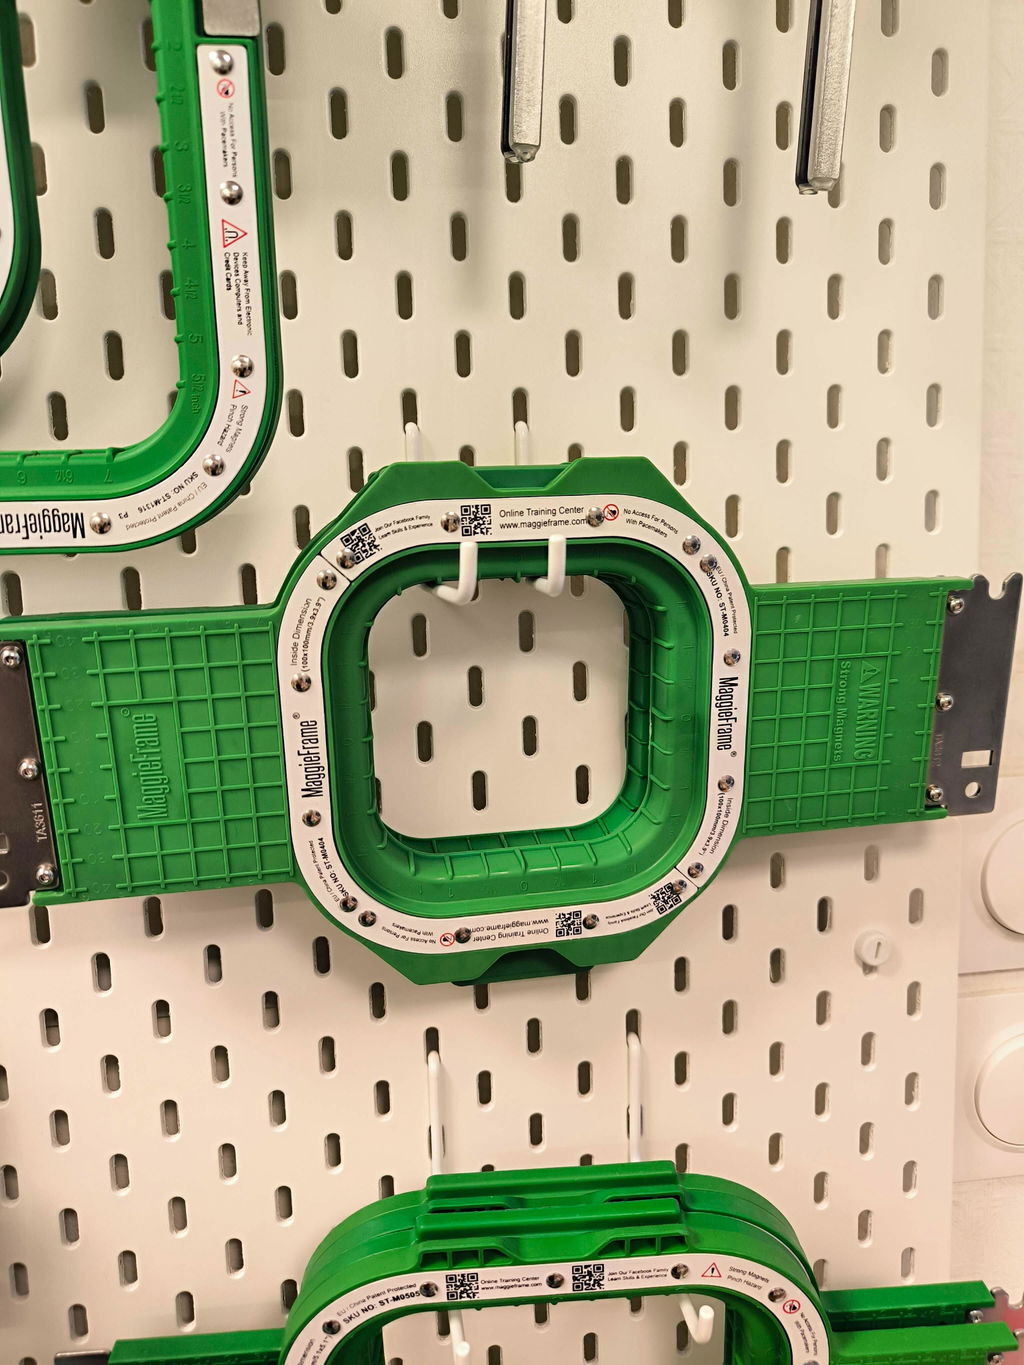
MaggieFrame Magnetic Hoops: The Game Changer
This is where MaggieFrame magnetic embroidery hoop frames shine. Unlike traditional hoops that require constant screw adjustments (and still risk uneven tension), MaggieFrame’s powerful magnetic system automatically adapts to various fabric thicknesses. The result? Secure, even tension across the entire embroidery area—whether you’re working with silk, denim, or multi-layered garments.
- No More Puckering: The even grip prevents fabric from shifting or bunching, so your designs stay crisp and professional.
- Effortless Setup: The magnetic system makes hooping faster and easier, saving time and reducing operator fatigue.
- Versatile Grip: MaggieFrame hoops hold everything from lightweight tees to heavy sweatshirts with equal confidence.
If you’re tired of fighting fabric slippage or hoop burns, upgrading to a MaggieFrame magnetic hoop can transform your embroidery workflow—especially for garment projects that demand perfection.
5. Front-Load vs. Top-Load: Comparative Analysis
Choosing the best sewing machine for embroidery and sewing between front-load and top-load bobbin systems isn’t just a matter of taste—it’s about matching your machine to your sewing style, project needs, and technical preferences. Here’s how the two stack up.
5.1 Mechanical Design & Operational Differences
Front-Load (Vertical Oscillating Hook):
- The bobbin sits vertically in a removable metal case, hidden behind a door.
- The oscillating hook moves side-to-side, forming each stitch.
- This design is robust and time-tested, often found in machines built for power and precision.
Top-Load (Horizontal Rotary Hook):
- The bobbin drops in horizontally, visible through a clear cover plate.
- The rotary hook spins in a full circle, providing smooth, continuous motion.
- The drop-in design is beginner-friendly, offering easy access and real-time thread monitoring.
Vibration & Noise:
- Top-load systems typically run quieter and with less vibration—ideal for long sewing or quilting sessions.
- Front-load systems can be a bit noisier and rock the machine more, especially at high speeds, but they compensate with durability and power.
5.2 Tension Control & Project Suitability
Tension Adjustment:
- Front-load: The removable bobbin case features an accessible tension screw, allowing for precise, fabric-specific tweaks. You can even keep multiple bobbin cases pre-set for different threads or projects.
- Top-load: Tension adjustment is trickier, often requiring partial disassembly or special access holes. Most users rely on default settings.
Project Suitability:
-
Front-load Advantages:
- Perfect for quilting, free-motion embroidery, and specialty work where fine-tuned tension is critical.
- Metal bobbins offer higher capacity, reducing interruptions on big projects.
- Favored by professionals and those who demand control.
-
Top-load Advantages:
- Best for general home sewing, quick thread changes, and beginners.
- The transparent cover makes it easy to see when you’re running low on thread.
- Less intimidating for new sewists.
Jamming & Reliability:
- Top-load systems are often marketed as “jam-proof” and generally deliver on that promise, though improper bobbin winding can still cause issues.
- Front-load systems, when properly threaded and maintained, are highly reliable and excel in demanding, high-speed environments.
In Short: If you crave control and tackle complex projects, front-load is your friend. For convenience and everyday sewing, top-load keeps things simple and stress-free.
6. Brand-Specific Guidance: Singer, Janome & Husqvarna
Every sewing machine brand adds its own twist to the front-load bobbin process. Let’s take a closer look at the nuances for Singer, Janome, and Husqvarna Viking—so you can follow the right steps and avoid brand-specific pitfalls.
6.1 Singer's Methodical Approach
Singer is all about precision and repeatability. Here’s how to nail their front-load bobbin routine:
- Needle Positioning: Always turn the handwheel toward you to raise the needle to its highest point before starting. This step is non-negotiable for safe, smooth bobbin access.
- Access & Removal: Remove the extension table, open the hinged cover, and pull the tab on the bobbin case to extract it. The bobbin case’s distinctive tab makes removal straightforward.
- Bobbin Insertion: Drop in the bobbin so the thread unwinds clockwise. Pull the thread through the slit and under the finger—listen for that satisfying click.
- Reinstallation: Hold the bobbin case by the latch, insert it into the shuttle, and wait for the click that signals proper seating. Release the latch and check that the case is secure.
- Verification: Slowly turn the handwheel toward you. The needle should move up and down without touching the bobbin case. If anything feels off, remove and reinstall.
- Tension Bounce-Test: Remove the bobbin case, suspend it by the thread tail, and give it a gentle bounce. If the thread unwinds an inch or two, tension is spot-on. Too loose? Tighten the screw. Too tight? Loosen it. This bounce-test is a Singer hallmark for tension perfection.
6.2 Janome's Safety-First Systems
Janome puts safety and user confidence front and center:
- Preparation: Always power off the machine before any bobbin work—a small step that protects both you and your equipment.
- Lever-Based Extraction: Janome’s unique lever must be pulled fully to the right to release the bobbin case. This design keeps the case secure during sewing on industrial embroidery machines but makes removal a breeze when needed.
- Horn Alignment: The bobbin case features a "horn" that must align with a specific recess in the shuttle. Simultaneously match the hole and pin, ensuring the horn is seated in its slot for flawless function.
- Dual Feedback Installation: Push the case in until you get both a tactile and audible click—Janome’s way of confirming you’ve done it right.
- Easy Set Evolution: Some Janome models now feature the "Easy Set Bobbin," which streamlines the process while keeping the core front-load architecture intact.
Universal Takeaway: No matter your brand, always check your manual for model-specific quirks. But across Singer, Janome, and Husqvarna Viking, the essentials remain: clockwise thread direction, proper seating, and careful tension checks. With practice, you’ll move from hesitant to expert—one perfect stitch at a time.
Ready to level up? In the next section, we’ll dive into advanced optimization techniques for those who want to squeeze every ounce of performance from their front-load bobbin system.
7. Advanced Optimization Techniques
When you’re ready to push your front-load bobbin system beyond “good enough” and into the realm of professional-grade perfection, it’s time to master advanced optimization techniques. Think of this as tuning a grand piano—every subtle adjustment can unlock a world of difference in stitch quality, fabric versatility, and creative confidence.
7.1 Precision Tension Calibration
Let’s start with the science of tension. While most tutorials stop at “turn the screw a little,” true mastery means measuring, documenting, and adapting tension for every project.
Gram-Based Tension Measurement: Forget guesswork—professional sewists use a tension gauge to dial in bobbin tension with precision. For standard sewing, a metal bobbin case typically requires about 40 grams of tension. Here’s how the process works:
- Thread the bobbin case as usual.
- Attach a tension gauge to the thread tail and pull steadily.
- Read the resistance: 40 grams is your baseline for most applications.
But why stop there? Different projects demand different settings:
| Fabric/Project Type | Recommended Bobbin Tension |
|---|---|
| Standard sewing (cotton, blends) | 40g |
| Heavy denim, canvas, upholstery | 45–50g |
| Delicate silks, chiffon, fine cotton | 30–35g |
| Free-motion quilting/embroidery | 45–50g |
Minimal Increments, Maximum Control: Adjust the tension screw in tiny increments—think 1/16 of a turn. Clockwise tightens, counterclockwise loosens. After each tweak, test on a fabric scrap. The goal? Stitches where the upper and bobbin threads lock perfectly at the fabric’s midpoint.
Document Your Settings: Pros keep a logbook: fabric type, thread brand/weight, needle size, and tension readings. This “sewing diary” lets you hit the ground running on repeat projects and troubleshoot issues with scientific precision.
Don’t Forget Maintenance: Regularly clean the bobbin case and inspect the tension spring for lint or wear. Even the smallest debris can throw off your carefully calibrated settings.
Environmental Factors: Did you know temperature and humidity can subtly change thread behavior and even metal expansion in your bobbin case? Seasoned sewists sometimes make small seasonal tension tweaks for absolute consistency.
7.2 Fabric & Thread-Specific Adjustments
Now, let’s get granular—because not all threads and fabrics play by the same rules.
Heavy & Dense Fabrics: Tough materials like denim or canvas need extra “oomph.” Increase bobbin tension to 45–50g and match your upper tension accordingly. The robust mechanics of front-load systems excel here, providing even stress distribution for clean, strong stitches.
Lightweight & Delicate Fabrics: Silk, chiffon, and other airy textiles are prone to puckering. Lower your bobbin tension to 30–35g and use a fine, sharp needle. Always ensure the thread lays flat in the case before insertion for smooth, snag-free sewing.
Stretch & Knit Fabrics: Stretchy projects on multi needle embroidery machines demand a delicate balance—set bobbin tension just below standard (35–40g), and adjust upper tension to prevent skipped stitches or distortion. The smooth rotary action of front-load systems helps maintain stitch integrity even as the fabric flexes.
Thread Types:
- Cotton: Standard 40g works for most, but tightly twisted premium cotton may need a bump to 42–45g.
- Silk: Naturally smooth, so drop tension to 35–38g to prevent breakage.
- Polyester/Nylon: Slightly higher tension (42–45g) compensates for slickness.
- Metallic/Decorative: Often require low-tension bobbin cases to avoid shredding.
Thread Weight: Heavier threads (30–40 wt) call for more tension; lighter threads (60–80 wt) need less. Always test and adjust—there’s no one-size-fits-all.
The MaggieFrame Advantage for Garment Embroidery: When embroidering on garments—especially tension-sensitive or variable fabrics—consistent fabric tension is non-negotiable. This is where MaggieFrame magnetic embroidery hoops come into play. Their powerful magnetic system automatically adapts to fabric thickness, holding everything from delicate silks to multi-layered sweatshirts with even, secure tension. The result? No puckering, no fabric slippage, and a flawless canvas for your most intricate designs.
- Effortless Setup: No more fiddling with screws—just snap, hoop, and go.
- Uniform Tension: The magnetic grip ensures every inch of fabric stays flat and stable, even on tricky materials.
- Time Savings: Streamline your workflow and focus on creativity, not setup.
If you’re serious about embroidery quality—especially on garments—MaggieFrame hoops are a game changer for optimizing both stitch and fabric performance.
8. Conclusion: Mastering Front-Load Bobbin Systems
Mastering a front-load bobbin system is about more than following steps—it’s about understanding the “why” behind every click and adjustment. Clockwise threading, precise tension balance, and attention to brand-specific quirks are your keys to flawless stitches. Embrace the troubleshooting process, consult your manual, and don’t hesitate to seek out visual guides for those tricky moments. With practice and a dash of patience, you’ll transform bobbin challenges into creative triumphs.
9. Frequently Asked Questions
9.1 Q: Why does the bobbin thread need to unwind clockwise in a front-load system?
A: Clockwise threading ensures the thread follows the engineered path through the bobbin case, providing smooth delivery and proper tension. Incorrect direction can cause tangling or uneven stitches.
9.2 Q: How often should I clean the shuttle area?
A: Regular cleaning is essential—after every major project or every 8–10 hours of sewing. Lint and debris can affect tension and stitch quality, so use a soft brush to keep the area spotless.
9.3 Q: Can I use top-load bobbins in a front-load machine?
A: No. Front-load and top-load bobbins differ in size and design. Always use the bobbin type specified for your machine to avoid jams and tension issues.
9.4 Q: What’s the main difference between Singer and Janome front-load systems?
A: Both use removable bobbin cases, but have unique features: Singer emphasizes the tension bounce-test and horn alignment, while Janome highlights lever-based extraction and dual feedback (audible/tactile) for installation. Always check your model’s manual for specifics.
9.5 Q: How do I troubleshoot persistent thread breaks?
A: First, check that the bobbin is threaded clockwise and seated correctly. Clean the bobbin case and shuttle area, inspect the needle for damage, and ensure both upper and bobbin tensions are balanced. If problems continue, consult your brand’s troubleshooting guide or seek professional service.