1. Introduction to Brother Embroidery Machines
Step into the vibrant world of embroidery, and you’ll quickly find Brother sitting at the head of the table. With a legacy spanning over a century, Brother has become synonymous with innovation, reliability, and creative freedom in the embroidery industry. Whether you’re a hobbyist eager to personalize gifts, a small business owner scaling up production, or a seasoned professional chasing intricate artistry, Brother offers a machine tailored to your ambitions. In this guide, we’ll dive deep into model comparisons, pricing strategies, skill-level recommendations, setup tutorials, user feedback, advanced features, and business investment insights. Ready to discover which Brother embroidery machine will unlock your next masterpiece? Let’s unravel the details together.
Table of Contents
- 1. Introduction to Brother Embroidery Machines
- 2. Comprehensive Model Breakdown by Capability Tier
- 3. Pricing, Warranty & Purchase Considerations
- 4. Matching Brother Machines to Your Skill Level
- 5. Setup, Operation & Troubleshooting
- 6. Real-World Performance & Reliability Insights
- 7. Advanced Technology: AI, Software & Connectivity
- 8. Business Investment Analysis
- 9. Conclusion: Choosing Your Ideal Brother Machine
- 10. Frequently Asked Questions (FAQ)
2. Comprehensive Model Breakdown by Capability Tier
Brother’s embroidery machine lineup, as detailed in a brother embroidery machine comparison chart, is as diverse as the projects you dream up. To make your selection easier, we’ll break down the models by capability tier—moving from beginner-friendly 4"x4" field machines to commercial-grade powerhouses. Whether you crave simplicity, crave creative flexibility, or need industrial efficiency, there’s a Brother for you.
2.1 Entry-Level Machines (4"x4" Field)
If you’re just dipping your toes into embroidery, Brother’s entry-level machines are your perfect launchpad. Compact, approachable, and surprisingly versatile, these models make learning a joy rather than a chore.
Brother SE600
- Embroidery Field: 4"x4"
- Built-in Designs: 80
- Sewing Stitches: 103
- Key Features: Color touchscreen, intuitive controls
- Design Transfer: USB
- Best For: Beginners eager to explore both sewing and embroidery
Brother SE700
- Embroidery Field: 4"x4"
- Built-in Designs: 70–135 (varies by source)
- Sewing Stitches: 100–103
- Max Sewing Speed: 710 stitches/min
- Key Features: Wi-Fi connectivity, automatic needle threading
- Design Transfer: Wi-Fi or USB
- Notable: Essentially a PE545 with added sewing capability
Brother PE535
- Embroidery Field: 4"x4"
- Built-in Designs: 80 designs, 9 fonts
- Sewing Capability: Embroidery-only
- Weight: 15 lbs
- Key Features: LCD touchscreen, USB port
- Best For: Embroidery beginners—praised for easy setup and threading
Price Comparison:
- Amazon: $495
- Wayfair: $400
- Macy’s: $480
(Source: Good Housekeeping)
These machines are designed for small projects—think monograms, patches, and baby clothes. Their user-friendly interfaces and step-by-step tutorials (often right on the LCD screen) remove the intimidation factor for newcomers. As one Good Housekeeping reviewer noted, “GH Lab pros found it easy to set up, thread the machine and choose a design.” If you want to start your embroidery journey without breaking the bank, these models are your go-to.
2.2 Mid-Range Performers (5"x7" - 6"x10" Fields)
Ready to stretch your creative wings? Mid-range Brother machines offer larger embroidery fields and more advanced features, making them ideal for ambitious hobbyists and growing businesses.
Brother SE2000
- Embroidery Field: 5"x7"
- Built-in Designs: 138–193
- Sewing Stitches: 241
- Max Sewing Speed: 850 stitches/min
- Key Features: Wi-Fi design transfer, enhanced on-screen editing, jump stitch trimming
- Recognition: Good Housekeeping’s “Top Pick” for 2025
Brother PE800
- Embroidery Field: 5"x7"
- Built-in Designs: 138
- Sewing Capability: Embroidery-only
- Key Features: 10 fonts, robust design editing tools
Brother NQ1700E
- Embroidery Field: 5"x7"
- Key Improvements: More built-in designs, faster embroidery speeds, expanded editing
Brother NQ3550W
- Embroidery Field: 6"x10"
- Key Features: Large workspace, advanced editing, wireless transfer
What sets these machines apart? The larger fields mean you can tackle medium-sized projects—pillows, tote bags, and more—without constant re-hooping. Wi-Fi connectivity and app integration (like Brother’s Artspira) streamline design transfers and updates. The SE2000, for example, lets you edit, resize, and combine designs right on its 3.7-inch LCD touchscreen. As seen in YouTube demos, threading is straightforward, and features like automatic needle threaders and jump stitch trimming make the process smooth and frustration-free.
2.3 Professional & Commercial Machines
When embroidery isn’t just a passion but a business, Brother’s professional and commercial models step up to the plate with power and precision.
Brother NQ3700D
- Embroidery Field: 6"x10"
- Built-in Designs: 313 (including Disney®)
- Sewing Stitches: 291
- Key Features: Auto feed cutting, app integration
Brother Persona PRS100
- Embroidery Field: 8"x8"
- Stitching Speed: Up to 1,000 stitches/min
- Key Features: Automatic thread cutter, resume function
Brother PR1055X
- Configuration: 10-needle, commercial-grade
- Embroidery Field: Multi-needle, large format
- Key Features: Designed for high-volume, multi-color production
These machines are engineered for speed, efficiency, and creative scale. The PR1055X, for instance, is a true workhorse—its 10-needle setup allows for rapid color changes and continuous operation, making it a favorite for shops producing embroidered uniforms, hats, and custom apparel. YouTube reviews highlight the significant investment (often $10,000+), but also the dramatic boost in productivity and professional finish. Disney® designs and advanced editing capabilities add a playful edge, while features like automatic thread cutting and resume functions minimize downtime and errors.
2.4 Hooping Systems and Efficiency Solutions
No embroidery machine is complete without a reliable hooping system. Brother machines typically come with traditional screw-based hoops, which, while effective, can be time-consuming—especially when working with thick fabrics or high-volume orders.
Traditional Hoops:
- Rely on manual screw adjustments
- Can be cumbersome for thicker materials or uneven surfaces
- Require skill to achieve even tension and avoid fabric slippage
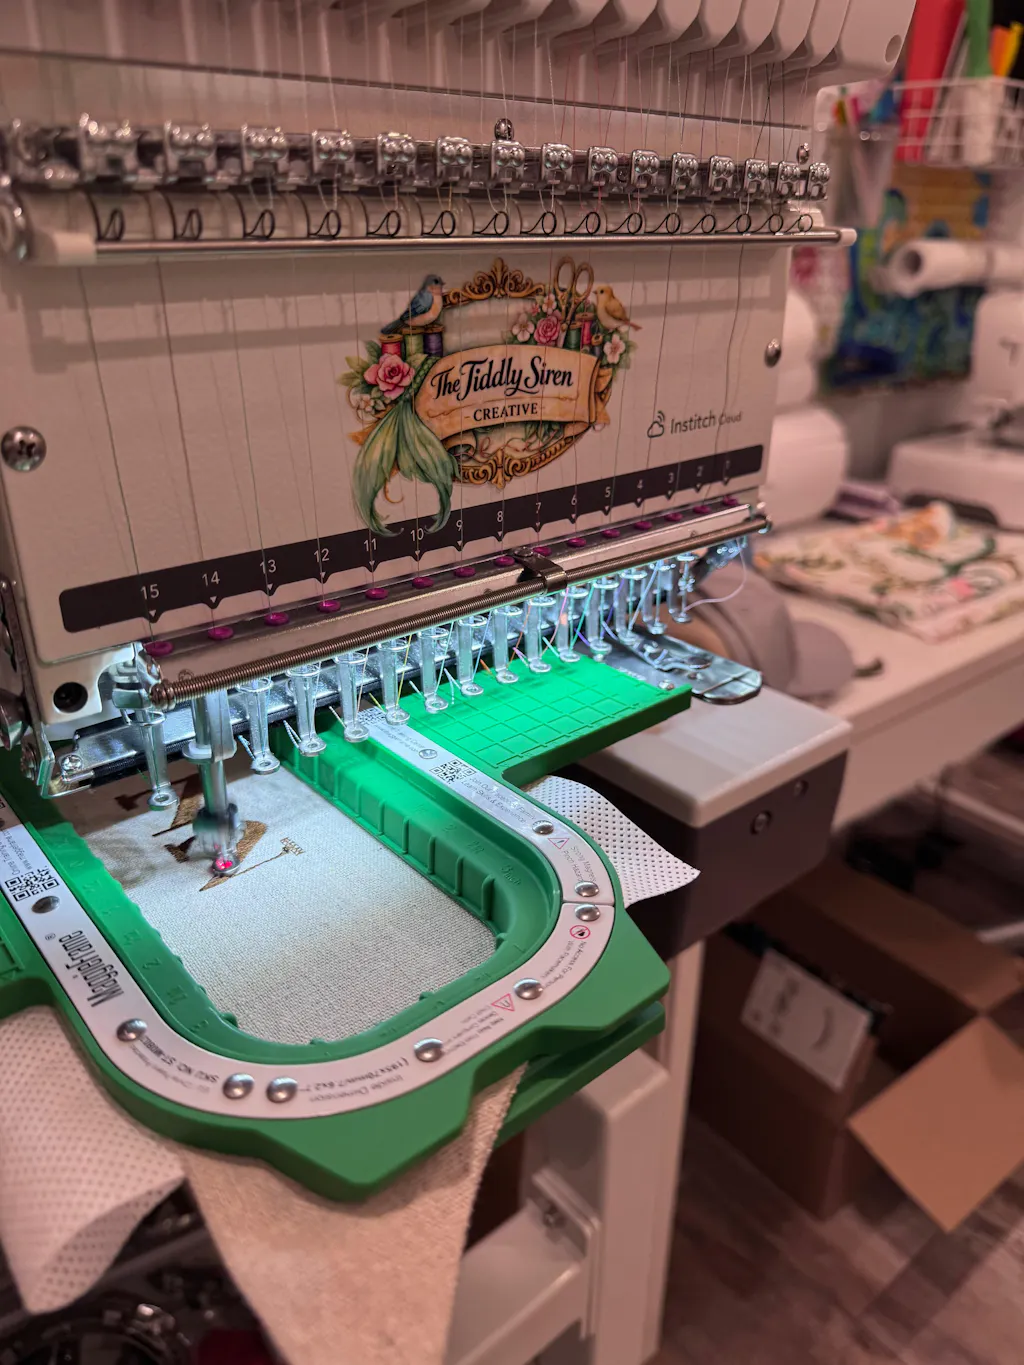
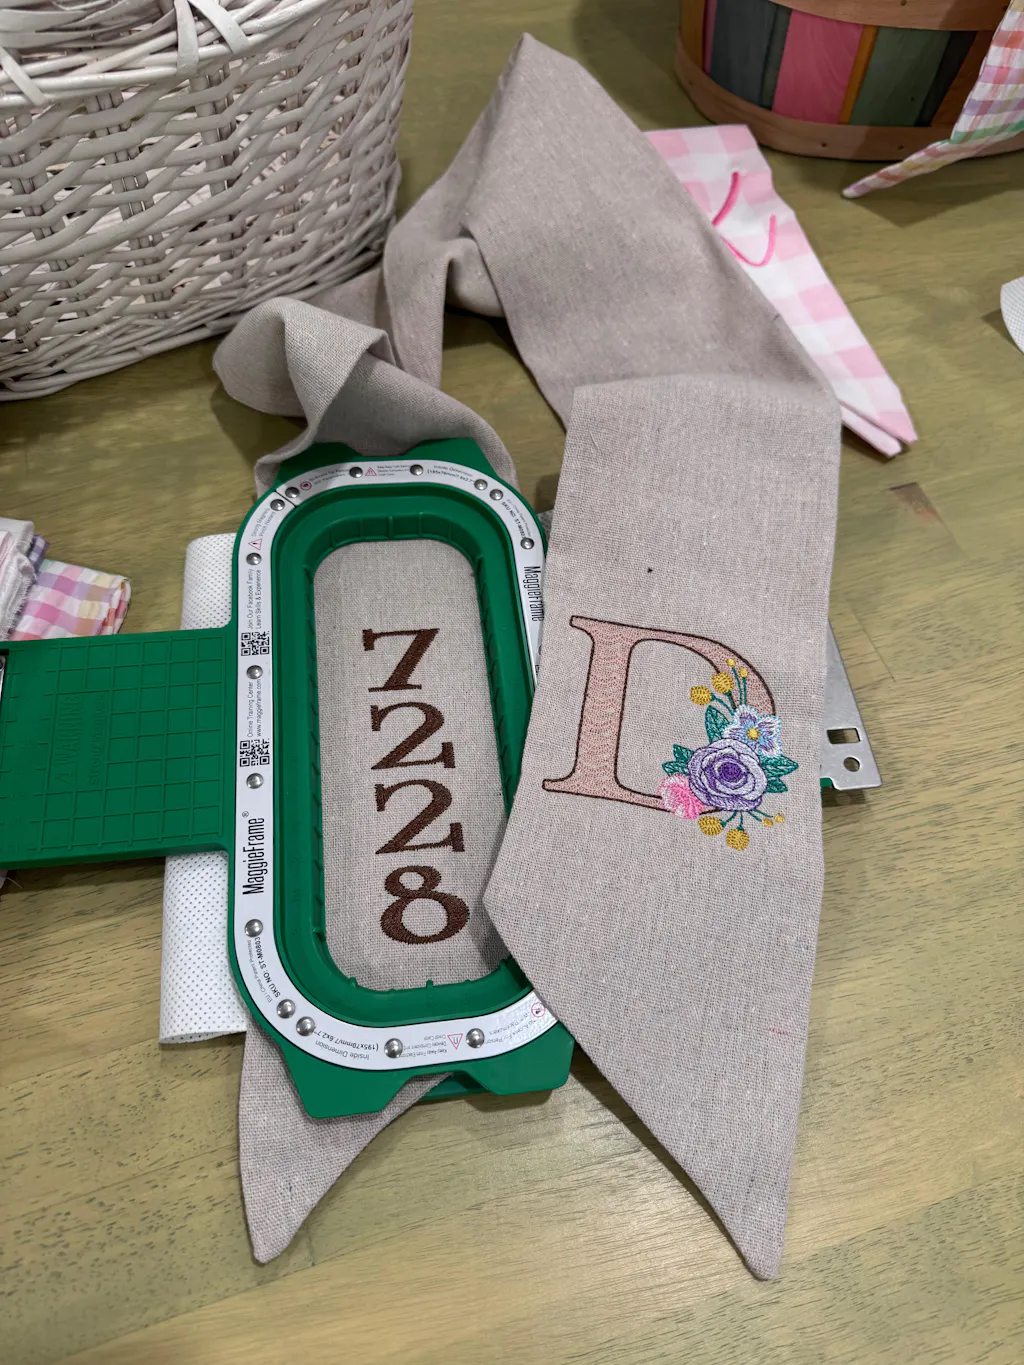
Magnetic Alternatives: MaggieFrame Magnetic Hoops
For garment embroidery, magnetic hoops like MaggieFrame are a game-changer. Instead of fiddling with screws, you simply align your fabric and let the powerful magnets do the work. MaggieFrame hoops are made from durable BASF PPSU material and N50-grade magnets, adapting automatically to various fabric thicknesses and providing even, secure tension. The result?
- 90% faster hooping compared to traditional screw hoops
- Reduced risk of fabric slippage or hoop burn
- Easier operation, especially for repetitive tasks or complex garments
It’s important to note: MaggieFrame magnetic hoops are designed for garment embroidery only and are not compatible with cap embroidery.
If you’re looking to maximize efficiency, minimize errors, and save your wrists from endless screw-turning, consider upgrading to a magnetic hooping system like MaggieFrame for your Brother embroidery machine.
3. Pricing, Warranty & Purchase Considerations
Embroidery dreams come in all sizes—and so do the price tags. Brother offers machines for every budget, but there’s more to consider than just the sticker price. Let’s break down the costs, warranty coverage, and smart ways to buy.
3.1 Cost Analysis Across Machine Tiers
Brother’s pricing spectrum is refreshingly broad. Entry-level models like the PE535 start around $400 (Wayfair) to $495 (Amazon), making them accessible for beginners. As you move up to mid-range performers like the SE2000 or PE800, expect prices in the $800–$1,200 range, depending on features and retailer. Professional and commercial machines, such as the PR1055X, can soar past $10,000—a serious investment, but one matched by industrial-grade performance and capabilities.
Sample Price Points:
| Model | Price (Low) | Price (High) | Source |
|---|---|---|---|
| PE535 | $400 | $495 | Wayfair, Amazon |
| SE2000 | ~$1,000 | $1,200+ | Good Housekeeping, Amazon |
| PR1055X | $10,000+ | — | YouTube, Retailers |
Always compare across retailers—Amazon, Wayfair, and specialty dealers may offer brother embroidery machine deals, including different bundles, discounts, or financing options.
3.2 Warranty Coverage and Limitations
Brother stands out with its robust warranty, especially in the US:
- Chassis Unit: 25-year limited warranty
- Printed Circuit Boards: 5 years
- General Machine Coverage: 1 year
In Europe, standard warranties are typically 3 years (with some exceptions, like the Skitch PP1 at 2 years). Be aware: warranties exclude consumable parts such as needles, bobbins, presser feet, and embroidery frames, as well as normal wear items like belts and loopers. Proof of purchase is required for claims, but registration isn’t necessary—just hang onto your receipt.
3.3 Financing and Accessory Bundles
Don’t let upfront costs hold you back. Many retailers, such as Sewing Machines Plus, offer financing through Synchrony Bank, allowing you to spread payments over time. Accessory bundles can also sweeten the deal:
- Embroidery Essentials Package: $149
- Sewing Essentials: $99
- Quilting Essentials: $149
- Long Arm Essentials: $199
These bundles typically include extra hoops, stabilizers, threads, and other must-haves—helping you hit the ground stitching.
Pro Tip: Always factor in the total cost, including accessories, when comparing machines. And if you’re outside the US, double-check warranty coverage for your region to avoid surprises.
Ready to choose your Brother? Whether you’re starting small or aiming for commercial scale, understanding your options—and the real costs—will help you make a confident, creative investment.
4. Matching Brother Machines to Your Skill Level
Choosing the right Brother embroidery machine isn’t just about specs—it’s about finding a tool that fits your current skill set and grows alongside your creativity. Whether you’re a complete newbie, a seasoned hobbyist, or running a full-scale embroidery business, Brother’s thoughtful segmentation ensures there’s a perfect match for every stage of your journey.
4.1 Beginner Recommendations
If you’re just starting out, the Brother SE600 and PE535 are among the best brother embroidery machine for beginners. These entry-level models are designed with the beginner in mind, featuring a 4"x4" embroidery field—perfect for small projects like monograms, patches, and baby clothes. Both machines come loaded with 80 built-in designs, and the SE600 even offers 103 sewing stitches, making it a versatile pick for those who want to dabble in both sewing and embroidery.
What makes these machines truly “mistake-friendly” is their intuitive color LCD touchscreen (3.2" on the SE600), step-by-step built-in tutorials, and automatic needle threaders. Threading is a breeze, and the clear on-screen prompts guide you through every step, dramatically reducing the intimidation factor. As industry experts point out, beginners are bound to make a few blunders—broken needle threaders, tangled bobbins, or the occasional misplaced stitch—but with affordable models like these, those learning curves don’t come with a hefty price tag.
The PE535 is embroidery-only, while the SE600 doubles as a sewing machine, giving you flexibility as you explore your creative interests. Both offer USB connectivity for easy design imports, ensuring you’re not limited to the built-in patterns. With prices hovering between $400 and $600, these machines let you experiment and learn without breaking the bank.
4.2 Intermediate to Advanced Features
Ready to level up? Brother’s SE2000 and NQ3550W are excellent choices for embroiderers who’ve mastered the basics and want more room to grow. The SE2000 boasts a 5"x7" embroidery area and 193 built-in designs, while the NQ3550W expands your creative playground to a 6"x10" field with over 200 designs.
What sets these machines apart is their suite of advanced features: Wi-Fi design transfer for seamless importing, enhanced on-screen editing (think resizing, rotating, combining designs), and, in the case of the NQ3700D, automatic thread cutting. These models also introduce hands-free operation options like knee lifts, making them ideal for more ambitious projects and complex materials.
User reviews and YouTube demos highlight just how approachable these features are. The SE2000’s 3.7" LCD touchscreen provides easy access to editing tools, while jump stitch trimming and automatic needle threading keep the workflow smooth. If you’re itching to tackle larger projects—pillows, tote bags, or multi-color designs—these mid-tier machines are your ticket to creative freedom.
4.3 Professional Workflow Optimization
For professionals and business owners, the Brother PR1055X is a powerhouse built for high-volume, multi-color production. Its 10-needle configuration allows for rapid color changes and continuous operation, dramatically boosting productivity for shops producing uniforms, hats, or custom apparel.
The PR1055X isn’t just about speed—it’s engineered for commercial durability and integrates advanced software for streamlined workflows. Features like automatic thread cutting, robust construction, and specialized business tools make it a favorite among professionals who can’t afford downtime. Compared to home-use warranties (often three years for domestic, one year for commercial use), the PR1055X’s coverage reflects its role as a true business workhorse.
Brother’s thoughtful interface design ensures that even as you upgrade to more sophisticated machines, the learning curve remains manageable. The company’s consistent menu structures and on-screen guidance mean you won’t have to relearn everything from scratch as your skills (and ambitions) grow.
5. Setup, Operation & Troubleshooting
Getting started with a Brother embroidery machine is less about deciphering cryptic manuals and more about following a clear, step-by-step process. Whether you’re threading your first needle or mastering advanced touchscreen functions, Brother’s user-focused design and robust tutorial ecosystem make the journey smooth and enjoyable.
5.1 Essential Setup Steps
The first step in any embroidery adventure is setting up your machine—and Brother makes this refreshingly straightforward. For most models, you’ll start by securely attaching the embroidery unit to the main body, replacing the standard sewing arm if needed. On professional models like the PR1055X, you’ll also install a hoop bracket system, aligning it with guide pins and securing it with screws.
Hooping your fabric with brother embroidery hoops is next. The key is to ensure the fabric is taut but not overstretched when placed in the embroidery frame. Brother’s range of hoops accommodates various project sizes, and the process is designed to be intuitive: simply align your fabric, insert it into the hoop, and lock it into place on the embroidery arm. For multi-needle machines, proper bracket installation is crucial for holding larger or specialty hoops.
YouTube demos, such as the PR1055X setup tutorial, visually reinforce these steps, showing how easy it is to go from unboxing to embroidering in minutes.
5.2 Mastering Threading & Tension
Threading used to be the bane of many embroiderers’ existence—until Brother introduced automatic needle threaders and clearly labeled threading diagrams. For most models, you’ll follow numbered guides printed on the machine, passing the thread through a series of hooks, tension discs, and the take-up lever before reaching the needle. On machines like the PE800, the automatic needle threader handles the final step for you.
Bobbin systems are equally user-friendly. Many Brother machines feature quick-set or F.A.S.T. bobbin winding systems, allowing you to wind and install bobbins with minimal fuss—even while the machine is embroidering. Just follow the guides, pop in the bobbin, and you’re ready to go.
Tension issues? Brother’s troubleshooting guides and on-screen prompts help you diagnose and fix common problems, such as bobbin thread showing on top or uneven stitching. Regular cleaning and needle replacement (after 8–10 hours of use) will keep your machine humming smoothly.
5.3 Advanced Touchscreen Functions
One of Brother’s standout features is its intuitive touchscreen interface, which varies in size and sophistication across models. Entry-level machines like the PE800 offer a 3.2" color LCD, while high-end models like the Stellaire XE2 boast a massive 10.1" HD display.
Navigating designs is a breeze: scroll through built-in patterns, preview color sequences, and make real-time edits—rotating, resizing, or combining elements with just a few taps. The Artspira app integration on newer models lets you wirelessly transfer custom designs from your phone or computer, expanding your creative possibilities.
Advanced features include automatic jump stitch trimming (for a cleaner finish), color sort (to reduce unnecessary thread changes), and even yarn couching on select models. These tools not only streamline your workflow but also elevate the professional look of your finished pieces.
Whether you’re a visual learner or a button-pusher, Brother’s consistent interface and comprehensive on-screen tutorials ensure you’ll spend less time troubleshooting and more time stitching.
6. Real-World Performance & Reliability Insights
Embroidery isn’t just about specs on a page—it’s about how a machine performs in the real world, day after day. Brother embroidery machines have earned their reputation by delivering consistent quality, user-friendly operation, and solid reliability, but like any tool, they have their quirks.
6.1 User Experience Highlights
Users consistently praise Brother machines for their output quality and ease of use. As one Staples.com reviewer put it, “the designs do come out really nice,” with intricate detail and crisp lettering—even on small fonts. The SE700, for instance, garners high marks for simple threading and a user-friendly manual, making it approachable for beginners and seasoned stitchers alike.
Automatic features like thread cutting and jump stitch trimming are frequently cited as game-changers, especially on models like the SE2000 and Innov-is NV880E. These functions not only save time but also deliver a more professional finish, allowing users to focus on creativity rather than manual snipping.
YouTube reviewers echo these sentiments, highlighting the smooth operation, intuitive controls, and satisfying results—even when tackling multi-color or complex designs.
6.2 Common Limitations and Fixes
No machine is perfect, and Brother is no exception. The most common gripe? Embroidery area size. Entry-level models with a 4"x4" field can feel restrictive when working on larger projects, forcing users to re-hoop with precision—a process that can be tedious and error-prone.
Threading sensors sometimes misfire, prompting users to re-thread even when everything appears correct. In most cases, this is traced to a minor physical issue (like a nick in the thread path) rather than a software glitch. Brother’s numbered guides and educational videos help demystify the process, but patience is still required.
Hoop assembly can also be a sticking point, with some users reporting that small nuts or components loosen over time. Keeping an eye on these parts and tightening as needed can prevent headaches down the line.
For quilters, it’s worth noting that not all Brother embroidery machines are built for heavy-duty quilting—some struggle with multiple layers or maintaining even stitches, even with specialized feet.
Despite these limitations, the overall consensus is clear: Brother machines offer robust value, approachable learning curves, and reliable performance for hobbyists and light business use. For those with commercial ambitions or specialized needs, stepping up to a professional model (such as a brother commercial embroidery machine) or exploring industrial-grade options may be the next logical step.
Ready to match your skills to the perfect Brother machine? Whether you’re just starting out or scaling up your business, Brother’s diverse lineup and user-centric features ensure there’s a solution tailored to your creative ambitions.
7. Advanced Technology: AI, Software & Connectivity
Step into the future of embroidery, and you’ll find Brother leading the charge with a dazzling suite of advanced technologies. From AI-powered design conversion to immersive projection tools and seamless wireless connectivity, Brother’s latest machines aren’t just tools—they’re creative partners that think, adapt, and inspire. Let’s unravel how these innovations can transform your embroidery experience, whether you’re a curious hobbyist or a high-volume pro.
7.1 AI-Driven Design Conversion Tools
Imagine turning a cherished photo into thread art with just a few clicks. Brother’s AI-powered features make this a reality, reducing the technical hurdles between inspiration and execution.
PhotoStitch & Auto Punch:
Brother’s PE-DESIGN 11 software introduces sophisticated image-to-embroidery conversion. With PhotoStitch and Auto Punch, you can transform photos into embroidery patterns, preserving color gradients and detail. The software analyzes images for contrast and boundaries, generating optimized stitch paths—so your memories become stitchable masterpieces, not pixelated disappointments.
BEaaS Cloud Platform:
For businesses and power users, Brother’s BEaaS (Brother Embroidery as a Service) cloud platform is a game-changer. This browser-based tool enables text-to-embroidery conversion without any software installation. Key features include:
- 124 built-in fonts and 24 thread colors
- Adjustable character spacing, thread density, and under-sewing
- Cloud storage for customer designs
- Customizable restrictions for customer-facing apps
It’s like having a digitizing expert on call 24/7—no steep learning curve required.
Artspira App Integration:
Creativity doesn’t wait for you to get back to your desk, and with the Artspira app, it doesn’t have to. Sketch, edit, or generate basic AI-driven designs on your mobile device and send them wirelessly to your Brother machine. The PE900 and XJ2 models, for instance, support seamless transfers via Artspira or Brother’s Design Database Transfer software, making it easier than ever to bring your ideas to life—wherever inspiration strikes.
Disney® Integration:
And for the kid in all of us? Many Brother models come loaded with Disney® designs, ready to stitch at a moment’s notice. With over 200 Disney patterns built right into machines like the Aveneer EV1, you’ll never run out of magic.
7.2 Innovative Hardware Features
Brother doesn’t just innovate in software—their hardware is equally cutting-edge, blending precision engineering with intuitive controls.
Innov-ís Plus Positioning Technology:
Ever struggled to get your design perfectly placed? Brother’s camera-based Innov-ís Plus system takes the guesswork out of positioning. Scan your fabric, preview your design’s placement, and adjust on the fly—all before a single stitch is made. The Aveneer EV1, for example, lets you project lines, grids, and even angled guidelines (from 30° to 150°) directly onto your fabric, ensuring flawless alignment for complex projects like mitered corners and sashing strips.
Projection Systems:
The latest projection upgrades aren’t just for embroidery. With a 5"x8" projection area, you can preview buttonholes, audition stitch styles, and align designs for both sewing and embroidery. Stitch Vision technology lets you see exactly how your buttonholes or decorative stitches will look—no more guesswork, no more do-overs.
Touchscreen Displays:
Brother’s high-definition LCD touchscreens (up to 10.1" on models like the Stellaire XE2) offer lifelike previews and intuitive editing. Zoom, rotate, resize, and combine designs with a swipe—no computer required.
Wireless Connectivity:
Forget the tangle of USB cables. Brother’s wireless standards (including 2.4 GHz Wi-Fi, IEEE 802.11b/g/n) allow direct design transfers from your computer or mobile device, remote firmware updates, and cloud service integration. Models like the PE900, F580, and M380D make moving designs as simple as sending a text.
File Format & Software Compatibility:
Brother machines support .PES, .PHC, and .DST brother embroidery file formats, ensuring compatibility with both Brother’s PE-DESIGN suite and industry-standard software. The PE-DESIGN 11 software even integrates with ScanNCut for streamlined workflows and expanded creative possibilities.
Performance Metrics:
Speed and precision are hallmarks of Brother’s engineering. The XJ2 reaches up to 1,050 stitches per minute, while models like the Persona PRS100 and Innov-is V3SE offer expansive embroidery fields and rapid stitching—perfect for tackling large or complex projects.
Automatic Thread Management:
Features like automatic thread cutting, jump stitch trimming, and resume functions keep your workflow smooth and your results professional. The PE900’s jump stitch trim, for example, eliminates tedious manual snipping and reduces thread waste.
Intelligent Stitch Regulation:
The Aveneer EV1 debuts Brother’s Intelligent Stitch Regulator (ISR), which keeps stitch lengths perfectly even—even when your hands (or nerves) aren’t. With multiple modes and interchangeable feet, it’s a dream for free-motion quilting and intricate embroidery.
Cross-Brand Software Compatibility:
Brother’s Lettering Embroidery Software plays nice with other major brands, including Janome, Viking, and Singer, making it a flexible choice for multi-machine studios.
Inspiration at Your Fingertips:
With features like on-screen tutorials, built-in design libraries, and cloud-based updates, Brother ensures you’re always learning, growing, and pushing your creative boundaries.
8. Business Investment Analysis
Choosing a Brother embroidery machine isn’t just a creative decision—it’s a business move that can shape your profitability for years to come. Whether you’re launching a side hustle or scaling a commercial operation, understanding the long-term costs, maintenance, and revenue potential is key. Let’s break down the numbers and strategies that drive real-world success.
8.1 Long-Term Cost Projections
The sticker price is just the beginning. To see the full picture, you need to consider five-year ownership costs—including maintenance, consumables, and efficiency gains.
| Model Tier | Initial Cost | 5-Year Maintenance | Consumables* | Total 5-Year Cost |
|---|---|---|---|---|
| Entry-Level | $550 | $2,750 | $1,200 | $4,500 |
| Intermediate | $900 | $3,600 | $900 | $5,400 |
| Professional | $2,500 | $6,250 | $750 | $9,500 |
Consumables include thread, stabilizers, and digitizing fees.
What’s the bottom line? While entry-level machines seem budget-friendly, their higher maintenance percentage and limited production capacity can add up over time. Intermediate and professional models, with their robust construction and advanced features, deliver a lower cost per stitch and greater efficiency—making them the smarter long-term investment for serious businesses.
8.2 Maintenance Cost Analysis
Annual Maintenance by Tier:
- Entry-Level: 8–10% of purchase price ($44–$55/year for a $550 machine)
- Intermediate: 6–8% ($54–$72/year for a $900 machine)
- Professional: 5–6% ($125–$150/year for a $2,500 machine)
Typical Maintenance Tasks:
- Preventive maintenance kits (~$189/year)
- Professional servicing (twice annually, ~$700/year)
- Needle replacement (~$125/year)
- Critical repairs (calibration, stepper motor rebuild, touchscreen replacement as needed)
Efficiency Tools: MaggieFrame Magnetic Hoops For garment embroidery, efficiency isn’t just about machine speed—it’s about how quickly you can prep each item. That’s where MaggieFrame magnetic embroidery hoops shine. Compared to traditional screw-based hoops, MaggieFrame’s powerful magnets and user-friendly design can reduce hooping time by up to 90%. That means less time spent prepping, fewer fabric defects, and more orders out the door. Over five years, these labor savings can quickly offset the initial investment—especially for high-volume shops.
Note: MaggieFrame hoops are for garment embroidery only and not compatible with cap embroidery.
8.3 ROI Calculation Scenarios
Let’s talk numbers—because embroidery is as much about profit as it is about passion.
Revenue Potential Over 5 Years:
- Entry-Level: $68,250 (net profit: $63,750)
- Intermediate: $227,500 (net profit: $222,100)
- Professional: $819,000 (net profit: $809,500)
| Model Tier | 5-Year Revenue | 5-Year Costs | Net Profit | ROI |
|---|---|---|---|---|
| Entry-Level | $68,250 | $4,500 | $63,750 | 1,317% |
| Intermediate | $227,500 | $5,400 | $222,100 | 4,013% |
| Professional | $819,000 | $9,500 | $809,500 | 8,421% |
Defect Reduction with Proper Hooping: Proper hooping isn’t just about speed—it’s about quality. Tools like MaggieFrame not only save time but also reduce embroidery defects by up to 15%, directly boosting your bottom line.
Strategic Takeaways:
- Invest in efficiency tools (like MaggieFrame) to maximize labor savings.
- Budget 5–10% of machine value annually for preventive maintenance.
- Choose machine tiers that match your business scale and growth plans.
The numbers don’t lie: investing in higher-tier Brother machines and smart accessories pays off—delivering lower costs per stitch, higher production capacity, and greater net profits over time.
9. Conclusion: Choosing Your Ideal Brother Machine
Selecting the right Brother embroidery machine is about more than specs or price tags—it’s about aligning your creative ambitions and business goals with the perfect tool. For beginners, entry-level models offer an approachable, mistake-friendly gateway. Intermediate users will thrive with larger fields and advanced editing, while professionals can unlock industrial-grade efficiency and ROI with multi-needle powerhouses.
Brother’s robust warranty, innovative features, and user-focused design ensure that your investment is protected and your workflow stays smooth. Remember: the real magic happens when your machine’s capabilities match your project requirements—so take stock of your needs, dream big, and choose a Brother that will grow with you.
Ready to stitch your next masterpiece or scale your embroidery business? The right Brother machine is waiting to help you turn inspiration into reality.
10. Frequently Asked Questions (FAQ)
10.1 Q: What’s the best Brother machine for beginners?
A: If you’re just starting your embroidery journey, the Brother SE600 and PE535 are standout choices for beginners. Both feature a 4"x4" embroidery field, intuitive color LCD touchscreens, and built-in tutorials that walk you through setup, threading, and basic operation—making them “mistake-friendly” and approachable. The SE600 is a combo model, offering both sewing and embroidery functions, while the PE535 is embroidery-only. Both support USB design imports, so you’re not limited to built-in patterns. With prices typically ranging from $400 to $600, these models let you experiment without a hefty investment. If you’re unsure whether to choose an embroidery-only or combo machine, consider how much you’ll use the sewing features—if embroidery is your sole focus, the PE535 is a safe bet; if you want versatility, the SE600 gives you more creative options.
10.2 Q: Why does bobbin thread show on top?
A: Seeing bobbin thread on the top of your embroidery is a classic tension issue. Most often, this means your upper thread tension is too tight, or your bobbin tension is too loose. Start by re-threading both the upper thread and the bobbin, following the numbered guides on your Brother machine. Make sure the bobbin is inserted correctly (the thread should unwind in the direction shown in your machine’s diagram). If the problem persists, try loosening the upper thread tension slightly or checking for lint or debris in the tension discs. Some users find that using the slowest embroidery speed helps maintain even tension, especially on new machines. Regular cleaning and replacing needles after every 8–10 hours of use can also prevent thread nests and uneven stitches. If you’re still struggling, consult your machine’s troubleshooting guide or on-screen tutorials—Brother’s built-in help resources are a lifesaver for these common hiccups.
10.3 Q: How much can I earn with commercial embroidery?
A: The earning potential with a commercial Brother embroidery machine can be impressive—especially if you invest in a professional model like the PR1055X. Over a five-year period, entry-level setups can yield around $68,250 in revenue, while intermediate and professional machines can reach $227,500 and $819,000 respectively. Net profits are equally compelling, with ROI percentages climbing higher as you move up in machine tier and efficiency. Investing in workflow optimizers—like MaggieFrame magnetic hoops for garment embroidery—can reduce hooping time by up to 90% and cut defect rates by 15%, directly boosting your bottom line. Remember, actual earnings depend on your production volume, pricing, and how efficiently you run your operation, but with the right machine and smart accessories, embroidery can be a highly profitable business.