1. Introduction to On-Demand Embroidery
On-demand embroidery has reshaped custom apparel, letting creators sell personalized, high-quality items without stock or upfront risk. With POD systems, automated workflows, and global fulfillment, you can release embroidered hats, hoodies, or tees using tools like magnetic embroidery hoops and simple digital files—no warehouse required.
In this guide, you’ll see how the process runs from digitization to doorstep delivery. You’ll compare leading POD services, learn design rules for clean stitches, weigh embroidery against screen printing, and explore tech and sustainability trends. Whether you’re refining operations on an embroidery sewing machine or testing a niche idea, you’ll find practical ways to protect margins and elevate quality.
Table of Contents
- 1. Introduction to On-Demand Embroidery
- 2. How On-Demand Embroidery Works: Processes and Workflows
- 3. Top Print-on-Demand Embroidery Providers Compared
- 4. Embroidery Design Best Practices for High-Quality Output
- 5. Embroidery vs. Screen Printing: Cost and Value Analysis
- 6. Building a Profitable Embroidery POD Business
- 7. Advanced Technologies Shaping Embroidery's Future
- 8. Troubleshooting Common Embroidery Failures
- 9. Conclusion: Key Takeaways for Success
- 10. FAQ: On-Demand Embroidery Essentials
2. How On-Demand Embroidery Works: Processes and Workflows
On-demand embroidery merges digital design, automation, and smart logistics to deliver one-off, custom-stitched products efficiently.
2.1 Digitization: Converting Designs to Stitch Files
Digitization translates your artwork into a stitch file an embroidery machine can read—critical for consistent, accurate results.
Step-by-step digitization:
- Design preparation: Clean the artwork, adjust colors, and pick embroidery-friendly fonts. Convert raster (JPEG/PNG) to vector (SVG/AI) for sharp, scalable lines.
- Stitch mapping in software: In tools like Wilcom or Hatch, assign stitch types (satin for lines, fill for solid areas, running for outlines/connections), and set stitch direction and density. Manual digitizing offers precision; automatic digitizing is faster for simple graphics.
- Stitch optimization: Add underlay for stability and use running or jump stitches to connect elements efficiently.
Key considerations:
- Color limits: Most POD providers allow up to 6 thread colors per design from a palette of about 15. Avoid gradients and photo-real images; solid shapes and bold lines work best.
- Cost factors: Expect a one-time digitization fee, influenced by complexity, stitch count, and placement (e.g., left chest vs. full back). Personalized designs usually incur separate fees.
Pro tip: Keep colors minimal, simplify shapes, and supply vector files for crisp results and lower costs.
2.2 Production Workflow: From Order to Shipment
Once your design is digitized, automation takes over when a customer checks out:
- Order placement: The order routes to the nearest fulfillment center.
- Order review and product retrieval: Operators confirm details and pull the correct blank garment.
- Embroidery execution: - Upload the stitch file to the machine. - Load thread colors (up to 6 per design). - Set the embroidery frame for accurate placement. - Stitch the design; the machine auto-switches threads as needed.
- Quality assurance: Teams verify the file and inspect the finished item for accuracy and durability.
- Packing and shipping: Items are folded, packed (caps ship in dedicated boxes), and dispatched from a regional hub to reduce transit time and carbon impact.
Turnaround time: Most POD embroidery orders ship in 2–5 business days, accelerated by global production networks used by providers such as Printful, Printify, and Gelato.
Insider insight: Behind-the-scenes videos from fulfillment centers show highly streamlined steps from file upload to shipment, tuned for speed and quality.
2.3 Fulfillment Models: POD vs. Traditional Comparison
How does POD embroidery compare to traditional bulk production?
| Aspect | POD Embroidery | Traditional Embroidery |
|---|---|---|
| Inventory | No upfront costs—produce only after a sale | Bulk orders require inventory investment |
| Production Volume | Single-item, on-demand orders | Minimum order quantities (MOQs) |
| Fulfillment | Third-party suppliers handle all logistics | In-house management (production, shipping) |
| Design Flexibility | Simple, clean designs preferred | Complex designs more feasible |
| Turnaround | 2–5 days (global network) | Variable—often longer due to batching |
| Cost Efficiency | Ideal for small batches and niche markets | Better for large, uniform orders |
Advantages of POD:
- No minimums: Great for testing ideas and serving niche audiences.
- Automated logistics: Providers manage production, packing, and shipping.
- Global reach: Regional hubs deliver faster and reduce environmental impact.
When to choose POD: Launch with low risk, offer personalization, or target micro-niches. Traditional embroidery still suits massive, uniform orders, but POD usually wins on flexibility and speed.
3. Top Print-on-Demand Embroidery Providers Compared
Selecting the right POD partner shapes quality, speed, and margins. Here’s how Printful, Printify, and Gelato stack up.
3.1 Product Offerings and Pricing Structures
| Provider | Embroidery Options | Catalog Size | Unique Offerings |
|---|---|---|---|
| Printful | Embroidery, DTG, AOP, DTF | 370+ | Premium products, home decor, yoga mats |
| Printify | Embroidery, DTG, AOP, DTF | 1,000+ | AI design tools, niche products (candles) |
| Gelato | Flat embroidery, DTG, DTF | 130–150 | Branded packaging, localized production |
- Printful: Premium, home-focused catalog and options like unlimited color embroidery (with an upcharge).
- Printify: Massive variety plus AI-powered design tools.
- Gelato: Streamlined apparel focus and localized fulfillment—suited to small business needs with faster shipping options.
Pricing structures:
| Provider | Subscription Tiers | Notes on Costs |
|---|---|---|
| Printful | Free + paid plans | Volume discounts, digitization fee |
| Printify | Free + premium | Flexible by provider, digitization |
| Gelato | Free + paid ($0–$749) | Subscription scales with volume |
- All charge a one-time digitization fee per new design (often around $6.50), occasionally waived by Printify during promotions.
- Per-item costs vary by garment, embroidery area, and volume.
3.2 Shipping, Quality, and Sustainability
| Provider | Fulfillment Network | Shipping Speed | Sustainability |
|---|---|---|---|
| Printful | 13 global centers | 2–5 days typical | Eco-friendly options available |
| Printify | 90+ global providers | 5–7 days economy | Limited sustainability focus |
| Gelato | 140+ partners in 32 countries | Localized, fast | Carbon-neutral shipping, eco materials |
- Gelato emphasizes localized production and reduced environmental impact.
- Printful’s in-house process and 3-step checks sustain high, consistent quality with low return rates.
- Printify quality varies by print provider; user ratings help select the best partner.
3.3 Provider Recommendations by Use Case
- Printful: Best for brands that prioritize consistency, quality, and advanced customization.
- Printify: Ideal for niche hunters who want catalog depth and flexible provider choice.
- Gelato: Great for international sellers prioritizing fast, eco-minded shipping and branded packaging.
Integration: All connect to major platforms like Shopify and Etsy; Printify tends to offer the broadest integration options.
Ready to test? Order samples, compare providers, and lean into a niche to stand out.
4. Embroidery Design Best Practices for High-Quality Output
Embroidery turns art into thread, so designs must respect physical stitch limits to look great on fabric.
4.1 Color and Complexity Guidelines
Most POD services cap you at six thread colors from roughly 15 hues. Embrace bold simplicity.
Key tips:
- Solid colors only: Avoid gradients and photos. Every color swap means a new thread.
- Check thread availability: Align your palette with your provider’s chart.
- Simple sells: Case studies show simple wordmarks, icons, and thick lines outperform intricate artwork.
Pitfalls to avoid:
- Thin lines, tiny text, or too much negative space can vanish or blur.
- Photographic or highly detailed art won’t translate well.
4.2 Sizing and Technical Specifications
Different products mean different stitchable areas and constraints.
| Product Type | Max Design Area | Ideal Use Case |
|---|---|---|
| Caps | 4" × 2.5" (101.6 × 63.5 mm) | Logos, text, or simple graphics |
| Apparel (Tees/Hoodies) | 4" × 4" (106.6 × 106.6 mm) | Larger logos or multi-color designs |
| Bucket Hats | Up to 10" × 6" | Bold, wide designs (no stitch limit) |
| Dad Hats | Limited (low profile) | Small text or minimal logos |
Technical specs:
- Stitch count: Keep under 15,000 stitches for standard 4" × 4" areas.
- Line thickness: ≥0.05" (1.27 mm).
- Text size: Uppercase ≥0.3"; lowercase ≥0.25".
- Resolution: Caps 1200 × 720 px at 300 dpi; apparel 1200 × 1200 px at 300 dpi.
File prep musts:
- Use transparent backgrounds.
- Prefer vector formats (.AI, .EPS, .PDF).
- Separate color layers for accurate digitization.
Pro tip: Remove background graphics and avoid non-transparent layers to prevent manual review or rejections.
4.3 Advanced Techniques: 3D Puff and Special Effects
3D puff adds depth, especially on structured caps, but has strict constraints.
3D puff guidelines:
- Color limit: Max 2 colors per design (white/black recommended).
- Minimum width: ≥0.75 cm to cover foam.
- Best on caps and similar structured hats.
- Balanced, centered layouts produce even puff.
Cost & quality trade-offs:
| Feature | Cost Impact | Quality Impact |
|---|---|---|
| Standard Embroidery | Lower base cost | Fewer colors, denser stitching |
| Unlimited Color Option* | +$3.50 per item | Gradients and transitions possible |
*Unlimited color embroidery from select providers dyes a single white thread on the fly, enabling gradient-like effects without perfect Pantone matches.
Final word: When unsure, order a sample first. Clean, compliant designs consistently yield the best results.
5. Embroidery vs. Screen Printing: Cost and Value Analysis
Choosing between embroidery and screen printing affects margins, perception, and durability.
5.1 Cost and Durability Comparison
| Factor | Embroidery | Screen Printing |
|---|---|---|
| Per-unit cost | Higher ($15–$40 per shirt) | Lower (£1.50–£3.00 for single color) |
| Setup fees | Digitizing ($4–$60 per design) | Screen prep & color separation |
| Design complexity | Best for small, simple logos | Ideal for detailed, multi-color art |
| Best for | Small orders, premium branding | Large orders, promotional items |
| Bulk requirements | Traditional commercial embroidery machines require bulk orders | Economies of scale for large batches |
- Embroidery: Expect per-item costs to be $6–$8 higher for single items. Pricing is often stitch-based ($1–$3 per 1,000 stitches). Digitizing is a one-time cost.
- Screen printing: Lower per-unit costs at scale; each color adds a screen.
Durability & longevity:
- Embroidery: Highly durable for repeated washing; great for uniforms and textured fabrics.
- Screen printing: Can fade or crack; best on smooth, flat fabrics.
Perceived value:
- Embroidery: A textured, premium look that elevates branding.
- Screen printing: Vibrant visuals for events and promotional campaigns.
On-demand considerations:
- No minimums with embroidery POD, but price accordingly.
- Fine details and gradients don’t stitch well.
5.2 When to Choose Embroidery for Maximum Impact
Use embroidery when:
- You’re producing small, premium orders (polos, hats, luxury merch).
- The design is simple, bold, and logo-focused.
- The product is thick or textured (jackets, caps, heavy sweatshirts).
- You want to signal quality and longevity.
Use screen printing when:
- You need large runs (100+ units) with tight budgets.
- The artwork is detailed, multi-color, or photo-like.
- The product is lightweight and flat (classic tees, totes).
Bottom line: For on-demand, embroidery wins on durability, branding, and perceived value; screen printing dominates high-volume, graphic-heavy runs.
6. Building a Profitable Embroidery POD Business
Let’s talk margins, efficiency, and smart positioning.
6.1 Profit Margins and Pricing Strategies
Embroidery POD can deliver 15–50% profit margins depending on niche, order size, and operations.
- Typical per-item profit: $10–$20 per embroidered shirt; complex or multi-location designs (e.g., polos) can exceed $22.
- Sample economics: At $26 cost and $45 retail, margins are healthy—particularly for premium or personalized items.
| Pricing Approach | Details |
|---|---|
| Tiered Pricing | Charge by stitch count, complexity, or material |
| Value-Added Services | Design help, eco-friendly threads, rush orders |
| Dynamic Pricing | Adjust for seasonality, demand spikes, corporate jobs |
Cost management: Buying machines and software can total $2,000–$10,000, but POD removes inventory risk. Ongoing expenses include thread, labor, and marketing.
Pro tip: Don’t underprice—embroidery commands a premium.
6.2 Operational Efficiency for Higher ROI
Operational excellence starts with dependable hooping.
Optimized hooping = fewer defects and higher throughput.
Traditional hooping methods for embroidery machine hoops can be slow and inconsistent, leading to misalignment or fabric damage.
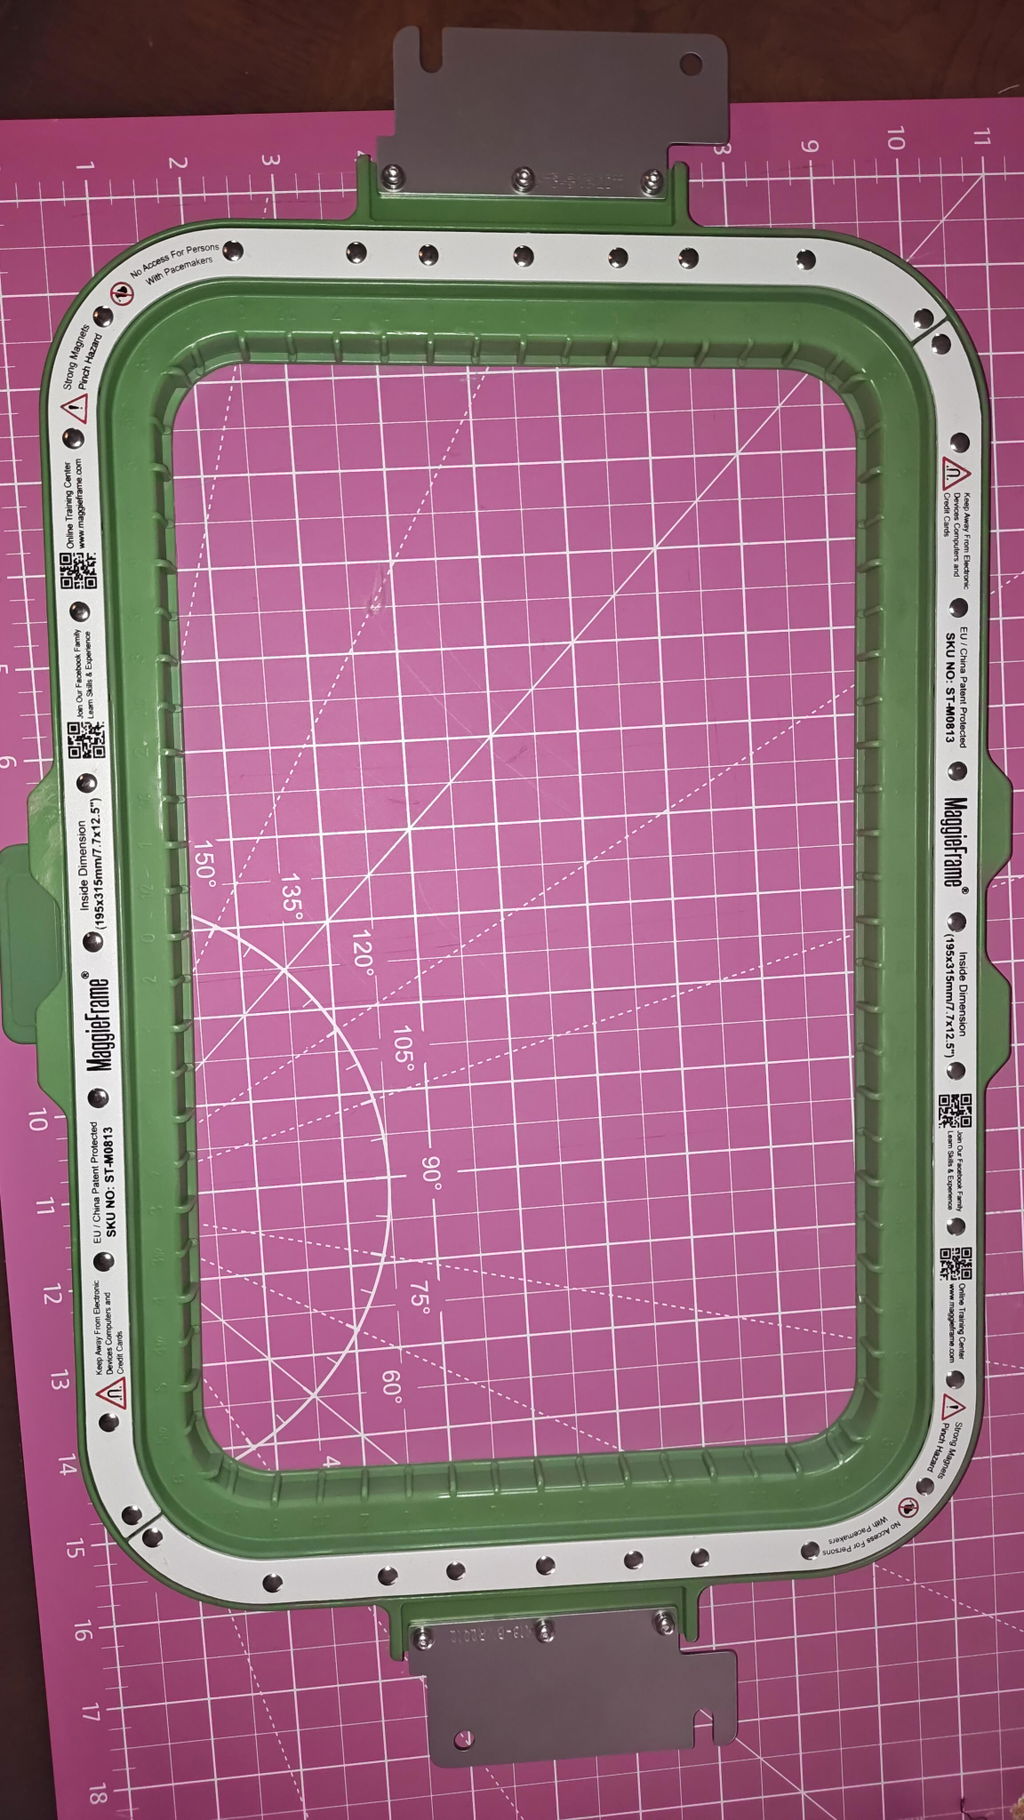
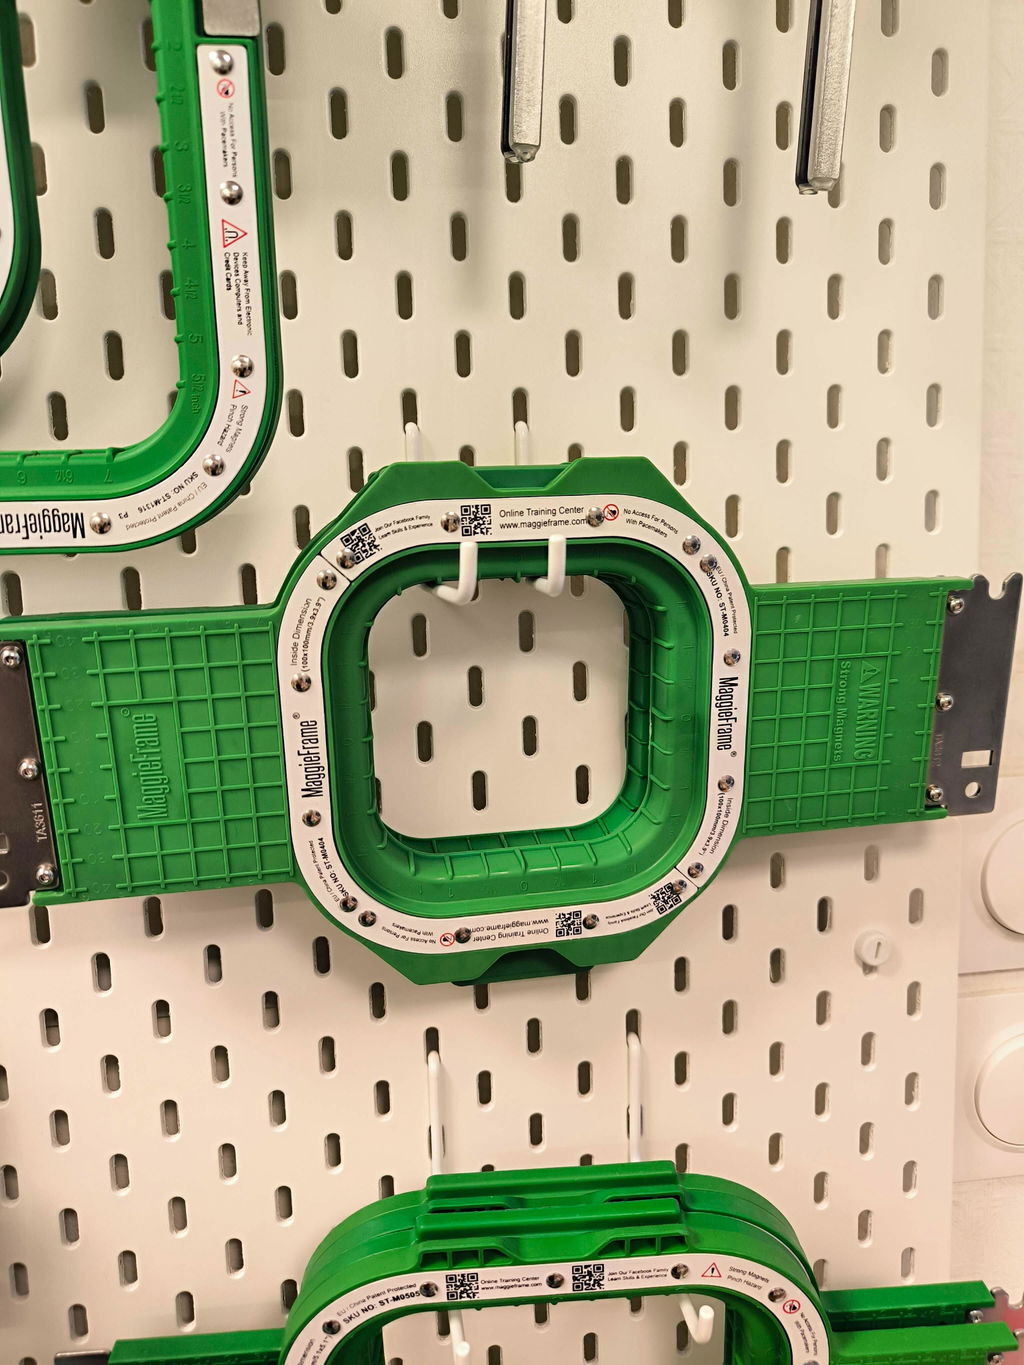
Enter magnetic hoops for embroidery machines—a faster, more consistent approach to garment embroidery.
Why MaggieFrame?
- 90% faster hooping: Move from minutes to seconds and reclaim production time.
- 15% fewer defects: Even tension reduces misaligned stitches and fabric waste.
- Long-term cost savings: Durable magnetic embroidery frames with strong magnets lower replacement and maintenance costs.
For high-volume work, MaggieFrame makes it easier to scale without sacrificing quality.
6.3 Niche Opportunities and Marketing
The riches are in the niches—look beyond crowded themes.
Hot niche ideas:
- Pet memorials: Names or simple portraits on hoodies and hats.
- Esports merch: Team logos, gamer tags, event drops.
- Bridal accessories: Sashes, totes, robes with personalization.
Marketing moves:
- Social content: Behind-the-scenes clips, testimonials, time-lapses.
- Trend spotting: Use keyword tools and case studies to spot low-competition demand.
- Customization: Names, dates, and simple icons boost perceived value and loyalty.
7. Advanced Technologies Shaping Embroidery's Future
Innovation is expanding what embroidery can do—and how efficiently you can do it.
7.1 Unlimited Color and Automated Digitization
Coloreel’s instant thread coloring unit dyes a single thread in real time, enabling gradients and photoreal effects that previously weren’t practical in embroidery.
Benefits:
- Unlimited color possibilities: No more six-color cap.
- Sustainability: Waterless dyeing with recycled polyester threads reduces waste.
- Efficiency: Smaller thread inventories and faster turns on custom runs.
AI-powered digitization now optimizes stitch paths, density, and thread usage, with cloud collaboration and image-to-stitch conversion speeding workflows. Digitization fees still apply (often around $6.50), but access and speed are rising.
7.2 Sustainable Innovations and 3D Techniques
Eco-friendly materials, waterless dyeing, and recycled threads are gaining traction, reducing waste and environmental impact.
3D puff embroidery is trending for dimensional logos and motifs—especially on hats. Modern software paired with capable machines helps control stitch direction and density for clean raised results.
Adoption requires investment and learning, but the payoff is flexibility, efficiency, and a stronger sustainability story.
8. Troubleshooting Common Embroidery Failures
Even great setups face thread breaks, puckering, or misalignment. Systematic fixes keep production on track.
8.1 Solving Thread Breaks and Puckering
Thread breaks—why they happen:
- Improper threading or missed tension guides
- Tension imbalances (loose top thread or tight bobbin)
- Low-quality or fraying threads
- Holding the thread too tightly at startup
Quick fixes:
- Stop, clear errors, and raise the needle/presser foot.
- Remove tangles and rethread with the presser foot up, ensuring every guide is used.
- Backtrack a few stitches to overlap the break.
Prevention:
- Use high-quality, embroidery-specific threads.
- Perform the “I-test” for top thread tension.
- Clean tension discs regularly.
Puckering—common causes and solutions:
- Causes: Overcrowded stitches, lightweight stabilizer on dense designs or stretchy fabrics, tension issues.
- Solutions: Adjust stitch length/density, add underlay, use heavier stabilizers, and always test on similar fabric pre-production.
8.2 Eliminating Misalignment in Garment Embroidery
Misalignment often comes from loose hooping, fabric stretch, or machine calibration.
How to stay aligned:
- Hooping techniques:
- Use a magnetic embroidery hoop like MaggieFrame to maintain even tension and speed hooping.
- Avoid stretching fabric during hooping; aim for firm, even tension.
- Machine adjustments:
- For issues like SWF Error 300 (needle misalignment), power down, realign manually, and test-stitch. For persistent problems requiring embroidery machine repair, check sensors or seek professional calibration.
Why MaggieFrame helps: Its strong magnetic hold keeps fabric steady, reducing defects and waste while saving time.
| Issue | Preventative Measures | Key Tools/Methods |
|---|---|---|
| Thread Breaks | Regular tension checks, high-quality threads, clean discs | Thread stands, cleaning kits |
| Puckering | Stabilizer matching, stitch density optimization, underlays | Heavyweight stabilizers, software |
| Misalignment | Magnetic hooping, fabric testing, machine calibration | MaggieFrame hoops, calibration |
| Color Bleed | Thread quality checks, fabric pre-treatment | Color-fast threads, fabric wash |
9. Conclusion: Key Takeaways for Success
Keep designs simple and bold, pick providers that match your goals, and leverage modern tech to improve speed, consistency, and sustainability. Order samples, test niches, and iterate quickly—your next bestseller may come from a small, dedicated audience.
10. FAQ: On-Demand Embroidery Essentials
10.1 Q: Does Printify offer embroidery?
A: Yes. Printify offers embroidery on select products (e.g., t-shirts, sweatshirts, hats) through specific providers, with placements like left chest, center chest, and sleeves. Designs are limited to six thread colors from a palette of 15 and usually require a one-time digitization fee, though Printify has occasionally waived it. Integrations with major ecommerce platforms make adding embroidered products straightforward.
10.2 Q: Is embroidery more expensive than screen printing?
A: Generally, yes. Embroidery costs more due to thread, stitching time, and digitization. It delivers a premium, durable finish—great for hats, uniforms, and luxury apparel. Screen printing costs less for large, graphic-heavy runs and supports detailed, multi-color images.
10.3 Q: How do I sell my embroidery designs online?
A: Create simple, bold designs that fit embroidery constraints, upload them to your chosen POD provider (e.g., Printful, Printify, Gelato), and sync with your store (Shopify, Etsy, etc.). Providers handle production and shipping. Always order samples to validate quality.
10.4 Q: What are the design limitations for on-demand embroidery?
A: Six solid thread colors per design, no gradients or photographic images, and limited fine detail. Use bold shapes and simple fonts, and follow provider guidelines for file type and sizing.
10.5 Q: What products can be embroidered with POD services?
A: Common options include t-shirts, sweatshirts, hoodies, hats, beanies, tote bags, backpacks, socks, aprons, and sometimes jackets or patches. Placements vary by provider.
10.6 Q: Do I need to order in bulk to use POD embroidery?
A: No. POD embroidery has no minimums, enabling single, customized items without inventory risk—perfect for testing designs and serving niches.
10.7 Q: How long does fulfillment and shipping take?
A: Leading providers typically ship in 2–7 business days, routed through global networks to reduce transit time and cost. Communicate estimated delivery windows to customers, especially for international orders.
10.8 Q: Can I use unlimited color or gradient effects in embroidery?
A: Standard embroidery is limited to six solid colors. Some providers offer an unlimited color option using on-demand thread dyeing for gradients and transitions, typically with an extra fee and limited product availability.
10.9 Q: What is a digitization fee and do I pay it every time?
A: It’s a one-time charge to convert artwork into a stitch file. You pay once per design. Personalized variants (e.g., names) may require separate files and fees.
10.10 Q: How can I ensure high-quality embroidered products?
A: Use simple, bold artwork, high-resolution files, and follow sizing/file prep rules. Order samples, read provider reviews, and rely on strong quality controls (e.g., multi-step checks) before launch.