1. Introduction to Decorative Stitches: Unlocking Creative Possibilities
Decorative stitches created with the best embroidery machines are the unsung heroes of textile art, transforming everyday fabrics into personalized masterpieces. Whether you’re wielding a needle by hand or guiding fabric under a humming machine, these stitches offer endless ways to add flair, structure, and texture to your projects. From the crisp edge of a blanket stitch to the shimmering sweep of a satin fill, decorative techniques breathe new life into garments, quilts, and home décor. In this guide, we’ll journey through the essential techniques for flawless stitching, explore the dazzling array of stitch varieties, and spark your imagination with creative applications. Along the way, you’ll find expert troubleshooting tips and advice on choosing the right tools—empowering you to master decorative stitches and unlock your creative potential.
Table of Contents
- 1. Introduction to Decorative Stitches: Unlocking Creative Possibilities
- 2. Essential Techniques for Perfect Decorative Stitches
- 3. Decorative Stitch Varieties and Practical Applications
- 4. Troubleshooting Common Decorative Stitching Challenges
- 5. Toolkit Optimization: Needles, Threads, and Accessories
- 6. Integrating Decorative Stitches with Machine Embroidery
- 7. Advanced Customization and Sustainable Practices
- 8. Conclusion: Elevating Your Craft with Decorative Stitches
- 9. FAQ: Decorative Stitch Essentials
2. Essential Techniques for Perfect Decorative Stitches
Achieving beautiful decorative stitches on the best sewing machine for embroidery and sewing is equal parts art and science. The right combination of machine settings, stabilization, and thread management ensures your stitches look as stunning on your project as they do in your imagination. Let’s break down the fundamentals for flawless results.
2.1 Machine Settings and Precision Configuration
Modern sewing machines are treasure troves of decorative stitch options, each with customizable parameters. Start by selecting your desired stitch and adjusting the width (typically from 0.0 to 7.0mm) and length (0.2 to 4.0mm) to suit your fabric and design. While automatic settings provide a reliable baseline, don’t be afraid to tweak these values—shorter lengths create denser, textured stitches, while wider settings make designs pop.
Presser foot selection is crucial for stitch quality. For intricate patterns like daisy stitches, the N presser foot is a popular choice, offering stability and smooth thread passage. Open toe feet provide better visibility for open designs, while a satin stitch or embroidery foot—with its deeper indentation—prevents thread build-up and distortion. Want to add heirloom charm? Wing needles, with their distinctive “wings,” puncture tiny holes for a delicate, vintage effect.
Precision doesn’t stop at setup. Always test your chosen stitch on scrap fabric identical to your project material. This step lets you fine-tune settings, check tension, and ensure your design will land exactly where you want it—saving you from the heartbreak of picking out stitches later.
2.2 Stabilization Secrets for Distortion-Free Stitching
Stabilizer is the unsung foundation of decorative stitching. Without it, even the most beautiful design can fall victim to puckering, tunneling, or distortion. The key is matching the stabilizer type and size to your fabric and stitch density.
- Tear-away stabilizer is ideal for lightweight fabrics and open designs, providing support during stitching and easy removal afterward.
- Cut-away stabilizer offers lasting strength for heavier materials or dense stitch patterns, staying in place to support the fabric long-term.
For best results, cut your stabilizer to match or slightly exceed your fabric dimensions. This ensures comprehensive support and prevents shifting. On especially delicate or tricky fabrics, a light application of spray starch can add extra body, making stitches sit smoothly on the surface.
Remember, stabilizer isn’t just for embroidery—it’s essential for any decorative stitch that risks distorting your fabric. Don’t skip this step, especially when working with new materials or complex patterns.
2.3 Thread Management and Tension Mastery
The thread you choose is your decorative stitch’s voice—so make it sing! Rayon threads shimmer with high sheen, metallics add a dash of glamour, and variegated options create mesmerizing color transitions. For subtle elegance, silk threads offer a gentle luster.
Pair specialty threads on top with a reliable all-purpose bobbin thread to prevent puckering and maintain stitch integrity. Always start with a fresh needle sized appropriately for your fabric and thread—Microtex needles (sizes 60-90) are a favorite for their sharp precision, while wing needles create unique heirloom effects.
Tension is the secret ingredient for flawless stitches. Too tight, and your fabric puckers; too loose, and stitches sag or skip. Use scrap fabric to test and adjust tension as needed, making small changes and observing the results. If you notice distortion, try adding another layer of stabilizer or adjusting stitch width and length. Quality control is ongoing—keep an eye on your stitches as you work, and don’t hesitate to pause and tweak settings for perfection.
3. Decorative Stitch Varieties and Practical Applications
Decorative stitches are as varied as the projects they enhance. From structural workhorses to whimsical embellishments, each stitch brings its own personality and possibilities. Let’s explore the most popular types and how to make them shine in your creations.
3.1 Structural Stitches: Satin, Blanket & Chain Techniques
Satin Stitch
The satin stitch is the go-to for smooth, filled areas—think monograms, motifs, or bold borders. It works best in areas between 0.5 and 3 centimeters wide, balancing coverage and stability. For larger fills, consider breaking up the design, as overly long stitches can wobble or reveal the fabric beneath. Satin stitch variations—like surface satin, back stitched satin, and double satin—offer different textures, making them ideal for everything from paisley fills to crisp appliqué edges.
Blanket Stitch
Beloved for both its decorative and practical uses, the blanket stitch is perfect for edging quilts, garments, or appliqué. Adjust the spacing for open or closed effects, and use it on geometric shapes like squares, circles, or ribbons. Unlike the satin stitch, blanket stitch is more economical with thread and adapts well to large or small areas.
Chain Stitch
Chain stitch creates continuous, decorative lines that are both beautiful and economical. Use it to outline shapes, reinforce edges, or add playful detail to hems and seams. Its looping structure gives it flexibility and visual interest, making it a favorite for both hand and machine work.
Applications
- Appliqué Reinforcement: Satin stitch provides a clean, durable edge for appliqué pieces, especially on frequently washed items.
- Garment Edging: Blanket and chain stitches add flair and strength to hems, collars, and cuffs.
- Quilt Embellishment: Use these stitches to add texture, define blocks, or create eye-catching borders.
3.2 Creative Embellishment Stitches for Garments and Home Décor
When you’re ready to move beyond the basics, creative embellishment stitches open up a world of design possibilities.
Feather Stitch
Resembling delicate twigs or vines, feather stitch is perfect for borders, yokes, or adding organic movement to your designs. It’s especially striking on garments and quilts where you want a touch of whimsy.
Fly Stitch
This versatile V-shaped stitch works well for filling spaces, creating subtle texture, or mimicking leaves and branches. Use it in rows for a modern look, or scatter it for a more natural effect.
Herringbone Stitch
Herringbone is both decorative and functional, often used for finishing hems or adding shadow work. Its crisscross pattern is visually dynamic and works beautifully on bodices, sleeves, or home décor accents.
Project Inspiration
- Embroidery Bridging on Bodices: Connect two hemmed pieces with decorative stitches for a couture touch.
- Candlewick Effects on Denim: Use specialty stitches to mimic French knots or create dimensional patterns on sturdy fabrics.
- Faux Ribbon and Couching: Layer decorative stitches with straight lines to simulate ribbon, or use them to secure decorative fibers for added texture.
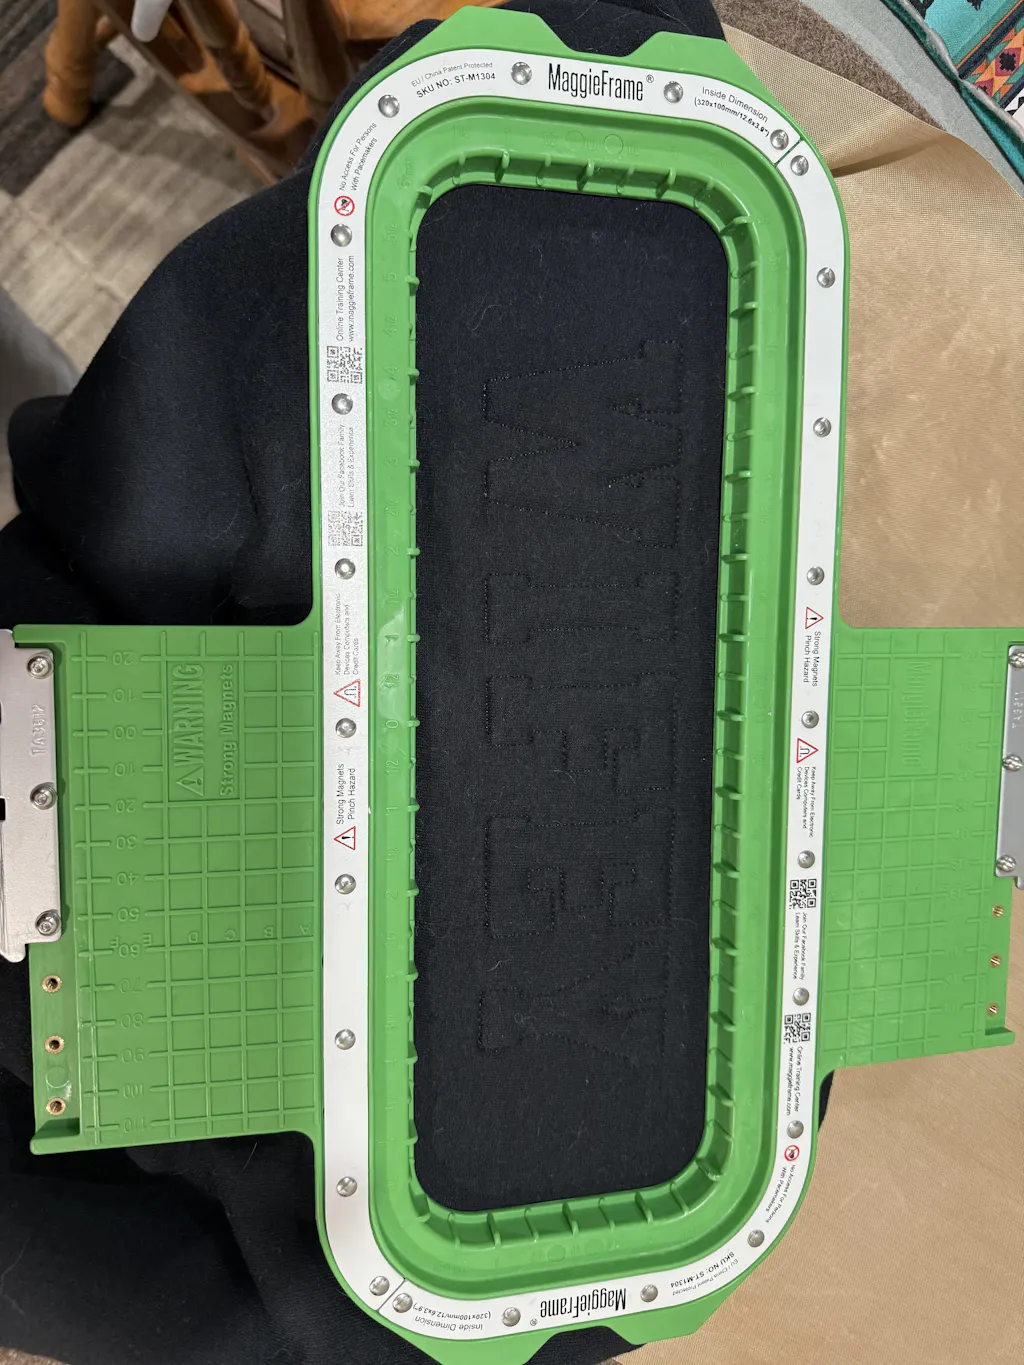
MaggieFrame Integration
For garment embroidery, achieving precise, distortion-free results is crucial. Magnetic embroidery hoops like MaggieFrame provide stable, even tension—especially important when working with complex embellishment stitches. By securely holding your fabric in place with hat hoops for embroidery machines, MaggieFrame helps ensure your creative vision translates perfectly from machine to material.
Ready to experiment? Try combining multiple stitch types in a single project, or create a stitch catalog to document your favorites and their settings. With practice, you’ll discover that decorative stitches are more than embellishments—they’re the signature of your creative journey.
4. Troubleshooting Common Decorative Stitching Challenges
Decorative stitching can transform any project—until you hit a snag. Puckering, thread breakage, and skipped stitches are the usual suspects, often turning creative excitement into head-scratching frustration. But don’t worry: with a systematic approach, most issues are easily solved. Let’s break down the most common problems and their fixes, so your stitches look as flawless as your vision.
4.1 Solving Puckering and Tension Disasters
Puckering is the nemesis of decorative stitches, leaving unsightly ripples where you want smooth, crisp lines. The root causes? Most often, it’s a mismatch between stabilizer and fabric, thread weight conflicts, or improper tension settings.
Start with Stabilizer Selection:
If your fabric is lightweight or loosely woven, a tear-away stabilizer provides temporary support and is easy to remove. For heavier fabrics or dense stitch patterns, opt for a cut-away stabilizer that remains behind, giving lasting structure. Always cut your stabilizer to match or slightly exceed your fabric dimensions for full coverage.
Thread Weight Matters:
Using a heavier thread on top and a lighter bobbin thread can create tension imbalances. If you notice the bobbin thread peeking on the fabric’s surface, loosen the upper tension by turning the dial down two points. If the top thread is visible underneath, increase the tension by two points. Small changes may not be noticeable, so don’t be afraid to make adjustments in increments of two.
Muslin Mockups—Your Secret Weapon:
Before committing to your final project, sew a test run on scrap fabric or, better yet, a muslin mockup. This lets you fine-tune tension, stabilizer choice, and stitch settings without risking your main material. As highlighted in expert YouTube tutorials, this extra step can save hours of frustration and ensure your stitches land exactly where you want them.
Guiding Tips:
- Don’t pull or tug the fabric as you stitch—let the feed dogs do the work.
- If puckering persists, try adding a second layer of stabilizer or lightly spray starching your fabric for extra body.
- Check that your presser foot is appropriate for the stitch; a foot with a deeper groove accommodates thicker decorative threads and prevents distortion.
4.2 Preventing Thread Breakage and Skipped Stitches
Nothing halts creative momentum like a snapped thread or a line of skipped stitches. These issues often trace back to needle choice, threading errors, or incompatible machine settings.
Needle Plate and Needle Compatibility:
If you’re using a single-hole needle plate designed for straight stitching, switch to a zigzag or decorative stitch plate. Decorative stitches require lateral needle movement, and the wrong plate can restrict this, causing skipped stitches or even needle breakage.
Threading Technique:
Always thread your machine with the presser foot raised. This opens the tension discs, ensuring the thread seats correctly. Incorrect threading is a common culprit in both thread breakage and skipped stitches.
Needle Selection:
Bent, dull, or the wrong type of needle can wreak havoc. Use a fresh, sharp needle suited to your thread and fabric. For dense fabrics or specialty threads, try embroidery or topstitching needles with larger eyes and grooves to accommodate thicker threads.
Presser Foot Pressure:
Adjust the presser foot pressure to match your fabric—too much pressure can restrict fabric movement, while too little can cause uneven feeding. Fine-tune as needed, especially when working with layered or quilted materials.
Stitch Density Adjustments:
For quilt sandwiches or projects with batting, increase stitch length to prevent overlap and maintain clarity. Dense patterns need more space to form properly.
Systematic Troubleshooting Checklist:
- Double-check needle installation and threading.
- Verify the correct needle plate is in use.
- Adjust tension and presser foot pressure as needed.
- Test on scrap fabric before moving to your main project.
By following these steps, most decorative stitching headaches can be resolved—letting your creativity flow without interruption by consulting embroidery machine reviews.
5. Toolkit Optimization: Needles, Threads, and Accessories
Professional-looking decorative stitches aren’t just about technique—they’re built on the foundation of the right tools. From specialized needles to the perfect thread and stabilizer pairings, optimizing your toolkit sets you up for success.
5.1 Specialized Needles for Decorative Effects
Wing Needles for Heirloom Magic:
Wing needles (sizes 100/16 and 120/19) are the go-to for heirloom effects. Their unique “wings” create delicate holes in the fabric, perfect for hemstitching and fagoting. For best results, use stitch patterns that repeat in the same spot, allowing the wings to work their lacy magic.
Embroidery and Topstitching Needles:
Embroidery needles are designed with long, thick shafts and large eyes to handle thicker decorative threads. Topstitching needles feature sharp points and large grooves, ensuring smooth thread flow and minimizing breakage during dense stitching.
Microtex Needles for Precision:
When working with fine fabrics or intricate patterns, Microtex needles (sizes 60-90) offer unmatched sharpness and precision. Choose the size that matches your fabric and thread weight for crisp, clean stitches.
Hand Embellishment Needles:
For handwork, chenille needles (sharp points for heavy fabrics) and tapestry needles (large eyes, blunt points for delicate materials) expand your creative possibilities.
5.2 Thread Selection and Stabilizer Pairings
Rayon vs. Polyester Threads:
Rayon threads shimmer with a high sheen, adding elegance and vibrancy to your stitches. Polyester threads, like Floriani 40-weight, are strong, colorfast, and available in a vast array of colors—ideal for both durability and visual impact.
Metallic and Decorative Threads:
Metallic threads bring sparkle and glamour but require careful handling and the right needle (usually embroidery or topstitching) to avoid breakage.
Stabilizer Strategies:
Choose your stabilizer based on fabric weight and stitch density. Tear-away is great for light fabrics and open designs, while cut-away offers robust support for heavy materials or dense stitching. For especially tricky projects, consider layering stabilizers or using spray starch for added body.
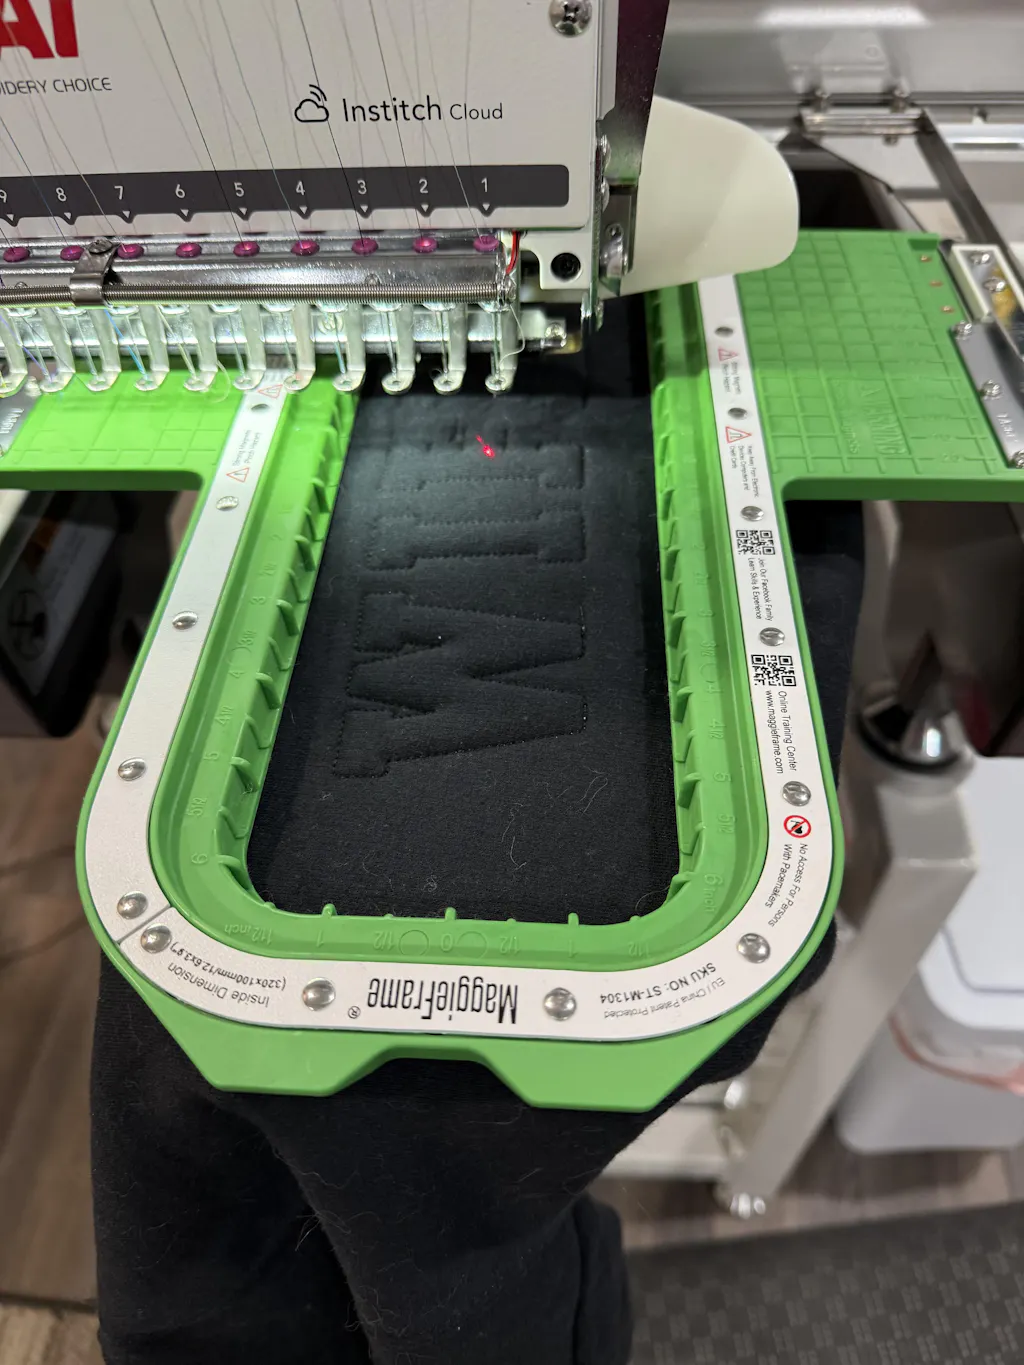
MaggieFrame Integration for Garment Embroidery:
When working on garments, especially with satin stitches or other dense patterns, stability is everything. Magnetic embroidery hoops like MaggieFrame or the mighty hoop provide even, secure tension—eliminating the limitations of traditional hooping methods. By holding fabric firmly in place without distortion, MaggieFrame ensures your decorative stitches remain crisp and professional, even on challenging projects.
6. Integrating Decorative Stitches with Machine Embroidery
Why limit yourself to either decorative stitches or embroidery when you can have both? Modern machines make it possible to blend these techniques, opening up new dimensions of texture, precision, and creative freedom.
6.1 Technical Setup for Hybrid Embellishment
Converting Decorative Stitches to Embroidery Mode: Many advanced machines allow you to bring decorative stitches into embroidery mode, transforming them into stitch points in your preferred embroidery file format for flawless alignment. Use the embroidery edit function to select decorative stitches and add them to your design. The “continuous border” feature lets you repeat patterns seamlessly, while “create shape” options expand your design possibilities.
Grid-Based Designs and Custom Fills: Build extended patterns by using the continuous border function, or create grids with decorative stitches and fill each section with embroidery motifs. This method adds dimension and visual interest that’s hard to achieve with embroidery alone.
Thread and Needle Recommendations: For integrated designs, Floriani 40-weight polyester thread delivers strength and sheen. Microtex needles (sizes 60-90) provide the precision needed for detailed patterns, while open embroidery feet or satin stitch feet ensure smooth fabric movement and pattern formation.
Stabilization Considerations: Unlike dense embroidery, integrated decorative stitches often require less hooping. Tear-away or sticky stabilizers can support long rows or large garment pieces without the need for traditional hooping, offering flexibility for ambitious projects.
6.2 Creative Applications: Motifs and Textured Fills
Single-Motif Techniques: Machines like the Brother Luminaire enable you to place single decorative motifs with pinpoint accuracy. Use the single/repeating pattern function for precise, isolated designs—perfect for adding accents to garments, accessories, or home décor.
Lace Effects and Dimensional Quilting: Combine decorative stitches in embroidery mode to create lace-like textures or dimensional quilt fills. Use the pivot function for easy fabric repositioning, allowing you to build up complex, layered effects.
Design Possibilities:- Add faux ribbon effects by bordering decorative stitches with straight lines.
- Use grid-based layouts to combine structural and artistic elements.
- Create custom fills not available in standard embroidery software by repeating and layering decorative stitches.
Best Practices: Test your thread, needle, and stabilizer combination on scrap fabric before starting your main project. Document your favorite settings in a stitch catalog for future reference. Regular machine maintenance and setup checks will keep your stitches looking sharp and your creativity flowing.
With these techniques, you’re not just stitching—you’re painting with thread, blending the best of both worlds for truly unique results.
7. Advanced Customization and Sustainable Practices
Decorative stitching isn’t just about following preset patterns—it’s about pushing boundaries, designing your own motifs, and making choices that reflect both your creativity and your values. As modern sewing machines grow more sophisticated, they offer a playground for advanced users ready to experiment with original stitch designs, dynamic adjustments, and eco-friendly approaches.
Advanced Customization: Beyond Presets
Most contemporary sewing machines allow you to adjust stitch width and length, typically from 0.0 to 7.0mm for width and up to 5.0mm for length. These settings let you create everything from tightly packed zigzags to open, airy patterns. But for those hungry for more, certain brands—like BERNINA—offer combination functions where you can program sequences of different stitches, insert segment dividers, and even fine-tune lengths to precise measurements. Imagine programming a sequence of straight stitches followed by a leaf motif, then manually rotating your fabric to create radiant or perpendicular effects. This level of control transforms your machine into a design tool, not just a stitching device.
However, there are caveats: unless you save your custom settings, most machines revert to factory defaults when powered off or when you switch stitches. Computerized models with touchscreen interfaces offer more granular control, while mechanical machines rely on manual knobs. Not all stitches allow both width and length adjustments, so pay attention to your machine’s indicators.
When designing complex motifs, consider the balance between dense satin stitches and open, lacy outlines. Distribute similar stitch types to avoid visual clutter and ensure your design breathes. And don’t forget fabric stabilization—interfacing, tear-away, cut-away, or wash-away stabilizers are crucial for distortion-free results, especially with intricate patterns.
Sustainable Stitching: Eco-Friendly Techniques
Sustainability is weaving its way into the world of decorative stitches. You can make a difference by:
- Visible Mending: Use decorative stitches to repair and reinforce worn areas, extending the life of garments and adding unique flair.
- Recycled Threads: Opt for threads made from recycled materials, reducing your project’s environmental footprint.
- Low-Impact Stabilizers: Choose stabilizers that are biodegradable or made from sustainable sources.
Test your custom settings with free machine embroidery designs on fabric scraps before committing to your main project—this remains the gold standard for troubleshooting and perfecting advanced designs. While comprehensive software-based pattern design guidance is still catching up to hardware capabilities, your willingness to experiment is what bridges the gap between machine potential and creative reality.
Ready to break free from the ordinary? Advanced customization and sustainable practices invite you to stitch with intention, innovation, and a lighter touch on the planet.
8. Conclusion: Elevating Your Craft with Decorative Stitches
Mastering decorative stitches is about more than technical know-how—it’s about transforming your creative vision into tangible art. By fine-tuning machine settings, exploring diverse stitch applications, and optimizing your toolkit, you unlock new possibilities for every project. Don’t forget to create a stitch catalog and test on muslin to perfect your techniques. And when tackling complex garment designs, remember that tools like MaggieFrame magnetic embroidery hoops provide the stability needed for professional, distortion-free results. Keep experimenting, keep learning, and let decorative stitches elevate your craft to new heights.
9. FAQ: Decorative Stitch Essentials
9.1 Q: What is the best stabilizer for satin stitch on lightweight fabrics?
A: Tear-away stabilizer is ideal for lightweight fabrics, providing support during stitching and easy removal afterward.
9.2 Q: How can I fix thread breakage when sewing decorative stitches?
A: Check for needle plate compatibility—ensure you’re using the correct plate for decorative stitches—and verify your threading technique and needle selection.
9.3 Q: How do I convert decorative stitches to embroidery designs?
A: Use your machine’s continuous border functions or embroidery edit features to repeat and align decorative stitches seamlessly in embroidery mode.
9.4 Q: What are the minimum and maximum recommended sizes for satin stitches?
A: The optimal range for satin stitches is between 0.5 cm and 3 cm wide to balance coverage and stability.
9.5 Q: How can I prevent puckering or distortion with decorative stitches?
A: Match your stabilizer to fabric weight, adjust tension in small increments, and always test on scrap fabric before starting your main project.
9.6 Q: Can I design my own decorative stitch patterns on my machine?
A: Some machines allow you to program custom stitch sequences and adjust parameters dynamically, but saving these settings may be limited—consult your machine’s manual for specifics.
Ready to thread your own story? Dive into the world of decorative stitches and let your creativity shine!