1. Introduction to Singer Bobbin Threading Essentials
Threading the bobbin on a Singer sewing machine is one of those deceptively simple tasks—until it isn’t. Whether you're using a beginner embroidery machine for the first time or are a seasoned pro, you’ve likely faced the frustration of tangled threads, uneven stitches, or mysterious jams. Why does something so small have such a big impact? The answer lies in the details: proper bobbin winding, correct insertion, and model-specific techniques all play a crucial role in your sewing success.
In this guide, we’ll unravel the step-by-step process for winding and threading bobbins across different Singer models, spotlight common pitfalls, and share troubleshooting tips that keep your stitches smooth and your machine humming. From understanding the right thread direction to mastering tension adjustments and preventative maintenance, you’ll gain the confidence to tackle any bobbin-related challenge. Ready to transform your sewing experience? Let’s dive in.
Table of Contents
- 1. Introduction to Singer Bobbin Threading Essentials
- 2. Step-by-Step Bobbin Winding & Threading for Singer Models
- 3. Troubleshooting Bobbin Threading Issues
- 4. Model-Specific Guidance: Vintage vs. Modern Singers
- 5. Advanced Techniques for Flawless Threading
- 6. Preventative Maintenance for Bobbin Systems
- 7. Conclusion: Key Takeaways for Perfect Threading
- 8. FAQ: Singer Bobbin Threading Solved
2. Step-by-Step Bobbin Winding & Threading for Singer Models
2.1 Universal Winding Techniques for All Machines
No matter which Singer model you own, the basics of winding a bobbin follow a familiar rhythm—a dance of spool, thread, and tension that sets the stage for flawless stitches. Here’s how to get it right every time:
1. Prepare Your Spool and Thread Path
Start by placing your thread spool on the spool pin. For horizontal pins, secure it with a spool cap; for vertical pins, simply slide the spool on. Make sure the thread unwinds smoothly—no tangles allowed.
2. Guide the Thread Through the Machine
Pass the thread through the upper thread guide, then around the bobbin winding tension disc. This step is crucial: the tension disc ensures your bobbin winds evenly, preventing loose or bunched thread that can sabotage your stitches. Many Singer models have helpful diagrams or dotted guides right on the machine—follow them closely.
3. Attach and Start the Bobbin
Slip an empty bobbin onto the bobbin winder spindle until it clicks. Thread the tail through one of the holes in the bobbin from the inside out, and hold onto this tail as you begin winding. Move the bobbin winder to the right to engage it—this disengages the needle so only the bobbin spins.
4. Wind the Bobbin
Press the foot pedal gently to start winding. After a few turns, stop and trim the excess thread tail close to the bobbin. Continue winding at a steady speed until the bobbin is full or the winder automatically stops. Avoid overfilling—the bobbin should be evenly wound, not bulging at the edges.
5. Finish and Remove
Shift the bobbin winder back to the left to disengage, then cut the thread connecting the spool and bobbin. Remove your freshly wound bobbin and admire your handiwork.
Pro Tips:
- Always use bobbins designed for your Singer model—mixing metal and plastic types can cause tension issues.
- Wind several bobbins - especially critical for embroidery machine for small business operations handling bulk projects to avoid interruptions.
- For specialty threads like metallic or nylon, use a thread net and wind at a slower speed to prevent stretching or tangling.
References:
- How to Thread Any Bobbin (Singer, Brother, Janome) – 6 Ways
- How To Wind A Bobbin On A Singer Sewing Machine (YouTube)
2.2 Model-Specific Approaches: Tradition, M1250 & Promise II
Singer’s wide range of machines means each model can have its own quirks—especially when it comes to bobbin types and threading paths. Let’s break down some popular examples:
Singer Tradition Series (e.g., 2277):
- Bobbin Type: Typically uses a Class 15 or 15J bobbin.
- Winding: Follow the machine’s dotted guides to route the thread through the tension disc and bobbin hole. Hold the thread tail firmly until it’s caught by the winding thread.
- Insertion: Insert the bobbin into the case with the thread exiting counterclockwise. Pull the thread through the slot and under the metal finger, ensuring it’s seated properly.
Singer M1250:
- Bobbin Type: Class 15 transparent plastic bobbin.
- Thread Path: Follow the dotted lines on the machine—thread through the guide, around the tension disc, then through the bobbin hole.
- Winding: Place the bobbin on the spindle, move it right to engage, and gently press the pedal. Trim the excess thread after a few turns for a neat start.
- Insertion: Place the bobbin in the holder with the thread coming off the left side in a counterclockwise direction. Hold the bobbin in place as you pull the thread through the slot and close the cover.
Singer Promise II 1512:
- Spool Pin: Use with a felt cover to reduce friction during winding.
- Tension Adjustment: If your machine lacks automatic tension, adjust manually for even winding.
- Bobbin Insertion: As with other models, ensure the thread direction matches what’s specified—usually counterclockwise.
Class 15 vs. 15J Bobbins: While both are common in modern Singers, they are not interchangeable. The 15J has a subtle curvature difference—using the wrong type can cause tension headaches.
Quick Reference Table: Common Singer Bobbins
| Bobbin Type | Dimensions | Material | Compatible Models |
|---|---|---|---|
| Singer 163131 | 27.3mm diameter | Plastic | Older Touch and Sew models |
| Singer 8228 | 9mm diameter | Metal | Treadle machines (bullet-shaped case) |
| Class 15J | 20.4mm diameter | Plastic | Modern front-loading machines |
| Class 15K | 20mm diameter | Plastic/Metal | Most new Singer machines |
| Class 66K | N/A | Metal | Older drop-in bobbin cases |
Best Practices:
- Always check your manual for the correct bobbin type and threading direction.
- Use high-quality thread for smoother winding and fewer breaks.
- Fill bobbins to the maximum indicated level for best results.
References:
- Singer Sewing Machine Guides - Bobbin Loading (Front) – LiveSewing
- How to Wind and Insert a Bobbin into a Singer Tradition Sewing Machine - Hailey Stitches
- SINGER® M1250 Get Started - Winding The Bobbin (YouTube)
3. Troubleshooting Bobbin Threading Issues
Even the most careful sewists encounter bobbin troubles—think of it as a rite of passage. But most issues have simple fixes if you know what to look for.
3.1 Fixing Tension Imbalances and Thread Direction Errors
Tension Troubles:
- Testing Bobbin Tension: Hold the bobbin case by the thread. It should drop slightly when gently shaken—if it falls too easily or not at all, adjust the tension screw near the leaf spring (not the screw that holds the case together). Turn clockwise to tighten, counterclockwise to loosen. Tiny adjustments—think half a turn—make a big difference.
-
Top vs. Bobbin Tension:
- If your top thread is loose, increase the tension dial number.
- If bobbin thread is bunching, check bobbin tension and placement first, then inspect thread quality.
| Issue | Solution |
|---|---|
| Loose Top Thread | Tighten the top tension dial. |
| Bobbin Thread Bunching | Check bobbin tension and placement; inspect thread quality. |
Thread Direction Errors:
- Correct Insertion: Wind thread counterclockwise around the tension discs for even distribution. Insert the bobbin so the thread exits clockwise (top left to bottom right) unless your model specifies otherwise.
-
Common Mistakes:
- Inserting the bobbin the wrong way (counterclockwise instead of clockwise) can cause jams or uneven stitches.
- Skipping the pre-tensioner during winding leads to loose, uneven thread.
Forum Wisdom: A Singer 201 user on a sewing forum struggled with tight bobbin thread and straight bottom stitches despite maxing out top tension. The culprit? Incorrect thread path through the bobbin tension slot—once fixed, the bobbin rotated correctly (counterclockwise for the 201), and the stitches balanced out.
References:
- Bobbin threading on Singer 201 (forum thread)
- Which way round does the bobbin go in a vintage Singer?
- Bobbin Problems: 11 Issues And Solutions (YouTube)
3.2 Resolving Jams and Fabric Stability Challenges
Jamming Causes and Cures:
- Improper Bobbin Seating: Always ensure the bobbin clicks securely into the case. Lint or debris in the slot can block the thread—clean regularly with a small brush.
- Tangled Thread: Remove the bobbin case, untangle gently, and reinsert.
- Incorrect Threading: Double-check that the top thread follows every guide and the take-up lever—missing one can cause looping or "bird nests" under your fabric.
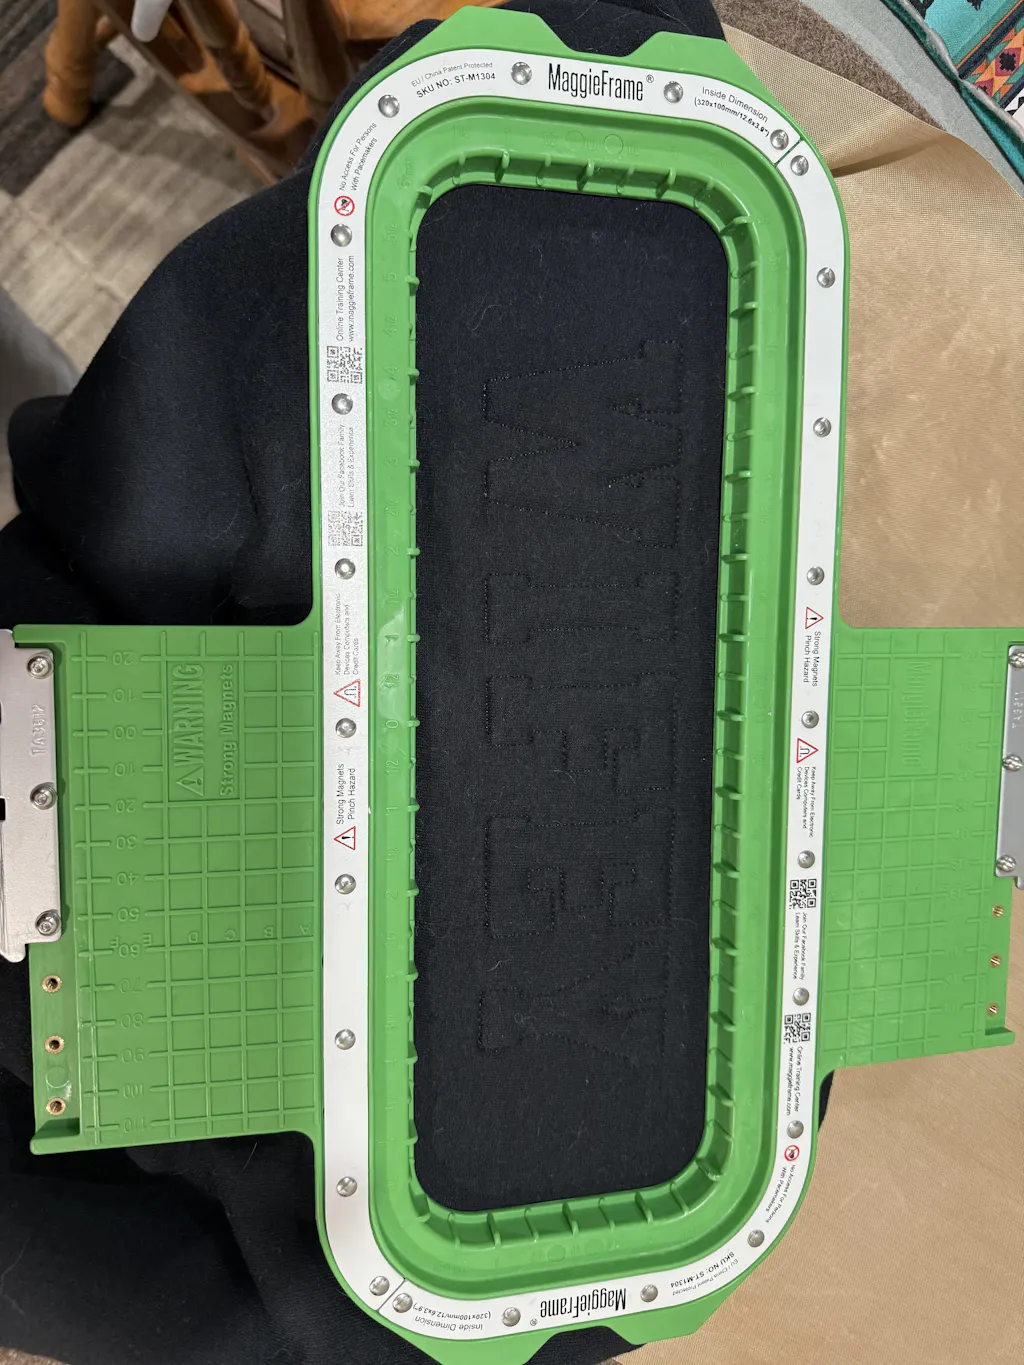
Fabric Stability: During garment embroidery, fabric shifting can lead to thread snags and uneven stitches. Using a magnetic embroidery hoop—such as MaggieFrame—can help keep your fabric perfectly stable, reducing the risk of thread jams and improving overall stitch quality. MaggieFrame's powerful magnetic clamping system holds your fabric taut and secure, so you can focus on creativity instead of troubleshooting.
Preventive Tips:
- Clean the bobbin area and tension discs regularly to remove lint.
- Use consistent-weight, high-quality threads for both top and bobbin.
- Hold thread tails behind the needle at the start of stitching to prevent them from being pulled into the machine.
References:
- Bobbin Problems: 11 Issues And Solutions (YouTube)
- MaggieFrame Brand and Products Introduction
Ready to put these solutions into practice? With the right technique and a little troubleshooting know-how, you'll spend less time wrestling with bobbins and more time enjoying your sewing projects. Keep these tips handy, and watch your Singer machine—and your creativity—run smoother than ever.
4. Model-Specific Guidance: Vintage vs. Modern Singers
Singer sewing machines are a tapestry of engineering evolution, with each generation offering its own quirks—especially when it comes to bobbin systems. Whether you’re coaxing a classic 15-91 back to life or threading a modern Tradition 2277, understanding your machine’s bobbin case design is the secret handshake to smooth stitching.
4.1 Front-Loading vs. Top-Loading Bobbin Systems
Let’s unravel the differences between front-loading and top-loading bobbin systems, and why your Singer’s birth year matters.
Front-Loading Bobbin Cases (Vintage & Some Modern Models): Picture this: you open a hinged door at the front of your machine, revealing a removable metal bobbin case with a tiny tension screw and a satisfying “click” when seated. Here’s what sets this system apart:
- Threading Path:
- Insert the bobbin into the case so the thread winds clockwise.
- Pull the thread through the slit and under the tension spring (“the finger”).
- Adjust tension using the small screw—right to tighten, left to loosen.
- Bobbin Type:
- Uses Class 15 bobbins (metal or plastic).
- Avoid using Class 15J in these cases—they look similar but can cause tension headaches.
- Tension Testing:
- Hold the loaded case by the thread and give it a gentle bounce. It should slide down an inch or two—if not, tweak the screw.
- Vintage Example:
- Singer 15-91: Employs an “11 o’clock” case. Insert the bobbin so the thread exits at the top left, thread through the slit, and “click” into place.
Top-Loading (Drop-In) Bobbin Cases (Modern Models): Modern Singers often opt for convenience with a top-loading, drop-in bobbin system. Here’s what you’ll notice:
- Threading Path:
- Drop the bobbin horizontally into the case, visible through a clear cover.
- Pull the thread through the tension guide—usually marked with helpful arrows or a “figure six” path.
- No tension screw here; the machine’s built-in tension discs do the work.
- Bobbin Type:
- Typically clear plastic bobbins, model-specific (e.g., Singer Tradition 2277).
- Operation:
- Wind the bobbin counterclockwise, drop it in, and pull the thread through the slot as indicated.
Oscillating/Rotary Bobbin Cases (Some Vintage Models): Less common today, these systems use vertical rotation and often require Class 66 bobbins with dome-shaped flanges.
| System | Bobbin Type | Thread Direction | Tension Adjustment | Typical Models |
|---|---|---|---|---|
| Front-Loading | Class 15 (metal/plastic) | Clockwise | Case screw | Singer 15-91, 201, 99K |
| Top-Loading | Plastic/metal (model-specific) | Counterclockwise | Machine tension discs | Tradition 2277, Start 1304 |
| Oscillating/Rotary | Class 66 | As per manual | Tension spring/guide | Vintage European Singers |
Vintage Wisdom: Blogs like Old Singer Sewing Machine Blog and forum threads highlight the importance of matching the bobbin’s thread direction to the case’s slot. When buying a used embroidery machine for sale, always factor in professional servicing costs. For the 66/99, thread exits anti-clockwise; for the 201, it’s clockwise. Always check your manual or the slot’s orientation if in doubt.
YouTube Tip: A “figure six” with your bobbin thread is a handy visual cue—if it looks like a six, you’re likely threading it right!
4.2 Threading Paths for Heavy-Duty & Industrial Models
Industrial Singer machines, such as the legendary 153K103, are a different beast—built for leather, canvas, and the demands of professional workshops.
Rotary Hook Systems:
- The 153K103 features a rotary hook, requiring precise bobbin placement for reliable stitching through thick materials.
- Bobbin Orientation:
- Load the bobbin so it feeds against the direction of the thread slot leading to the tension spring—usually this means counterclockwise, but always check your manual or the slot’s path.
- This setup ensures the thread stays in the tension spring, even during heavy vibration.
Threading Steps for Industrial Models:
1. Insert the bobbin into the case, following the slot’s direction.
2. Thread through the tension spring and guide.
3. Reinstall the case, ensuring it “clicks” securely.
4. Thread the needle, pull both threads back, and cycle the handwheel to draw up the bobbin thread.
Leatherworker Wisdom: On forums like Leatherworker.net, pros recommend holding back both thread tails at the start of stitching and checking tension with scrap leather. If you hear thumping or see uneven stitches, inspect the tension spring for bends or wear.
Pro Tip: Industrial machines are less forgiving—always use the correct bobbin class, and keep the hook assembly clean for flawless performance.
5. Advanced Techniques for Flawless Threading
Ready to level up your Singer threading game? Let’s dive into the science of thread direction, particularly when interfacing with machine embroidery software for digitized designs, tension mastery, and the subtle differences between vintage round bobbins and modern plastic ones.
Thread Direction: The Heart of Stitch Quality
- For most Singer machines, counterclockwise winding is the gold standard. This aligns the thread’s twist with the machine’s mechanics, preventing uneven tension and breakage.
- Vintage Models (e.g., 99K):
- Use round bobbins, inserted with the hole facing up.
- After threading, ensure the bobbin turns anti-clockwise when you pull the thread.
- Modern Models (e.g., Tradition 2277, Heavy Duty 4423):
- Insert the bobbin with the spindle side down, thread exiting through the groove.
- Follow the “figure six” path for a secure start.
Tension Balance: Your Secret Weapon
- Test on Scrap Fabric: Always check your stitches before diving into your project.
- Adjust Top Thread First: If stitches are uneven, tweak the top tension dial before fine-tuning the bobbin tension screw.
- Avoid Over-Tightening: Too much tension during winding can snap threads or cause skipped stitches.
Comparing Bobbin Types: Vintage vs. Modern
- Vintage Round Bobbins:
- Require precise alignment in the case—misalignment leads to jams.
- Modern Plastic Bobbins:
- Designed for consistent tension with counterclockwise winding; easier to monitor thread levels.
Troubleshooting Quick Hits
- If you see loops or nests under your fabric, your bobbin tension may be too low.
- Skipped stitches or puckering? Try increasing tension or switching to a heavier thread.
Best Practices:
- Consult Your Manual: Each Singer has its own quirks—don’t guess, check!
- Test, Adjust, Repeat: Fabric weight and thread type matter—always test before you sew.
- Don’t Overfill: Overwound bobbins can cause jams and tension issues.
By mastering these advanced techniques, you’ll transform your Singer from “finicky” to “flawless”—and your projects will thank you.
6. Preventative Maintenance for Bobbin Systems
A well-cared-for bobbin system is the unsung hero of every Singer machine—quietly ensuring every stitch is smooth, every seam secure. Let’s break down the steps to keep your bobbin case, tension springs, and hook assembly in top shape.
6.1 Cleaning Protocols & Lubrication Schedules
Routine Cleaning:
-
After Each Project:
- Remove the bobbin case and use a dry brush to sweep out lint, thread fragments, and debris.
- Inspect the hook assembly—remove any thread wrapped around the shaft.
- Never use metal tools; stick to soft brushes or muslin to avoid scratches.
-
Monthly Deep Clean:
- Clean tension discs by sliding folded muslin between them.
- Use compressed air to blow out stubborn lint.
- Remove the throat plate and clean underneath.
Lubrication:
-
Oil Application:
- Use only sewing machine oil (never household oils or WD-40).
- Apply 1–2 drops into the bobbin case’s center hole (often with a felt wick).
- For rotating rings, add a drop between moving and stationary parts.
| Usage Level | Oiling Schedule |
|---|---|
| Heavy (daily) | Every 2–5 bobbins or at first sign of trouble |
| Moderate | After 8–10 hours of use or daily |
| Occasional | Periodically to prevent oil drying |
Wear Indicators:
-
Tension Spring:
- Bent springs cause uneven stitches or thumping noises.
- Inspect regularly; reshape gently with fine-tipped pliers or replace if damaged.
-
Bobbin Case:
- Look for scratches, thread breakage, or inconsistent tension—replace if needed.
| Component | Action | Frequency |
|---|---|---|
| Tension spring | Inspect for bending/damage | Every 2–5 bobbins |
| Bobbin case | Clean and oil | Monthly |
| Hook assembly | Remove thread debris | After each project |
Pro Tip: Store your bobbin case in a clean, dry place when not in use. Use high-quality threads to reduce lint and breakage.
6.2 Long-Term Durability and Efficiency Tips
Preventative maintenance isn’t just about longevity—it’s about efficiency. A clean, well-oiled bobbin system means fewer thread breaks, less downtime, and more time for creativity.
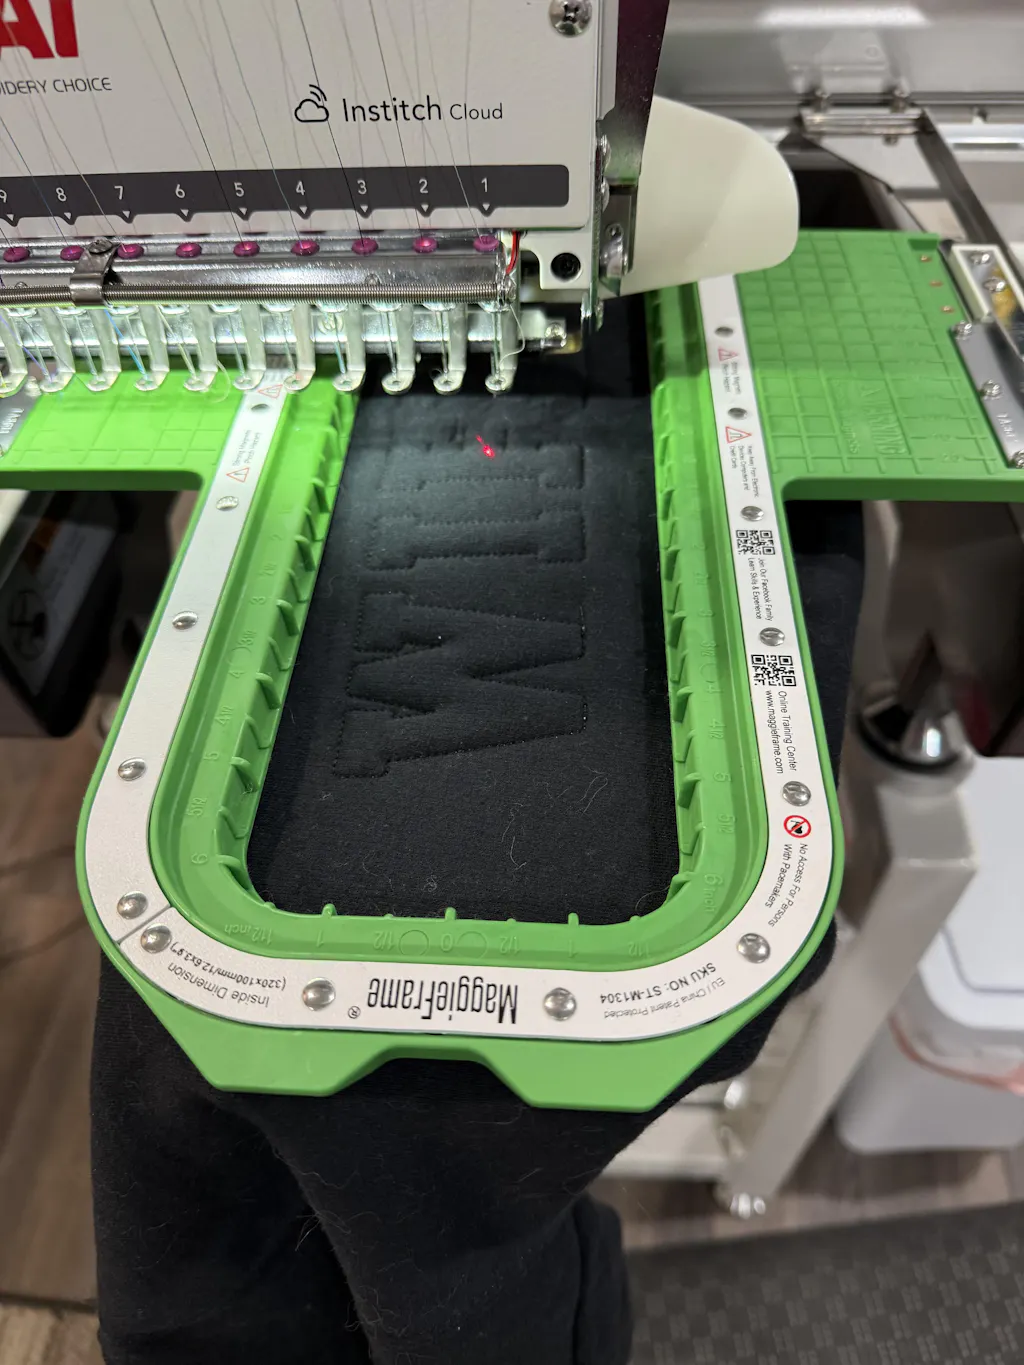
For garment embroidery projects, pairing regular maintenance with time-saving tools like MaggieFrame magnetic embroidery hoops can be a game-changer. MaggieFrame’s magnetic system keeps fabric stable, reducing thread snags and minimizing interruptions—so your workflow stays smooth and productive.
Efficiency Hacks:
- Schedule professional servicing every six months if you sew daily.
- Wind several bobbins before starting big projects to avoid mid-seam stops.
- Keep a maintenance log to track cleaning and oiling routines.
By giving your Singer’s bobbin system the TLC it deserves—and embracing innovations like MaggieFrame—you’ll enjoy flawless stitches and a machine that stands the test of time.
7. Conclusion: Key Takeaways for Perfect Threading
Mastering bobbin threading on your Singer machine is more than a routine—it’s the foundation for flawless sewing and embroidery. From winding your bobbin with even tension to inserting it in the correct direction for your specific model, every detail matters. Remember to check your manual for model-specific guidance, adjust tension with care, and keep your bobbin area clean for smooth operation. Consistent, precise threading not only elevates your stitch quality but also makes your Singer one of the best embroidery machine for home business options and extends your machine’s lifespan. With these essential steps and troubleshooting tips in hand, you’re ready to tackle any project with confidence and creativity.
8. FAQ: Singer Bobbin Threading Solved
8.1 Q: Why does my bobbin keep unwinding or causing thread jams?
A: This is often caused by inserting the bobbin in the wrong direction. Most Singer models require the bobbin thread to unwind counterclockwise (for top-loading/drop-in systems) or clockwise (for many front-loading systems). Always check your machine’s manual or look for directional arrows on the bobbin case. Threading in the wrong direction can result in poor tension, jams, or uneven stitches.
8.2 Q: How can I fix inconsistent tension in my stitches?
A: Inconsistent tension can stem from several sources. First, make sure your bobbin is wound evenly and inserted correctly. Clean the tension discs and bobbin case regularly to remove lint or thread debris. For front-loading models, test the bobbin tension by suspending the case by the thread—it should slide down gently when you give it a slight tug. Adjust the tension screw in tiny increments if needed, and always use the same thread type in both the needle and bobbin for best results.
8.3 Q: Can I use metal bobbins in my modern Singer sewing machine?
A: Compatibility depends on your specific Singer model. Many modern Singers use plastic bobbins, especially for drop-in/top-loading systems, while some vintage or front-loading models require metal bobbins. Using the wrong bobbin type can cause tension issues or damage your machine. Always consult your manual or a compatibility chart to ensure you’re using the correct bobbin material and size for your machine.
8.4 Q: Is it safe to wind a bobbin through the needle without rethreading the upper thread?
A: Some Singer models, like the Touch & Sew series, are designed to allow bobbin winding through the needle, saving time. However, this method is not recommended for all machines—especially computerized or delicate models—as it may cause thread fraying or affect tension. If you choose to wind this way, ensure the thread passes through the bobbin winding tension disc to avoid loose or uneven winding.
8.5 Q: What’s the best way to prevent thread loops or “bird nests” under my fabric?
A: Thread loops under your fabric are usually a sign of improper threading or tension issues. Double-check that both the upper and bobbin threads are threaded correctly, and that the presser foot is raised when threading the upper path. Make sure the thread passes through the take-up lever and all guides. Using high-quality thread and cleaning the bobbin area regularly can also help prevent tangles.
8.6 Q: How do I know if my bobbin is wound evenly?
A: An evenly wound bobbin will have thread distributed smoothly across its width, without bulges or loose loops. Wind at a steady speed, use the bobbin winding tension disc, and stop winding when the bobbin is nearly full but not overflowing. Trim any excess thread tails after the first few winds to prevent tangling.
8.7 Q: Can I use specialty threads (like metallic or nylon) in my Singer bobbin?
A: Yes, but with caution. When winding specialty threads, use a thread net and wind at a slower speed to prevent stretching or tangling. Only fill the bobbin halfway for threads like transparent nylon, as overfilling can cause performance issues. Always test on scrap fabric before starting your main project.
With these answers, you’re well-equipped to solve the most common Singer bobbin threading challenges and keep your sewing running smoothly. Happy stitching!