1. Introduction to Zipper Sizing Fundamentals
Getting the right zipper size isn’t just a detail—it’s the difference between a project that zips up perfectly and one that leaves you frustrated at the finish line. Whether you’re sewing a dress, repairing a jacket, or crafting a custom bag, understanding zipper sizing is essential. In this guide, you’ll learn how to decode zipper size numbers, measure zipper length correctly, choose the right size for your fabric, and troubleshoot replacements with confidence. Ready to zip through the confusion? Let’s break down the essentials so you can find the perfect fit for every project.
Table of Contents
- 1. Introduction to Zipper Sizing Fundamentals
- 2. Understanding Zipper Sizing Standards
- 3. Measuring Zipper Length Correctly
- 4. Printable Zipper Reference Charts
- 5. Selecting Zippers for Different Projects
- 6. Troubleshooting and Replacing Zippers
- 7. Adjusting Zipper Lengths
- 8. Conclusion: Mastering Zipper Selection
- 9. Zipper Sizing FAQ
2. Understanding Zipper Sizing Standards
When you pick up a zipper labeled #3, #5, or #8, you’re not just looking at a random number—it’s a direct reference to the width of the zipper teeth, measured in millimeters, when the zipper is closed. This universal sizing system is the backbone of zipper selection, ensuring consistency across brands and applications.
2.1 Decoding Zipper Numbering Systems (#3, #5, #8)
Let’s unravel the numbers. The “#” on a zipper—like #3, #5, or #8—tells you the approximate width of the teeth in millimeters. For example, a #5 zipper’s teeth are about 5mm wide. This sizing method is standardized by major manufacturers like YKK and is used worldwide.
Here’s a handy reference chart to visualize zipper sizes and their typical uses:
| Zipper Size | Approx. Width (mm) | Approx. Width (inches) | Typical Applications |
|---|---|---|---|
| #1-#2 | 1-2 | 0.04–0.08 | Delicate fabrics, children’s clothing, small pouches |
| #3-#4 | 3-4 | 0.12–0.16 | Dresses, skirts, pants, cushions, handbags |
| #4.5 | 4.5 | 0.18 | Pillows, purses, small home décor |
| #5 | 5 | 0.20 | Jackets, bags, backpacks, upholstery |
| #7-#8 | 7-8 | 0.28–0.31 | Outdoor gear, heavy garments, luggage |
| #10 | 10 | 0.39 | Marine covers, tents, industrial gear |
| #12-#15 | 12–15 | 0.47–0.59 | Large covers, heavy-duty applications |
Why does this matter? Lower numbers mean lighter, thinner zippers—perfect for delicate fabrics. Larger numbers mean sturdier, heavier zippers, ideal for robust projects like backpacks or outdoor gear.
How to measure zipper size:
- Fully close the zipper.
- Measure straight across the width of the teeth (not the fabric tape).
- The measurement in millimeters matches the size number (e.g., 5mm = #5).
If the slider is missing or unmarked, don’t worry—just measure the teeth width to determine the size.
2.2 Material Variations Across Sizes
The beauty of the zipper sizing system is its consistency—whether you’re working with metal, coil (nylon or polyester), or molded plastic zippers, the size number always refers to the closed teeth width. That said, there are subtle differences:
- Metal zippers are sturdy and often used in jeans, jackets, and bags. Their teeth are clamped onto the tape, making them highly durable but heavier.
- Coil zippers (nylon or polyester) are lightweight, flexible, and great for garments, bags, and curved applications. Their teeth are made from a coiled filament sewn onto the tape.
- Molded plastic zippers have teeth formed directly onto the tape. They’re durable, colorful, and commonly found in sportswear and children’s clothing.
While the sizing system applies across all materials, actual measurements can vary slightly due to manufacturing tolerances. For example, an #8 zipper might measure anywhere from 7.2 to 8.0mm. Always measure if you need absolute precision.
Pro tip:
If you’re replacing a zipper and the slider number doesn’t match the teeth width, trust your ruler—not the marking! Sometimes the number on the slider refers to the mold, not the actual size.
3. Measuring Zipper Length Correctly
You’ve got the right size—now, how do you measure the length? Zipper length isn’t about the tape from end to end; it’s about the functional span, the distance the slider actually travels. This is crucial for ensuring your zipper fits your project perfectly.
3.1 Step-by-Step Measurement Techniques
General Principle: Always measure the length of the zipper teeth—from one end stop to the other—not the extra fabric tape.
For Different Zipper Types:
- Closed-End Zippers (Non-Separating):
- Lay the zipper flat and fully closed.
- Measure from the top stop to the bottom stop (ignore the tape beyond the stops).
- Example: Used in bags, skirts, and pockets.
- Separating Zippers (Open-End/Jacket):
- Close the zipper and lay it flat.
- Measure from the top stop to the starter box at the bottom (not the insertion pin).
- Example: Jackets, coats, vests.
- Two-Way Zippers:
- If separating: measure from the top stop to the starter box.
- If closed-end: measure from one bottom stop to the other.
- Example: Luggage, some jackets.
- Bag Zippers (Non-Separating, Two Sliders):
- Bring both sliders together at one end.
- Measure from top stop to bottom stop.
Tools: Use a tape measure or ruler with both metric and imperial units for best accuracy. Always measure with the zipper fully closed.
3.2 Avoiding Common Measurement Errors
Even seasoned sewists can slip up on zipper measurements. Here’s how to sidestep the most common pitfalls:
- Don’t include the fabric tape extensions. Only measure the teeth section between stops.
- Don’t measure the pull tab or slider. The slider isn’t part of the functional length.
- Don’t measure an open zipper. Always close it before measuring.
- For separating zippers, don’t measure to the insertion pin—stop at the starter box.
- Be wary of slider markings. If in doubt, measure the teeth width and length directly.
By following these guidelines, you’ll ensure your zipper fits your project like a glove—no more last-minute surprises.
Ready to put your new zipper knowledge to work? Keep reading for printable reference charts, project-specific selection tips, and troubleshooting advice!
4. Printable Zipper Reference Charts
When it comes to sewing, nothing beats a visual cheat sheet for quick, confident zipper selection. Whether you’re matching a #3 coil zipper to a delicate dress or deciphering the anatomy of a two-way waterproof zipper, printable charts and diagrams are your secret weapon. Let’s dive into the most practical reference tools for your sewing space.
4.1 Size-to-Width Conversion Charts
Ever stood in front of a wall of zippers, squinting at the tiny numbers and wondering what they actually mean? You’re not alone. Zipper sizes—those familiar #3, #5, #8 labels—correspond directly to the width of the closed teeth, measured in millimeters. But visualizing those differences can be tricky without a handy chart.
Why Use a Printable Chart?
Professional suppliers like WAWAK and Sailrite offer downloadable zipper size charts that show the actual width of each gauge, making it easy to compare at a glance. These charts are designed for real-world use: print one out, keep it at your sewing table, and you’ll never second-guess your zipper choice again.
Standard Zipper Size-to-Width Reference
Here’s a consolidated chart based on industry standards and leading supplier guides:
| Zipper Size | Teeth Width (mm) | Teeth Width (inches) | Typical Applications |
|---|---|---|---|
| #2 | 2 | 0.08 | Pillows, pouches, light-duty bags |
| #3 | 3–4 | 0.12–0.16 | Dresses, skirts, cushions, lightweight garments |
| #4.5 | 4.5 | 0.18 | Purses, small home décor |
| #5 | 5–6 | 0.20–0.24 | Jackets, jeans, handbags, backpacks |
| #7–#8 | 7–9 | 0.28–0.35 | Outdoor gear, boots, luggage, heavy-duty bags |
| #10 | 10 | 0.39 | Tents, marine covers, industrial applications |
| #12–#15 | 12–15 | 0.47–0.59 | Large tents, portable shelters, oversized covers |
Pro Tip: Download or print a graphical chart from trusted suppliers like WAWAK for a true-to-scale comparison—perfect for laying your zipper right on top for an instant match.
Application Examples
- #3 Invisible Zipper: Ideal for a formal dress where you want the closure to disappear. - #5 Molded Zipper: The go-to for a sturdy backpack or jacket. - #8 or #10 Coil Zipper: Built for duffel bags, tents, or anything that takes a beating.
Keep this chart within arm’s reach, and you’ll breeze through zipper selection—no more measuring tape gymnastics or guesswork required.
4.2 Anatomy Diagrams for Complex Zippers
If you’ve ever puzzled over where to measure a waterproof zipper or how a two-way separating zipper is constructed, you’re in good company. The devil is in the details—and the details are in the diagrams.
Breaking Down Zipper Anatomy
Industry manuals, like those from YKK, provide clear illustrations labeling every component: top stop, slider, teeth (elements), tape, retainer box, and insertion pin. Understanding these parts is essential for both measuring and installing zippers correctly.
Key Parts of a Zipper:
- Top Stop: Prevents the slider from coming off the top. - Slider: Joins or separates the teeth. - Pull Tab: What you grab to move the slider. - Teeth/Chain: The interlocking mechanism. - Tape: The fabric on either side. - Bottom Stop/Retainer Box: Stops the slider at the end or allows separation (for jackets). - Insertion Pin: Used on separating zippers to start the closure.
Measurement Points for Different Zipper Types
YKK and other leading guides break down measurement points for accuracy:
| Zipper Type | Measurement Point | Top Extension | Bottom Extension |
|---|---|---|---|
| Closed-End | Top stop to bottom stop | Yes | Yes |
| Open-End (Jacket) | Top stop to retainer box (not pin) | Yes | Not applicable |
| Two-Way Separating | Top stop to bottom retainer box | Yes | Not applicable |
| Waterproof Zipper | Same as above, but note any coated area | Varies | Varies |
Diagram Tip: Reference YKK’s manual or WAWAK’s guides for printable diagrams. These visuals show exactly where to place your ruler, ensuring you measure only the functional zipper—not the extra tape.
Why Diagrams Matter
- Two-Way Zippers: Show how sliders can move from both ends—critical for luggage or long jackets. - Waterproof Zippers: Highlight the coated tape and special stops, so you don’t accidentally trim away water resistance. - Invisible Zippers: Reveal the hidden teeth, so you know where to measure and sew.
Action Step: Print out anatomy diagrams and tape them to your sewing room wall. When in doubt, a quick glance will keep your measurements—and your projects—on track.
5. Selecting Zippers for Different Projects
Choosing the right zipper is more than matching a number to a project—it’s about balancing fabric weight, durability, and function. Let’s break down how to pair zipper sizes and types with your sewing ambitions, from floaty dresses to rugged duffel bags.
5.1 Fabric Weight and Zipper Size Pairings
The golden rule? Match the zipper’s strength to your fabric’s weight and your project’s demands. Here’s how the pros do it:
Lightweight Fabrics (2–4 oz/yd)
- Recommended Zipper Sizes: #2–#4
- Best For: Dresses, skirts, formal wear, cushions, small purses
- Why: These zippers are subtle and won’t weigh down delicate fabrics. Invisible zippers (#2 or #3) are especially popular for their discreet finish.
Medium-Weight Fabrics (4–8 oz/yd)
- Recommended Zipper Sizes: #4.5–#5
- Best For: Jeans, jackets, everyday handbags, backpacks
- Why: #5 is the sweet spot for denim and outerwear—strong enough to handle stress, but not bulky.
Heavyweight Fabrics (8–14 oz/yd)
- Recommended Zipper Sizes: #5–#10
- Best For: Coats, duffel bags, luggage, upholstery, outdoor gear
- Why: Larger zippers stand up to repeated use and heavy loads.
Application Examples
- Dress or Skirt: A #3 invisible zipper blends seamlessly into lightweight fabric.
- Jacket: A #5 coil or metal zipper provides durability and smooth operation.
- Duffel Bag: Go for a #8 or #10 molded zipper to handle the weight and wear.
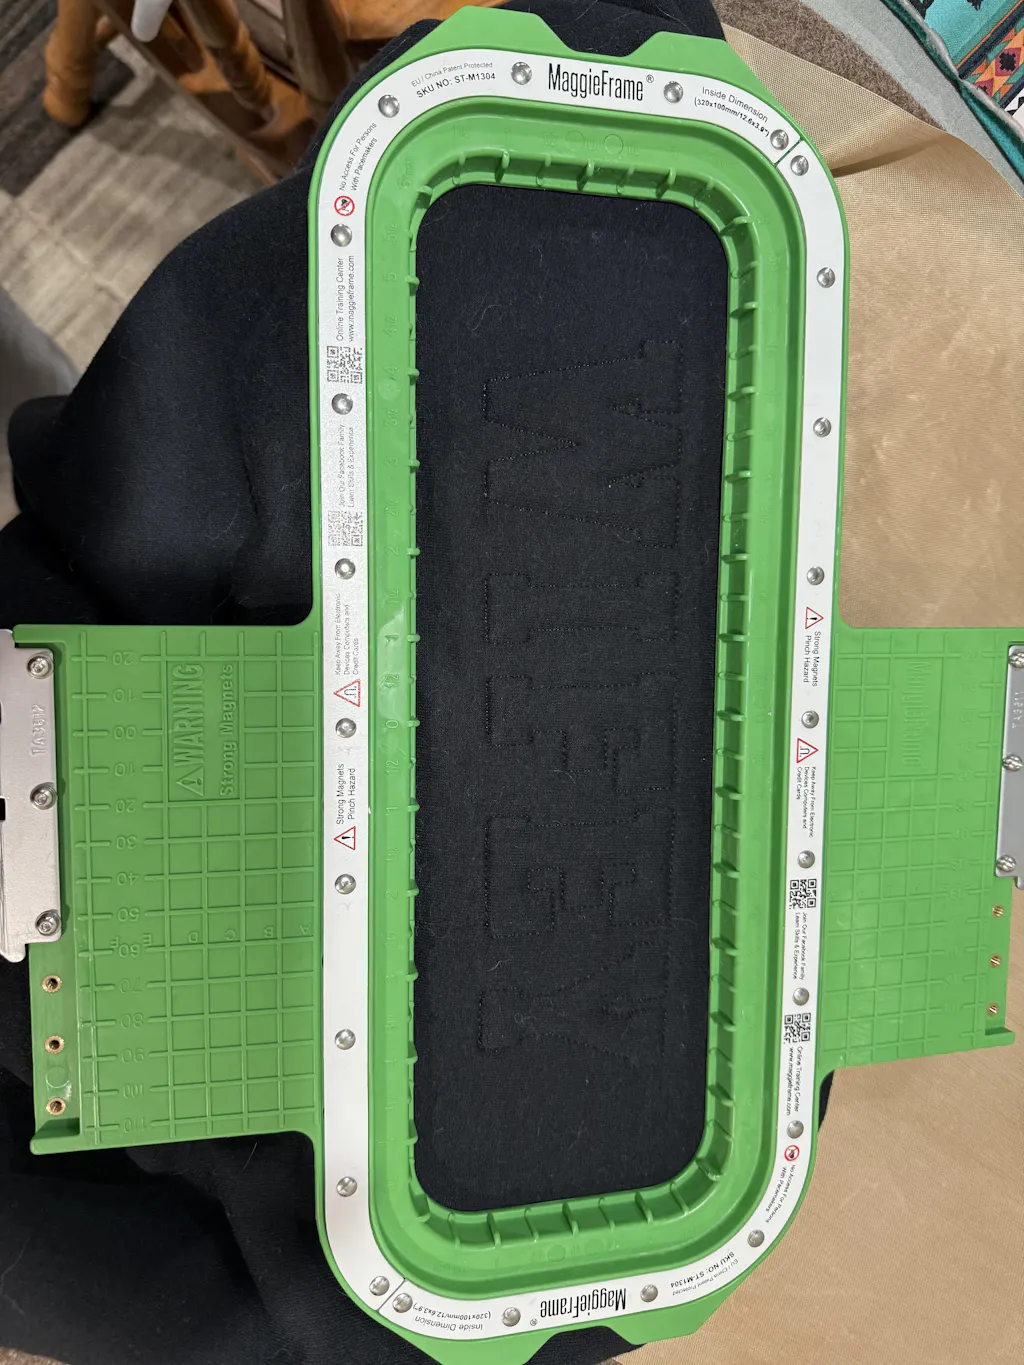
Pro Tip: When installing zippers—especially in tricky spots like seams with bulky fabrics or near embroidery—using magnetic embroidery hoops like MaggieFrame can make a world of difference. MaggieFrame’s powerful magnetic system keeps your fabric flat and stable, preventing shifting or puckering as you sew in the zipper. This is especially helpful for garment embroidery hooping, ensuring a professional finish every time.
5.2 Zipper Type Recommendations
Not all zippers are created equal. The material and construction of your zipper matter just as much as the size.
Coil Zippers
- Material: Nylon or polyester
- Strengths: Flexible, lightweight, easy to sew around curves
- Best For: Clothing, bags, and projects needing a soft touch
Molded Plastic Zippers
- Material: Molded plastic teeth
- Strengths: Durable, colorful, resistant to moisture
- Best For: Children’s clothing, sportswear, medium to heavy bags
Metal Zippers
- Material: Brass, nickel, or aluminum teeth
- Strengths: Maximum durability, classic look
- Best For: Jeans, leather jackets, boots, heavy-duty bags
Choosing by Project
- Garments: Coil zippers for flexibility; metal for strength and style.
- Bags: Molded or metal for durability; coil for lightweight totes.
- Outdoor Gear: Molded plastic or large coil zippers for weather resistance.
Quick Comparison Table:
| Zipper Type | Flexibility | Durability | Best For |
|---|---|---|---|
| Coil | High | Moderate | Clothing, bags, curved seams |
| Molded Plastic | Moderate | High | Sportswear, kids’ clothes, bags |
| Metal | Low | Very High | Jeans, jackets, boots, luggage |
Tip: Always check the zipper’s size marking (usually on the slider or tape) to ensure compatibility with your fabric and project needs.
6. Troubleshooting and Replacing Zippers
Zipper trouble is inevitable, but replacement doesn’t have to be a mystery. With a few smart strategies, you can identify the right size—even on a mangled zipper—and ensure your fix lasts.
6.1 Identifying Sizes on Damaged Zippers
When disaster strikes—a broken slider, missing teeth, or a zipper that just won’t budge—don’t panic. Here’s how to find the right replacement:
Step 1: Check the Slider Marking
- Look for a Number: Many zippers have the size embossed on the back of the slider (e.g., “5” or “5C”).
- Caution: Sometimes, this number refers to the mold, not the actual size. If you’re unsure, move to step 2.
Step 2: Measure the Teeth Width
- How-To: Fully close the zipper and measure straight across the teeth (not the tape) in millimeters.
- Reference: #3 = ~3mm, #5 = ~5mm, #7 = ~7mm, #10 = ~10mm.
- Tools: Ruler, tape measure, or digital caliper for precision.
Step 3: Match Application
- Clothing: #3–#5
- Jackets/Backpacks: #5–#7
- Outdoor Gear/Luggage: #7–#10
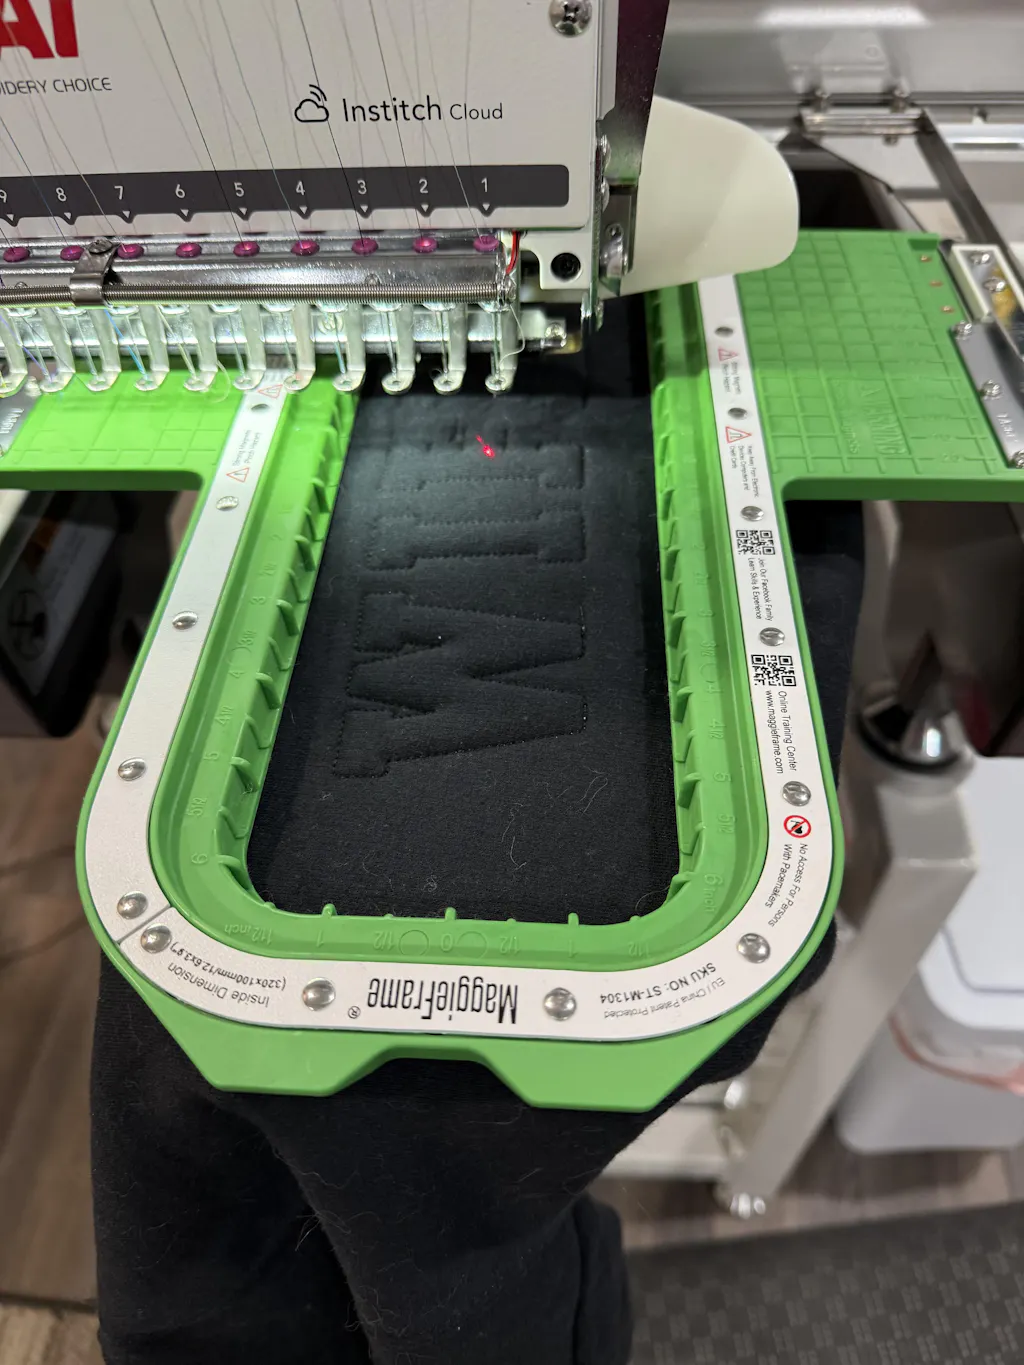
Special Note for Embroidery: If you need to replace a zipper on an embroidered garment, stability is crucial. This is where a magnetic embroidery hoop like MaggieFrame shines—keeping the fabric flat and secure so you can remove and install the new zipper without distorting your beautiful stitches.
Step 4: Measure the Length
- Closed-End: Top stop to bottom stop.
- Open-End (Jacket): Top stop to retainer box (not the pin).
- Two-Way: Top stop to bottom retainer box.
Tolerance: Manufacturers allow a small margin (±5mm for zippers under 30cm, ±10mm for 30–60cm, etc.), so don’t stress over a millimeter or two.
6.2 Compatibility Considerations
A replacement zipper is only as good as its fit. Here’s how to ensure a smooth swap:
Slider and Track Alignment
- Match the Size: The slider must be the same size as the zipper chain (e.g., #5 slider for #5 zipper).
- Type Matters: Coil, molded, and metal zippers each require compatible sliders—don’t mix and match.
Zipper Type
- Invisible Zippers: Teeth are hidden; used in dresses and cushions.
- Waterproof Zippers: Coated for rain gear and marine use.
- Two-Way Zippers: Open from both ends; perfect for luggage and long coats.
Installation Tips
- Remove Old Zipper Carefully: Note the orientation and how it’s sewn in.
- Align Teeth Precisely: Misalignment leads to snags and frustration.
- Test Before Final Stitching: Zip up and down a few times to check smooth operation.
Pro Tip: For embroidered garments, stabilize the area with a magnetic embroidery hoop like MaggieFrame during zipper replacement. This keeps the fabric taut and prevents shifting, ensuring your repair looks seamless and professional.
Ready to zip through your next project? Keep these charts, tips, and troubleshooting strategies close at hand—and let every zipper installation be a perfect fit.
7. Adjusting Zipper Lengths
Sometimes, the perfect zipper just isn’t the perfect length. Whether you’re working with a coil, metal, or invisible zipper, knowing how to safely shorten (and, in rare cases, extend) a zipper while maintaining its functionality is a must-have skill for sewists and repair pros alike. Let’s break down the essential techniques, tools, and precautions for adjusting zipper lengths—so your project always zips up just right.
Understanding Zipper Sizing Before You Start
First, a quick refresher: zipper sizes (like #3, #5, #8) refer to the width of the teeth in millimeters. This sizing is consistent across most brands and materials, so always match the size to your fabric weight and project needs before making any adjustments.
Determining the Right Length for Your Project
Before you reach for your scissors or pliers, measure the required zipper length for your specific project:
- Conventional zippers: Measure from the top of the slider to the bottom stop, then add seam allowance (typically 5/8 inch) and, for necklines, an extra 1/2 inch for a hook and eye if needed.
- Invisible zippers: Mark the zipper 2 inches longer than the opening it needs to fit, since the pull sits at the top stop when closed.
General Shortening Steps
- Measure from the bottom stop to your desired finished length and mark both sides of the tape.
- Remove teeth above the mark (method depends on zipper type).
- Install new stops (top or bottom, as needed).
- Trim excess tape for a clean finish.
Metal Zippers
Metal zippers require a bit of muscle and precision:
- Mark the desired length on the tape, measuring from the bottom stop.
- Use nippers or small pliers to remove each tooth above your mark—be gentle to avoid damaging the tape.
- Add new top stops using needle-nose pliers, protecting the finish with a soft cloth if needed.
- For a custom look, you can color the stops with nail polish or model paint before attaching.
Coil (Nylon/Polyester) and Molded Plastic Zippers
These are easier to adjust:
- Plastic teeth: Use nippers to snip off the heads, then trim away remaining plastic from the tape.
- Coil zippers: Trim the coil parallel to the tape with small scissors, then use the tip of the scissors or an awl to remove the loops from the tape.
- If the tape frays (nylon only), you can carefully melt the end with a lighter. For cotton tapes, simply trim for a tidy finish.
Invisible Zippers
Invisible zippers are unique:
- Always shorten from the bottom, as the top stops are molded and cannot be replaced.
- Measure the zipper, mark it 2 inches longer than your opening, and cut off the excess at the bottom.
- Secure the new end by melting the teeth (synthetics only), wrapping with a scrap of lining (“zipper diaper”), or bar-tacking with a wide zigzag stitch.
Tools You’ll Need
- Nippers or pliers: For removing metal teeth and installing stops.
- Small scissors (not your fabric scissors!): For trimming coils or tape.
- Awl or needle: To help remove coil loops.
- Lighter: For melting synthetic zipper ends.
- Heavy-duty thread: For whip-stitching stops if needed.
- Soft cloth: To protect finishes when using pliers.
Maintaining Functionality
- Measure precisely. Mark both sides of the tape at the finished length.
- Install stops securely. Use metal stops or whip-stitch with doubled thread.
- Protect the tape. Be gentle when removing teeth to avoid weakening the tape.
- Check slider position. For garments, the top stop should sit just below the waist or neckline seam.
Extending Zippers: Know the Limits
Extending a zipper is rarely practical for home sewists. While it’s possible to build custom zippers from continuous chain and sliders, replacing a too-short zipper with a longer one is usually the best solution.
Practical Limits and When to Replace
- Metal zippers: Avoid shortening by more than 2–3 inches to maintain strength.
- Coil zippers: Can be shortened more, but always leave at least 1 inch of tape beyond the new stop.
- Invisible zippers: Shorten only from the bottom, and secure the new end carefully.
If the adjustment needed is significant, or the zipper is worn or damaged, replacement is safer than modification.
8. Conclusion: Mastering Zipper Selection
Selecting the right zipper comes down to understanding two core principles: the size number equals teeth width, and the length is the functional span between stops. By matching zipper size and type to your fabric and project needs, and measuring with care, you’ll ensure smooth, reliable closures every time. Keep reference charts handy, double-check your measurements, and don’t hesitate to adjust or replace zippers as needed—your sewing will thank you for it!
9. Zipper Sizing FAQ
9.1 Q: What does the number on a zipper mean?
A: The number (like #3, #5, #8) refers to the width of the zipper teeth in millimeters when closed. For example, a #5 zipper has teeth about 5mm wide.
9.2 Q: How do I measure zipper length correctly?
A: Always measure from the top stop to the bottom stop (or retainer box for separating zippers), not including the extra fabric tape. The measured length is the functional span the slider travels.
9.3 Q: Can I shorten a zipper at home?
A: Yes! Most zippers can be shortened using basic tools. Metal zippers require removing teeth and adding new stops; coil and plastic zippers can be trimmed and secured more easily. Invisible zippers must be shortened from the bottom.
9.4 Q: What should I do if my zipper is too short?
A: Extending a zipper is not usually practical. The best solution is to replace it with a longer zipper of the same size and type.
9.5 Q: Why doesn’t the number on my slider match the teeth width?
A: Sometimes the number on the slider refers to the mold, not the actual zipper size. If in doubt, measure the teeth width directly for accuracy.
9.6 Q: How do I ensure replacement zippers are compatible?
A: Match the size (teeth width), type (coil, metal, molded), and length to your project. The slider and zipper chain must be the same size and type for smooth operation.
9.7 Q: What’s the best zipper type for outdoor or marine use?
A: Molded plastic or coil zippers are best for outdoor and marine applications due to their resistance to corrosion and weather.
9.8 Q: My zipper keeps breaking—what am I doing wrong?
A: Frequent breakage could be due to using a zipper that’s too small for your fabric weight or application. Choose a larger, sturdier zipper for heavy-duty projects.