1. Introduction: Unlocking Perfect Cap Embroidery
Cap embroidery on an embroidery machine isn’t just a technical challenge—it’s an art form that demands precision, creativity, and a deep understanding of curved surfaces. Unlike flat garments, caps introduce a host of unique obstacles: limited design space, tricky seams, fabric tension, and the ever-present risk of puckering or distortion. In this guide, we’ll break down the essential techniques and strategies for flawless cap digitizing, from stitch direction and design simplification to tool selection and advanced troubleshooting. Whether you’re a seasoned embroidery professional or an ambitious beginner, mastering these methods will help you deliver crisp, commercial-quality results that make your brand—and your clients—stand out.
Table of Contents
- 1. Introduction: Unlocking Perfect Cap Embroidery
- 2. Core Principles of Cap Digitizing: Stitch Direction and Design Optimization
- 3. Solving Common Cap Embroidery Challenges
- 4. Tool Selection Guide: Needles, Threads, and Machines
- 5. Advanced Techniques: Small Lettering and 3D Puff
- 6. Software Showdown: Cap-Specific Digitizing Tools
- 7. Troubleshooting Rare Errors: 3D Overflows and Needle Deflection
- 8. Conclusion: Precision Techniques for Professional Results
- 9. FAQ: Cap Digitizing Essentials Answered
2. Core Principles of Cap Digitizing: Stitch Direction and Design Optimization
Cap digitizing from embroidery designs com is a game of balance—between creative ambition and the practical realities of a curved, compact canvas. Let’s dive into the foundational principles that separate pro-level cap embroidery from amateur attempts.
2.1 Artwork Simplification for Curved Surfaces
Ever tried to squeeze a masterpiece onto a postage stamp? That’s what cap digitizing can feel like if you don’t simplify your artwork. The embroidery area on most caps is capped (pun intended) at about 2–2.5 inches in height and roughly 5 inches in width. This tight space means fine lines, intricate shading, and tiny details often get lost—or worse, turn into a tangled mess of stitches.
Here’s how to make your design cap-ready:
- Prioritize Bold Elements: Focus on the core shapes, logos, or text that define your brand identity. Ask yourself: If I had to recognize this design from across the room, what would stand out?
- Eliminate Excess Detail: Remove minor elements, thin lines, and complex gradients. Simplifying isn’t about losing character—it’s about ensuring clarity and impact.
- Optimize Lettering: If your design includes text, break it into two lines if needed, and avoid cramming more than 27 letters into a single row (especially on lower-profile caps).
- Respect Spatial Boundaries: Always keep at least half an inch from the brim and the sides. Anything closer risks distortion or "needle break zone" territory.
- Adapt for Material: Remember, what works on a twill cap may flop on a stretchy beanie. Adjust stitch count and pull compensation based on the fabric’s behavior.
Pro tip from Melco’s guidelines and YouTube experts: Measure from the bill up to where the cap curves, subtract one inch, and use that as your safe design height. For organic, borderless designs, you can push the boundaries slightly—but beware of distortion.
2.2 Stitch Sequencing Strategies: Bottom-Up & Center-Out
If you only remember two rules about cap digitizing, let them be these: Always stitch from the bottom up and from the center out.
Why? Because caps aren’t flat. The center seam is the Bermuda Triangle of embroidery—designs stitched the wrong way can vanish into folds, or worse, warp beyond recognition. Here’s how to keep your stitches (and sanity) intact:
- Start at the Bottom: Initiate embroidery at the bill and move toward the crown. This approach prevents ripples and minimizes the risk of needle deflection caused by the stiff brim.
- Work from the Center Out: Begin at the center seam and radiate outward. This distributes tension evenly, reduces puckering, and helps your design "hug" the cap’s curve.
- Finish Elements as You Go: Instead of completing all fills and then all borders, finish each element (like a letter and its outline) before moving on. This keeps registration tight and prevents outlines from drifting.
- Avoid Anchors: Never sew toward an anchor point (like the bill or a finished edge)—this can push fabric and create unsightly ripples.
YouTube demonstrations make it clear: Stitching out of order leads to puckering, registration loss, and a design that looks like it’s melting off the cap. Always test your sequence on a scrap cap before going live!
3. Solving Common Cap Embroidery Challenges
Even the best digitized file can unravel—literally—if you don’t address the practical hurdles of cap embroidery. Let’s tackle the most notorious troublemakers: puckering, needle breaks, fabric shifting, and registration loss.
3.1 Puckering and Needle Break Prevention
Puckering can turn a crisp logo into a wrinkled mess, while needle breaks bring your production to a screeching halt. Both are symptoms of the cap’s curved surface and the tug-of-war between fabric, stabilizer, and stitches.
How to fight back:
-
Choose the Right Stabilizer:
- Tear-away is standard for most caps (especially structured ones you don’t wash often).
- Cut-away is best for unstructured or “dad hats” that need extra support.
-
Fine-Tune Stitch Density:
- Too dense? You’ll get puckering and thread breaks.
- Too sparse? Expect gaps and poor coverage.
- Test on scrap fabric and adjust density for each cap style.
-
Master Underlay:
- Use zigzag or center run underlay for 2D designs.
- For 3D puff, tack down stitches are essential to anchor the foam.
-
Optimize Machine Speed:
- Slow down to 500–600 stitches per minute for caps.
- Fast speeds amplify tension, increasing the risk of both puckering and needle breaks.
-
Follow the Half-Inch Rule:
- Keep your design at least half an inch from the brim and sides to avoid unstable zones where puckering and breaks are most likely.
-
Maintain Your Machine:
- Regular cleaning and oiling prevent technical hiccups that can snap needles.
From YouTube and Melco’s playbook: A tight, even hooping and the right stabilizer are your best friends. And remember, sometimes the simplest fix is swapping out a dull or wrong-sized needle.
3.2 Fabric Shifting and Registration Loss Fixes
Registration loss—where outlines and fills don’t line up—is the embroidery equivalent of a bad hair day. The culprit? Fabric shifting on the cap’s dome.
Here’s how to keep everything in place:
-
Hooping Techniques:
- Use a cap ring, frame, or a hoopmaster hooping station that fits your cap’s profile snugly.
- Employ binder clips to secure excess fabric, especially on the sides and back.
- Push the sweatband out of the way and make sure the cap is taut but not stretched.
-
Double Down on Stabilization:
- For unstructured caps, double or triple up on tear-away backing, or use a single cut-away for complex designs.
- Temporary adhesive spray can “marry” the stabilizer to the cap, reducing movement.
-
Pull Compensation:
- Adjust your digitizing software to account for the fabric’s tendency to shift and stretch.
- Increase compensation for stretchier materials or designs that cross the center seam.
-
Strategic Placement:
- Always align your design’s center with the cap’s seam.
- Use the cap’s notches or your hoop’s reference lines for perfect alignment.
Binder clip hacks from YouTube and expert advice from Melco: Don’t be afraid to over-stabilize, especially on tricky, unstructured caps. And always test your setup before running a full batch!
Ready to put these principles into practice? Stay tuned for our next sections, where we’ll cover tool selection, advanced digitizing tricks, and the secrets to mastering small text and 3D puff on caps. Your embroidery game is about to level up—one perfectly stitched cap at a time.
4. Tool Selection Guide: Needles, Threads, and Machines
Choosing the right tools including industrial embroidery machines for cap digitizing is like picking the perfect brush for a masterpiece—your results depend on it. The interplay between cap structure, fabric, needles, threads, stabilizers, and machine settings can make or break your embroidery. Let’s break down what you need to know for flawless results on every cap style.
4.1 Structured vs. Unstructured Cap Requirements
Caps come in all shapes and personalities—from the rigid confidence of a Richardson 112 to the laid-back slouch of a dad hat. Each type demands specific attention when selecting needles, stabilizers, and machine tweaks.
Needle Choices:
- For most cotton or standard cap materials, a 75/11 sharp-point needle is your go-to.
- If you’re working with tougher customers like leather or heavy canvas, step up to an 80/12 or even a 90/14 for better penetration.
- Structured caps (think trucker, fitted, or snapback) benefit from sharp-point or even titanium needles for extra durability, especially when embroidering over thick seams or dense designs.
- For unstructured or “dad hats,” a ballpoint needle can help prevent snags on softer, stretchier fabrics.
Stabilizer Weights:
- Structured caps typically pair well with a single layer of tear-away stabilizer. This gives just enough support during stitching and peels away cleanly after.
- Unstructured caps, with their floppy charm, need more backup—opt for cut-away stabilizer or double up on tear-away for extra stability, especially with complex or dense designs.
Machine Adjustments:
- Lower your embroidery speed for thick or detailed work—think 500–600 stitches per minute.
- Fine-tune thread tension and presser foot height to avoid thread breaks or puckering, especially on high-profile caps.
- Always test your setup on a scrap cap before running a full batch.
Cap Style Insights:
- Trucker Hats: Structured fronts make them easy to embroider, but watch for mesh backs—keep your design in the solid area.
- Dad Hats: Unstructured and soft, they require careful stabilization and gentle needle choices.
- Fitted Caps: Structured and snug, these can handle denser designs but still demand precise hooping and needle selection.
Pro tip from SmartPatternMaking and YouTube: Always align your needle choice and stabilizer to the cap’s material and structure. Don’t just “set and forget”—adapt for each style to keep your embroidery crisp and professional.
4.2 Optimizing Hoops and Stabilizers
The right hoop and stabilizer combo is your secret weapon for conquering cap embroidery’s notorious curve. Let’s demystify your options.
Round Cap Frames vs. Flat Hoops:
- Round cap frames (also called cap rings) are designed to match the cap’s natural curve. Use these for most structured caps—they hold the fabric taut across the dome, minimizing shifting and flagging.
- Flat hoops are best reserved for flat garments or rare specialty caps. Using a flat hoop on a curved cap is like trying to iron a shirt on a basketball—expect distortion and frustration.
When to Use Curved Wide Frames:
- For high-profile or extra-wide caps, a curved wide frame gives more surface area and stability. YouTube tutorials show how these frames help maintain tension and prevent the dreaded “puckering at the peak.”
Multi-Layer Stabilization:
- For tricky caps—like those with odd seams or extra stretch—layer two pieces of stabilizer for added support.
- Industry best practice: 3.0 oz tear-away backing is the gold standard for cap embroidery, providing enough heft to anchor stitches without leaving residue.
Best Practices:
- Always hoop the stabilizer first, then attach the cap.
- Use binder clips or similar tools to secure excess fabric, especially on unstructured caps.
- Avoid basting functions that might leave unwanted marks or distort the design area.
Takeaway from Perplexity and expert videos: The right hoop and stabilizer setup is the foundation for every flawless cap. Don’t skimp—invest in the right tools and take the time to hoop with care.
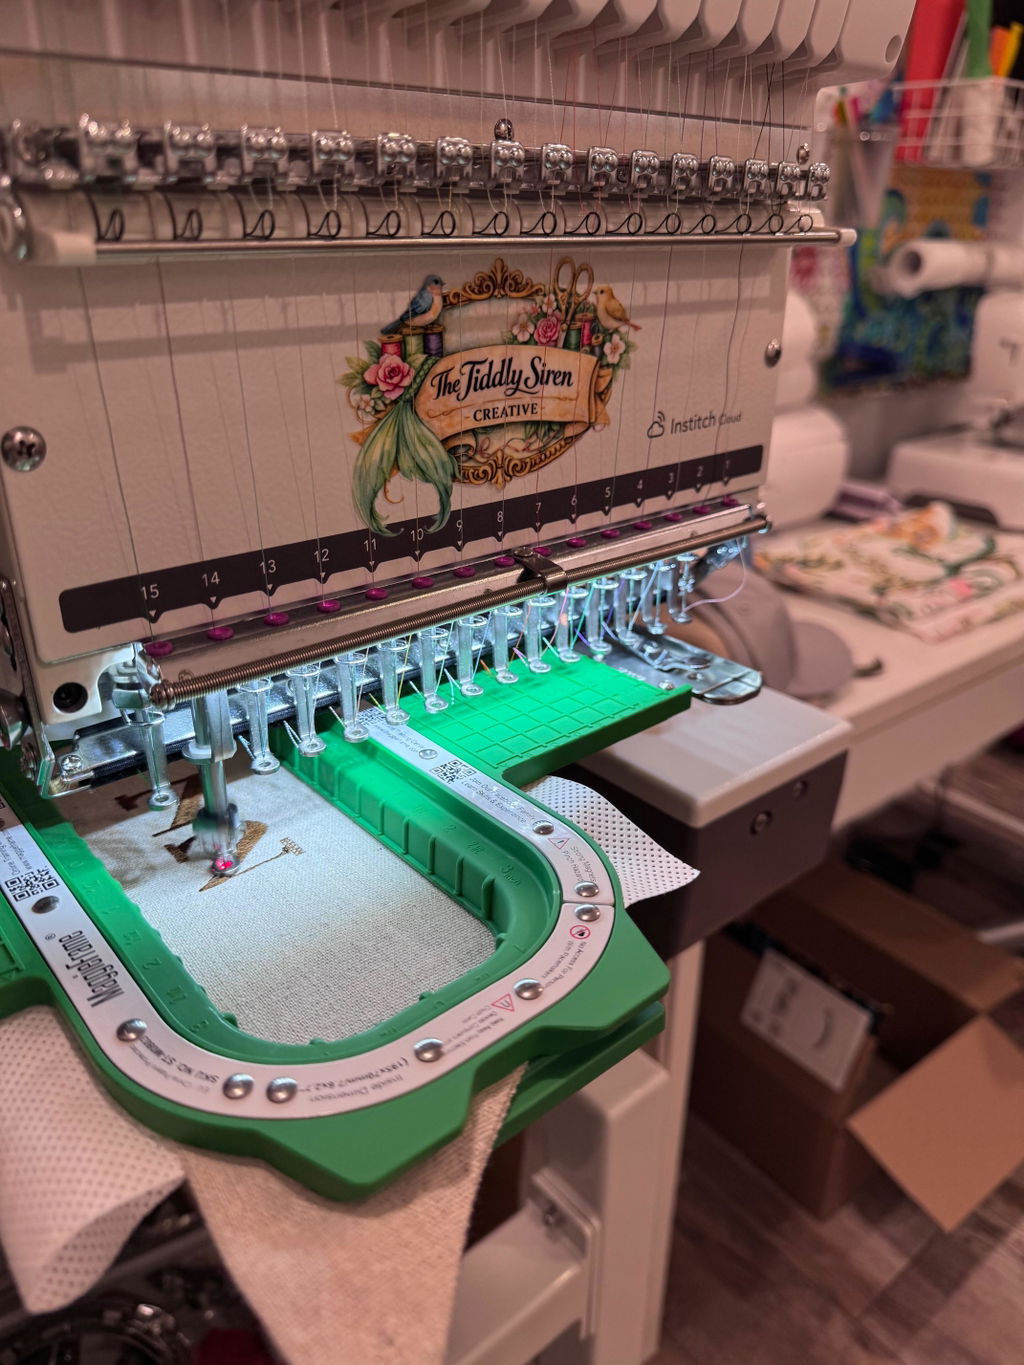
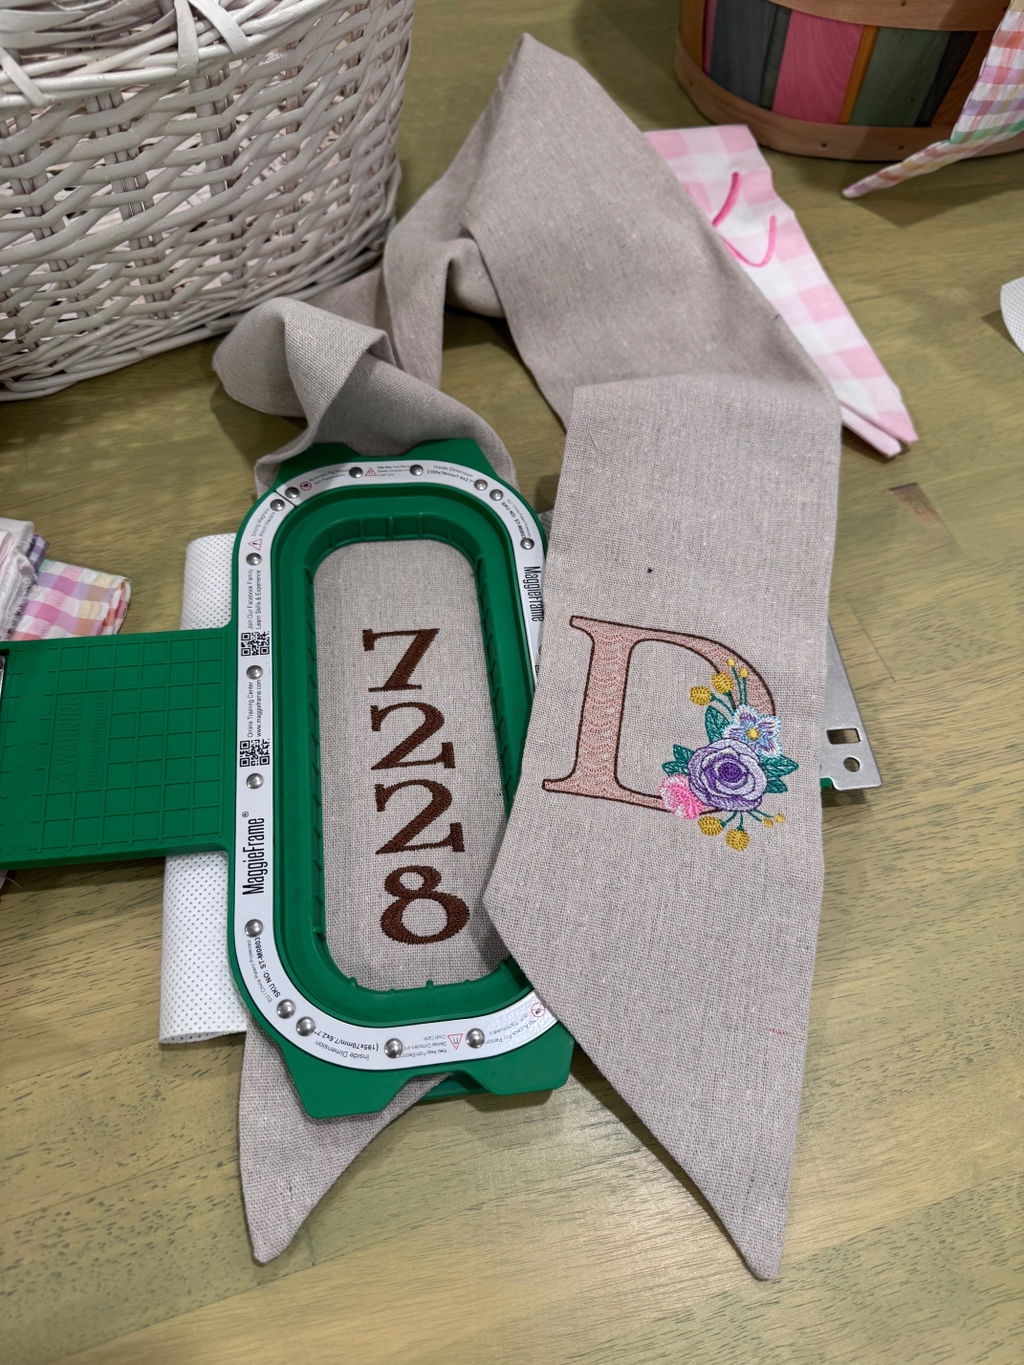
4.3 Streamlining Garment Embroidery with Magnetic Hoops
While cap embroidery demands specialized curved frames, garment embroidery on flats is a whole different ballgame—and this is where magnetic hoops like MaggieFrame shine.
Why Magnetic Hoops for Garments?
- Speed: With MaggieFrame’s magnetic system, you can hoop a garment in about 30 seconds—90% faster than traditional screw hoops.
- Durability: MaggieFrame hoops are built from industrial-grade PPSU plastic and high-strength N50 magnets, making them 40 times more durable than ordinary plastic hoops.
- Fabric Protection: The even magnetic tension prevents hoop burn and keeps fabrics flat, reducing misalignment and embroidery defects by up to 15%.
- Compatibility: MaggieFrame offers over 17 sizes, fitting hundreds of commercial and industrial embroidery machines—just pick the right bracket for your setup.
Important Note:
MaggieFrame magnetic hoops are not designed for cap embroidery. They’re optimized for flat garments—think shirts, jackets, towels, and more. For caps, stick with round cap frames or cap rings.
When to Upgrade:
If you’re tired of wrestling with screws, fighting hoop burn, or losing time to repetitive hooping, MaggieFrame is your ally for garment projects. The ROI is clear: less time, less waste, more embroidery joy.
Curious how MaggieFrame can transform your workflow? Check out real user reviews and demo videos to see the difference in action.
5. Advanced Techniques: Small Lettering and 3D Puff
Ready to level up? Advanced cap embroidery using an embroidery machine for hats and shirts is all about the details—think crisp 2mm text and bold, dimensional 3D puff. Here’s how the pros pull it off.
5.1 Digitizing Sub-4mm Text with Run Stitches
Tiny text on a curved cap? It’s possible—with the right tools and know-how.
Step-by-Step Guide:
-
Thread & Needle Selection:
- Use 60-weight thread—thinner than standard 40-weight, perfect for fine details.
- Pair it with a 65/9 needle for precision. This combo creates clean, legible letters as small as 2mm.
-
Digitizing Approach:
- For text 4mm and above, you can use small-lettering fonts in your software, but delete the underlay to avoid thread buildup.
- For 2mm text, switch to a run stitch instead of the default satin. Run stitches are lighter and prevent the “blob effect” that ruins tiny letters.
-
Density Settings:
- Set stitch density to 0.4 for optimal coverage without overloading the fabric.
- Adjust as needed for different cap materials—less structured caps may need a tweak.
-
Sequencing:
- Always embroider small letters first, especially if they’re at the bottom of the design. This prevents puckering as the cap is stitched from bottom up.
-
Underlay Removal:
- For ultra-small text, remove underlay entirely. This keeps the letters crisp and avoids extra thickness.
Ricoma’s YouTube demo proves it: With the right thread, needle, and digitizing, you can embroider text so small it fits a registered trademark symbol at 2mm!
5.2 3D Puff Workflow: Foam Tack-Downs and Sequencing
Want your cap design to pop—literally? 3D puff embroidery is the answer, but it’s a technique that rewards careful planning.
Foam Placement Protocols:
- Cut a piece of 3D puff foam just large enough to cover your design area.
- Place the foam on the cap after the outline stitch is complete.
Sequencing for Success:
- Outline-before-fill: Always stitch the outline first to anchor the foam and define the edges.
- Then run your satin stitches over the foam to create raised, dimensional letters or shapes.
- For fill-stitch puff designs, make sure to outline with a satin stitch at least 1mm wide for structural integrity.
Cleanup Tips:
- After embroidery, use a heat gun to shrink the foam and help threads settle, hiding any excess and giving a professional finish.
- Snip any loose threads for a clean look.
Best Practices:
- Use 80/12 needles and 40-weight thread for standard 3D puff.
- For small letters in puff, switch to 60-weight thread and a 65/9 needle.
- Stick to the standard cap embroidery area—about 2–2.5 inches in height—to avoid distortion.
Pro insight: The secret to perfect 3D puff is patience and sequencing. Don’t rush—outline, tack down, fill, and finish with heat for caps that stand out in any crowd.
6. Software Showdown: Cap-Specific Digitizing Tools
Wilcom vs. Hatch: The Essentials
| Feature | Wilcom (Professional) | Hatch (Hobbyist/Small Business) |
|---|---|---|
| Digitizing Tools | Wide range of advanced tools | Essential, user-friendly tools |
| Editing Capabilities | Manipulate individual stitches, advanced effects | Basic editing, auto-digitizing |
| Stitch Types | Extensive selection | Limited selection |
| File Format Support | Comprehensive | Fewer formats |
| Learning Curve | Steep, pro-oriented | Easy, beginner-friendly |
| Target Audience | Commercial/professional | Hobbyists, small shops |
Cap-Specific Features to Look For:
- Curve Fill Adjustments: Both Wilcom and Hatch offer tools to adjust fills for curved surfaces—a must for cap designs.
- Simulation Previews: Previewing your design on a virtual cap helps spot distortion before you stitch.
- Pull Compensation Settings: Fine-tune how stitches "pull" on curved fabric, minimizing distortion and registration loss.
- Density Calibration: Both platforms allow granular density control—vital for balancing coverage and avoiding thread bunching.
Technical Precision:
Wilcom gives you the power to tweak density, stitch length, underlay, and more at an ultra-detailed level—ideal for complex, high-volume production.
Hatch streamlines the process, making it accessible for beginners but with fewer advanced controls.
Authentication & Workflow:
Modern software like Hatch uses cloud-based authentication, making it easy to install across multiple computers.
Wilcom’s modular approach lets you add features as your business grows.
Bottom Line:
If you’re running a commercial embroidery operation or need ultimate control, Wilcom is your powerhouse. For hobbyists or small shops, Hatch offers a friendly, capable entry point with enough features for most cap projects.
Pro tip: No matter your software, always test your design with simulation previews and real cap samples. The right tool, in the right hands, turns good digitizing into show-stopping embroidery.
Ready to put these tools and techniques into action? Up next: troubleshooting rare errors, plus a quick-reference FAQ for all your burning cap digitizing questions.
7. Troubleshooting Rare Errors: 3D Overflows and Needle Deflection
Cap embroidery isn’t just about mastering the basics—it’s about being ready for the curveballs that only show up when you’re pushing the boundaries. Let’s dive into the advanced troubleshooting that separates the true pros from the rest, focusing on elusive issues like 3D puff overflow, high-profile cap needle deflection, and adhesive stabilizer failures.
7.1 Solving High-Profile Cap Distortion
Ever stitched a tall, structured cap only to see your design warp, lose registration, or look like it’s melting into the crown? You’re not alone. High-profile caps are notorious for throwing even seasoned embroiderers for a loop.
What’s Really Happening?
Structured caps pack in multiple layers—crown reinforcement, interlining, shape-retention materials—that create a battleground for your needle. The result? Needle deflection on a multi needle embroidery machine, inconsistent penetration, and the dreaded distortion, especially with tall or narrow logos.
Pro Techniques for Tackling Distortion:
-
Steam Pre-Treatment:
Give your cap a gentle steam before hooping. This softens the structure just enough to reduce resistance, helping your needle glide through with less deflection. Think of it as prepping a canvas before painting—it’s all about setting the stage for smooth stitches. -
Titanium Needles:
When ordinary needles bend under pressure, titanium needles step up. Their added strength helps punch through thick seams and multiple layers without veering off course, keeping your stitches crisp and your outlines sharp. -
Reinforced Underlay:
Don’t skimp on your underlay! A robust underlay acts as a foundation, supporting your top stitches and minimizing the risk of them sinking into seam folds or disappearing into the abyss of a center seam. -
Backside Analysis:
Sometimes, the best clues are hidden where you can’t see them—on the back of your cap. After stitching, flip it over and inspect for hard knots or dense intersections. These trouble spots often signal density overload or poor sequencing. Adjust your digitizing to spread out these stress points and avoid stacking too many stitches in one area. -
Digitizing Tweaks:
Stick to the center-out, bottom-up methodology, but avoid starting dead-center on the seam. Modify your sequence to reduce tension buildup right at the seam, and use pull compensation to anticipate fabric movement.
Machine Matters:
Remember, commercial embroidery machines generally offer more needle force and better registration control than home models. If you’re consistently battling distortion on high-profile caps, your equipment might be part of the story.
7.2 Adhesive Stabilizer Failure Prevention
Adhesive stabilizers can be a lifesaver—until they let you down. When humidity spikes, temperatures swing, or your basting method goes sideways, even the best-laid plans can unravel.
How to Keep Your Stabilizer (and Sanity) Intact:
-
Control Your Environment:
Temperature and humidity can wreak havoc on adhesives. Aim for a stable, moderate environment—extreme moisture or heat can cause adhesive to lose its grip, leading to shifting fabric and registration loss. -
Alternative Basting Methods:
If adhesive alone isn’t cutting it, try supplementing with temporary spray adhesives or even manual basting stitches. Some embroiderers swear by binder clips or pins to keep everything in place, especially on tricky unstructured caps. -
Test, Test, Test:
Before launching into a production run, always test your stabilizer setup on a scrap cap. Look for signs of slippage or puckering after a few hundred stitches and adjust your approach as needed. -
Layering for Success:
For extra insurance, layer your stabilizer—double up if you’re working with especially slippery or stretchy materials. Just be careful not to overdo it, as too much bulk can introduce new problems. -
Learn from the Backside:
As with distortion issues, examine the back of your cap after stitching. If you spot areas where the stabilizer has shifted or bunched, you’ll know exactly where to refine your hooping or adhesive technique.
Bottom Line:
Advanced troubleshooting means thinking like a detective—analyzing every layer, every stitch, and every environmental factor. The more you learn to read the subtle signs, the more bulletproof your cap embroidery becomes.
8. Conclusion: Precision Techniques for Professional Results
8.1 Key Takeaways for Flawless Execution
Cap digitizing is an art of details—one that rewards careful planning, technical know-how, and a willingness to test, tweak, and test again. Remember these golden rules:
- Always stitch from the center out and bottom up to evenly distribute tension and prevent distortion.
- Respect the sub-2.5" height limit for cap designs, keeping at least half an inch from the brim and edges to avoid the “needle break zone.”
- Match your stabilizer to your material—structured caps thrive with tear-away, while unstructured “dad hats” need cut-away or extra layers.
- Never skip the test run. A single test on a scrap cap can save you hours of frustration and wasted materials.
Master these fundamentals, and you’ll be well on your way to producing professional-grade, eye-catching cap embroidery every time.
8.2 Beyond Caps: Magnetic Hoops for Garment Efficiency
If you’re ready to take your embroidery workflow to the next level—especially for flat garments—consider the leap to magnetic hoops like MaggieFrame. While caps demand curved frames, MaggieFrame’s magnetic system revolutionizes garment hooping:
- Hoop garments 90% faster than with traditional screw hoops, slashing setup time from minutes to seconds.
- Reduce defect rates by 15% thanks to even tension and secure fabric placement.
- Enjoy industrial-grade durability and compatibility with hundreds of machine models.
For anyone managing high-volume garment embroidery, the ROI is clear. MaggieFrame isn’t just a tool—it’s a workflow upgrade, freeing you to focus on creativity and quality.
9. FAQ: Cap Digitizing Essentials Answered
9.1 Q: Satin vs. fill stitches for hats?
A: Satin stitches are the go-to for most cap embroidery, especially for outlines and curved lines, because they create a smooth, dimensional look. Fill stitches are better for larger, blocky areas or when you need to cover more space with solid color. For small text or fine details, consider run stitches or adjust your density for clarity.
9.2 Q: What’s the minimum font size for caps?
A: For crisp, readable results, keep standard text at 4mm or larger with a satin stitch. For ultra-small lettering (down to 2mm), switch to a 60-weight thread and a 65/9 needle, and use a run stitch with no underlay for best clarity.
9.3 Q: Can home embroidery machines embroider caps?
A: Many home machines can handle basic cap embroidery with the right cap frame or attachment. However, commercial machines offer more power, better registration, and greater consistency—especially for high-profile or structured caps. Always check your machine’s compatibility and start with simple designs before tackling complex logos.
Ready to put these insights to work? Share your questions or experiences in the comments below, and keep pushing your cap embroidery skills to new heights!